[Ht:T] Finished GhetorExtreme
Well, here we are at the final installment of the Ghetorix Extreme conversion.
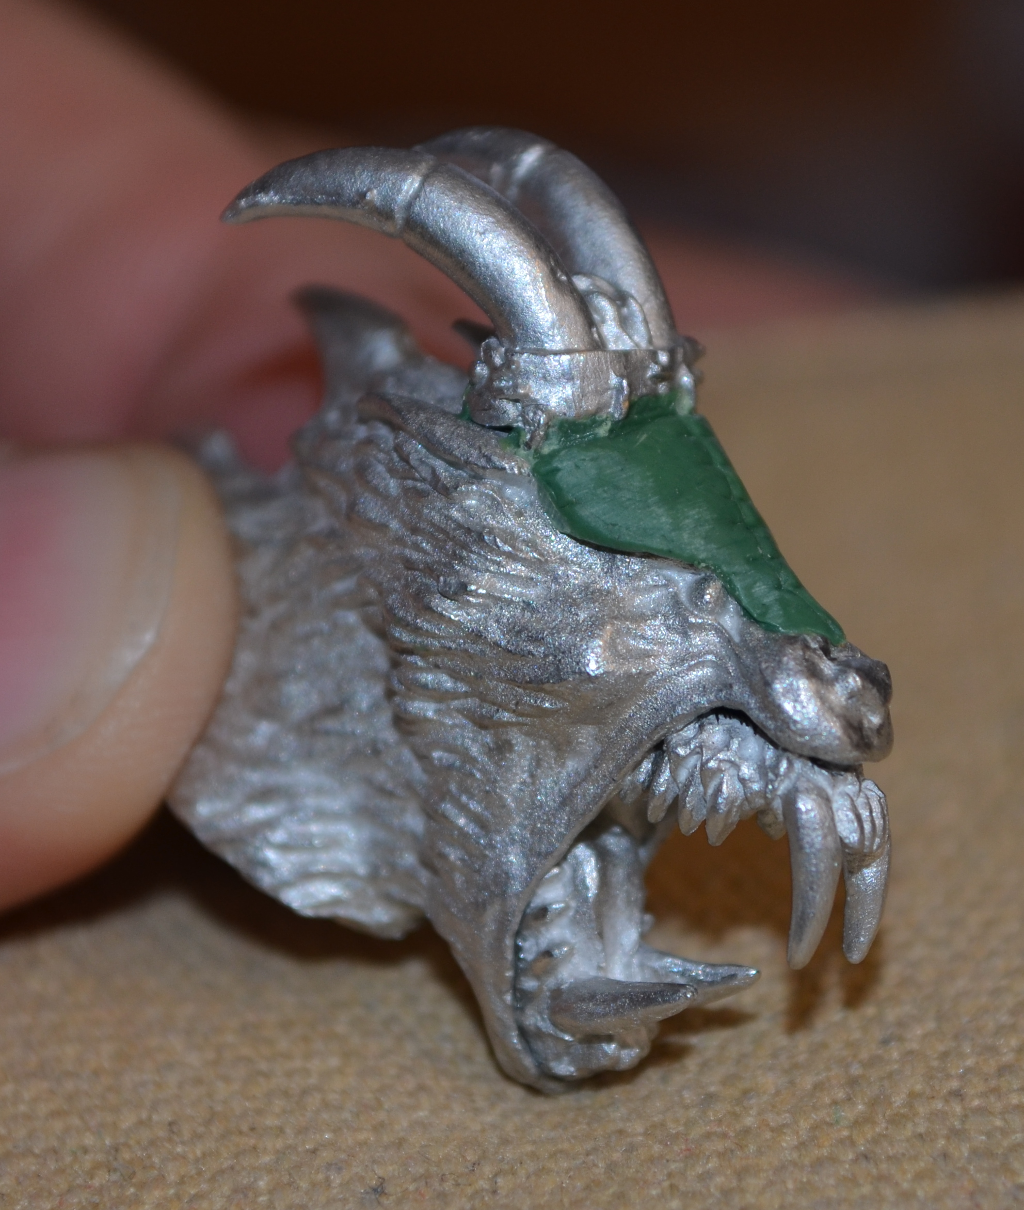
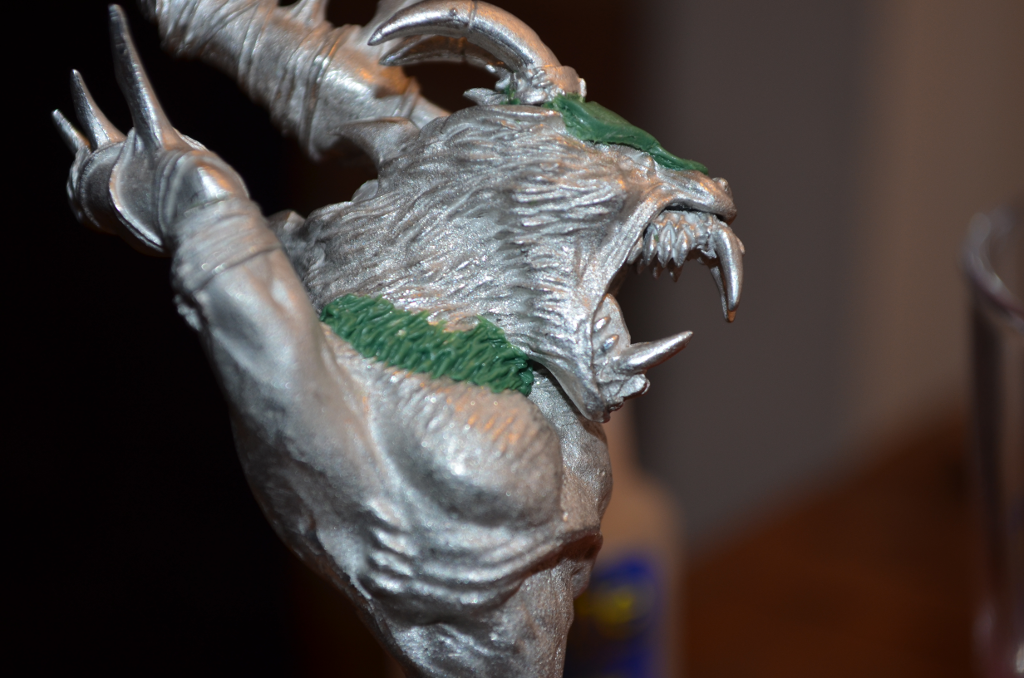
Last time, I had mentioned that the side panels on the head were too thick. I needed to add some Circle armor patterns to them, but it’s too difficult to remove GS cleanly, so I decided to remove them. I liked the look, so I just left them off. I”m not terribly confident in my ability to sculpt the Circle armor patterns and I’ve been sitting on this project for far too long. So, rather than give the customer something that I’m not happy with, I’ll test myself on this stuff later. For now, all evidence of the side burns was removed.
I did go ahead with the rolled edging on the rest of the headdress. This started as a very small rolled snake.
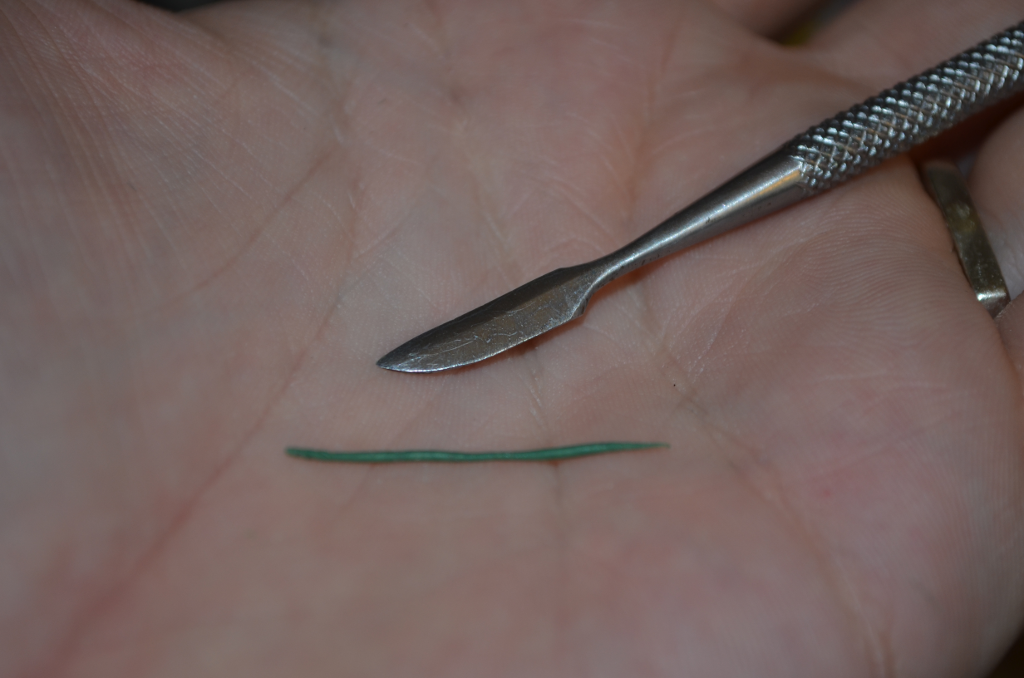
This was carefully laid in place, and the outer edge was squished down th side of the existing headdress, much like frosting a cake, or wiping the last of the peanut butter off the knife. This helped the snake adhere to the model, and seamlessly integrated it into the existing “leather”.
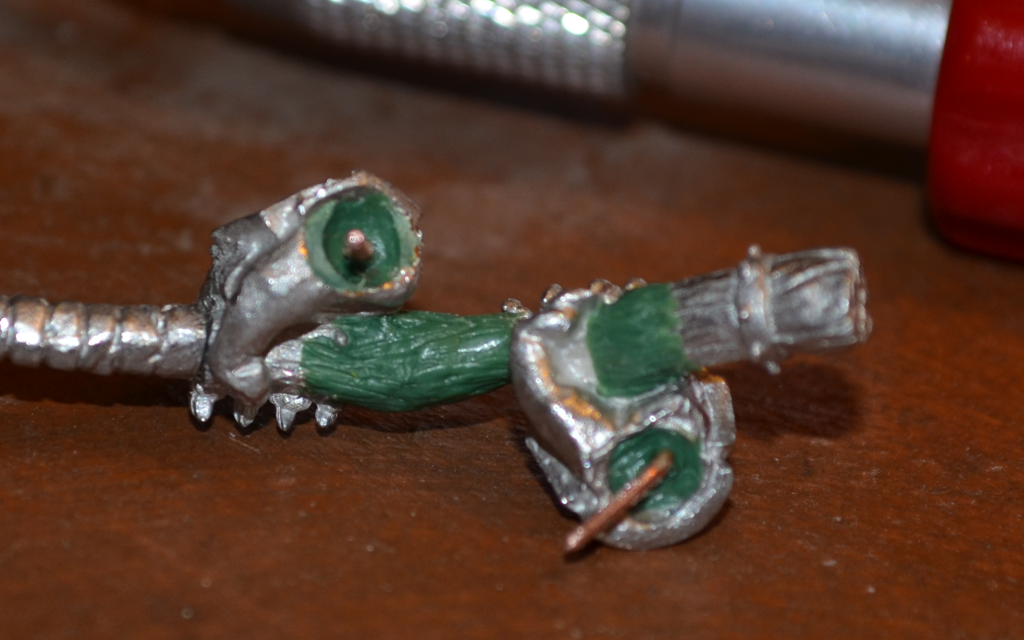
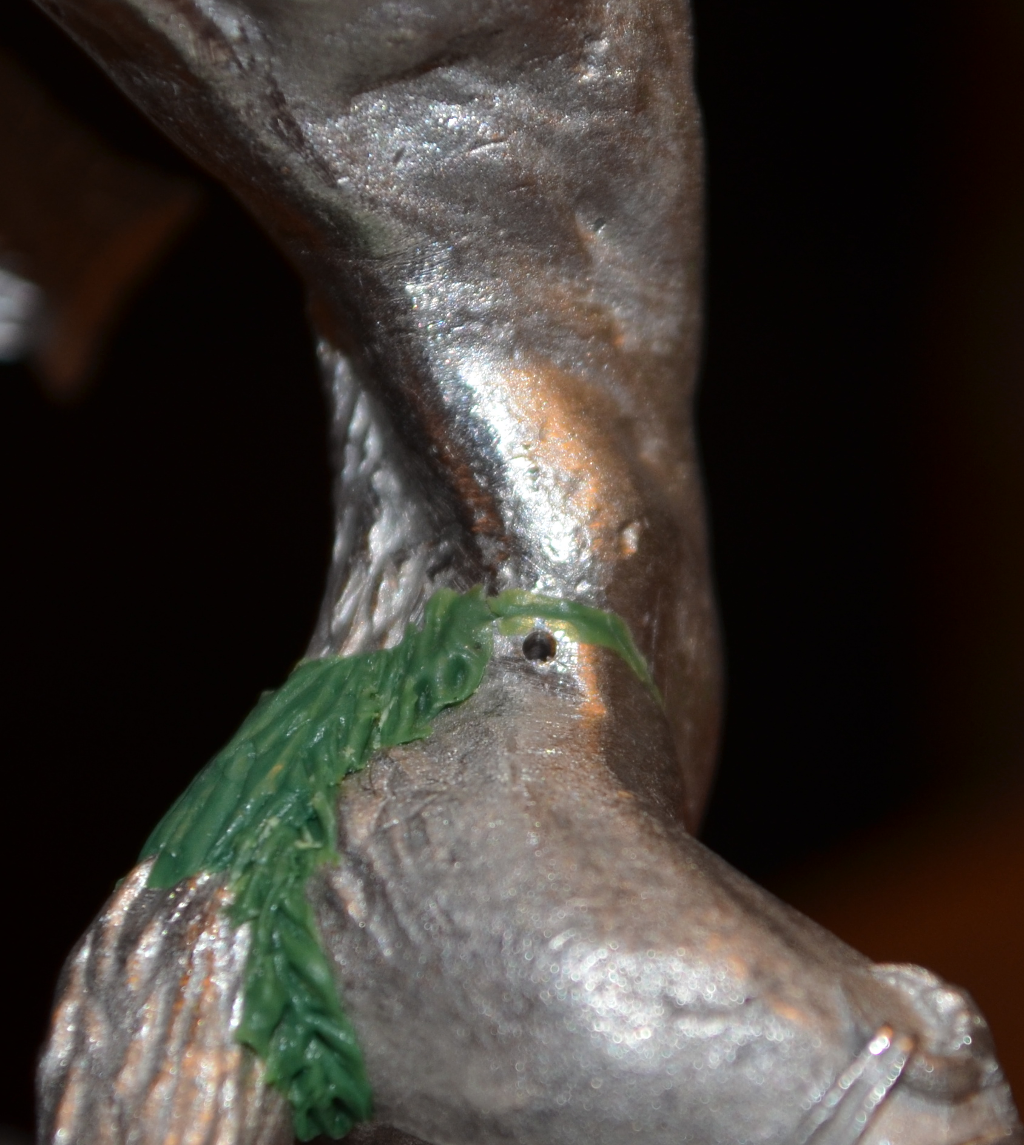
While this was drying, I stuffed some green stuff into the sockets on the hands. I need to ensure there’s a good seat between the hands and wrists since the weight and stability of the ax relies on these connections. Once the green stuff was squished in the socket and around the pin, I used a technique similar to the sticky-tac trick in Part 1. I moistened the wrists to make sure the green stuff wouldn’t adhere to them, and then dry-fit the hands-axe assembly into place, squishing the green stuff out the seams. I then pulled the assembly off, and let everything dry as-is. I’ll cut off the excess green stuff later.
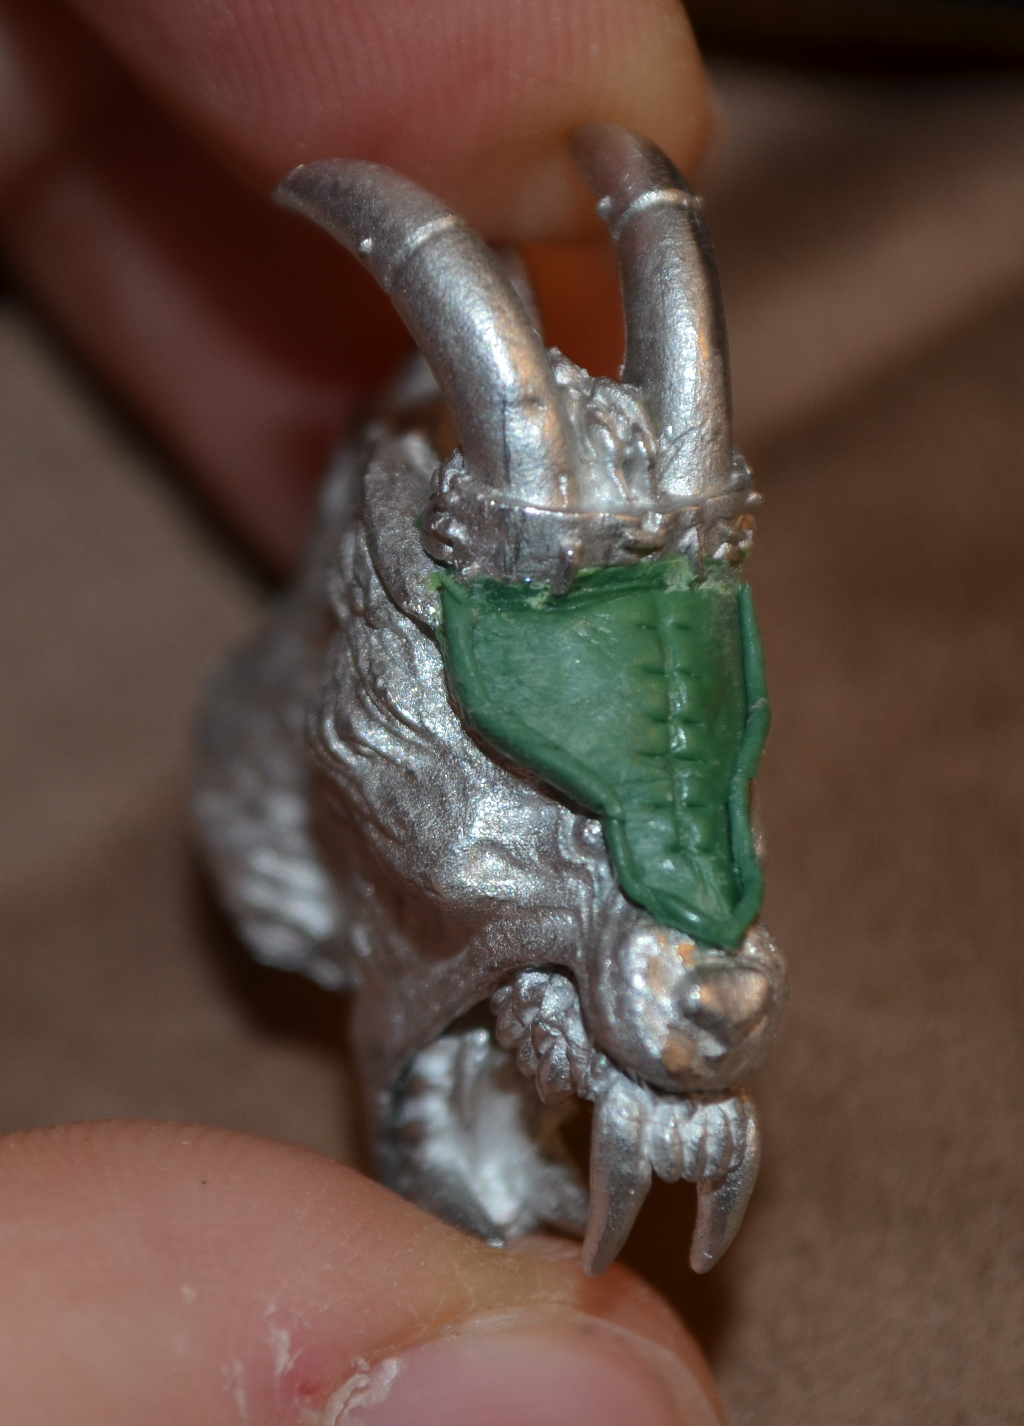
While the hand-wrist joints were drying, I carefully attached the head to the torso. I say carefully, because the headdress was still malleable, and I could have royally screwed up my rolled edges with one of my fat thumbs. Anyway, loads of glue later, and the head’s attached. Mine had a considerable gap all the way around, so I methodically stuffed as much green stuff into the gap as I could.
Almost the entire joint between head and chest is fur, so I followed the same technique as I did on the tail and shoulder areas.
I also sealed up the gap between the headdress side pieces, but that’s not terribly interesting.
By now, the hands had dried sufficiently, so I used a knife to cut out the extra GS that had squished out the gaps.
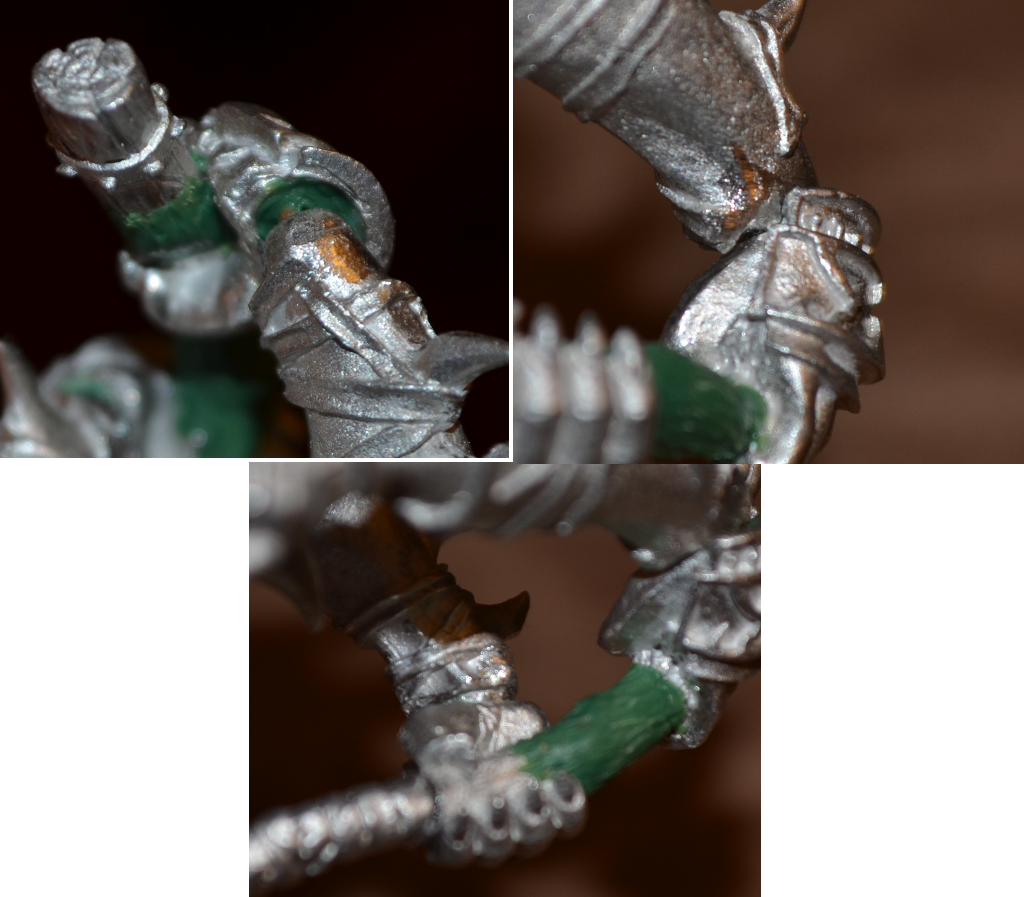
I then positioned the hands, and got a good look at the wrist joints. This, along with the headdress, are the real joints between the two models, so this area would require a fair bit of work. This collage shows some of the issues I saw. The straps that ended abruptly would need to be removed and re-sculpted to meet up with the new hands. The wrist muscles and bony protrusions were too big, because the hands of the Extreme model are easily 3-4 times larger than Ghetorix’s hands, so those had to be toned down. Also, the upper wrist was bent at an extreme angle, and had a fairly large gap to fill.

I remove the hands, so they wouldn’t get in the way, and used an egg shaped diamond grinder bit on my Dremel to carefully grind down the wrist bits in the lower left corner of the collage. This allowed me to blend them towards the inside of the wrist, and then back out into the palm, like an over-exaggeration of a human wrist, with the ligament down the middle and bony outer bits. The big wrist straps that flared out to meet the non-existent big hands got cut off, and smoothed over.
Once the offending bits had been removed, the hands were glued in place. While the super glue was drying, I gap-filled the upper jaw / teeth to the head, which wasn’t the greatest joint. I also added a rolled-edge to the leather headdress where the stock horn section joins the scratch-built face section, covering that ugly gap I had.
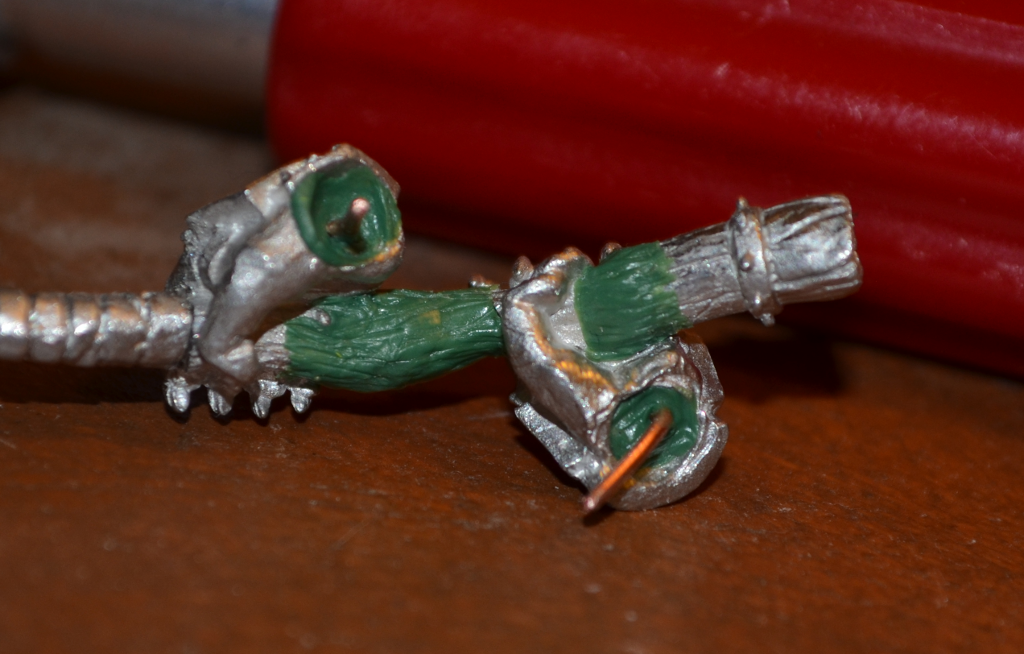
Back to the wrists. The bottom wrist was mostly just gap-filling. I used thin snakes and built up, because that’s easier than trying to remove green stuff after it’s already been laid down. You try to blend it, but eventually you have to admit that there’s too much, but by then you’ve already made a mess, and… yeah. It’s just easier to start small and build up until you’re happy.
The upper wrist, though, needed a bony protrusion and some straps. If you bent your wrist so that your hand is all the way up / in, then you’ll see the bony protrusion on the outer edge of your wrist. I built that up with a small lump of green stuff. While it was still solidifying, I laid down a snake on top, starting at where the strap I had cut off started, and where I wanted the strap to end on the armor on the hand. I tucked one end under the armor on the hand, and smoothed out the other end, blending it into the existing strap. Then, I used my pointed size 0 colour shaper to gently start making the depression in the middle, drawing it along the middle of the strap back and forth. Then, I switched go the pointed chisel, and just put it down length wise and pressed it in, and it was much easier. Lastly, I used the metal spade tool to square up the sides which had splayed out a bit from the colour shapers.
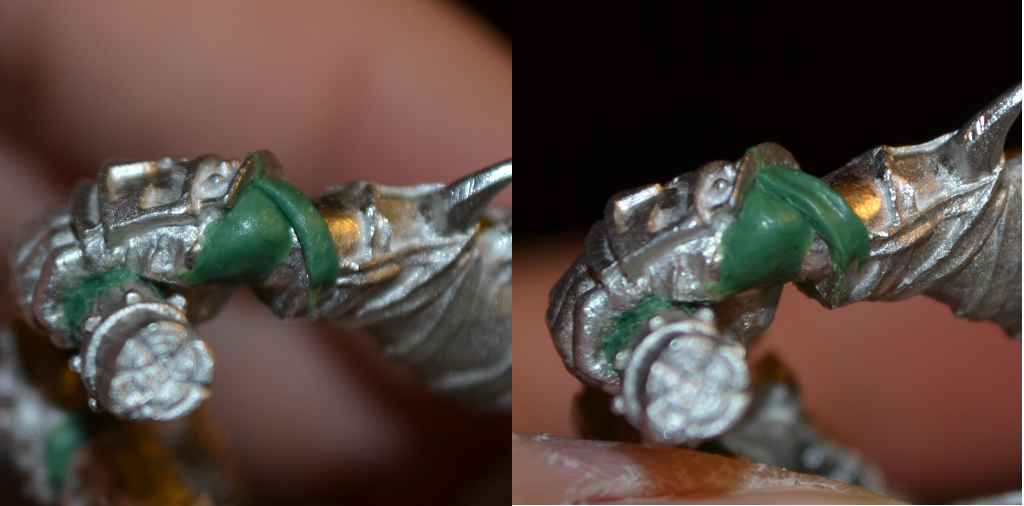
I repeated the process for the strap on the bottom of the wrist, and the one that crosses right across the spot where you’d feel for a pulse. Whatever that spot’s called.
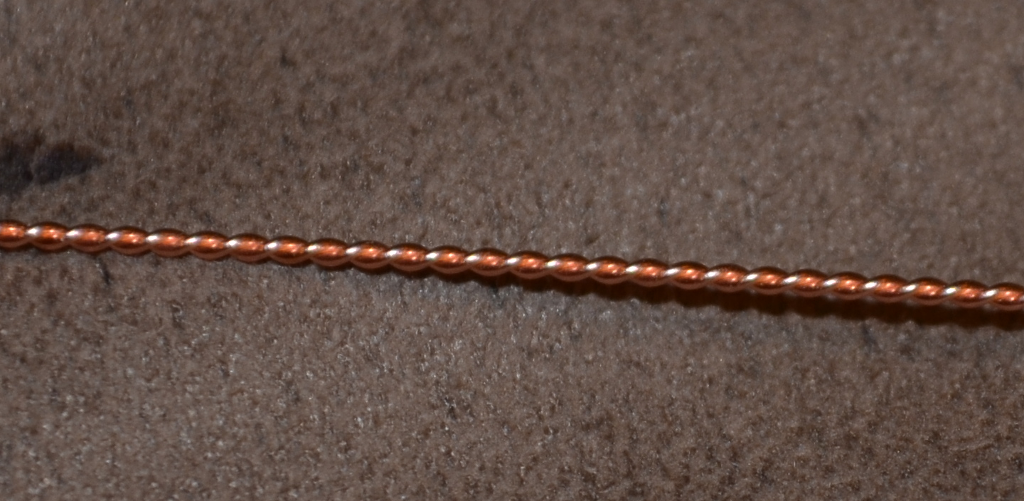
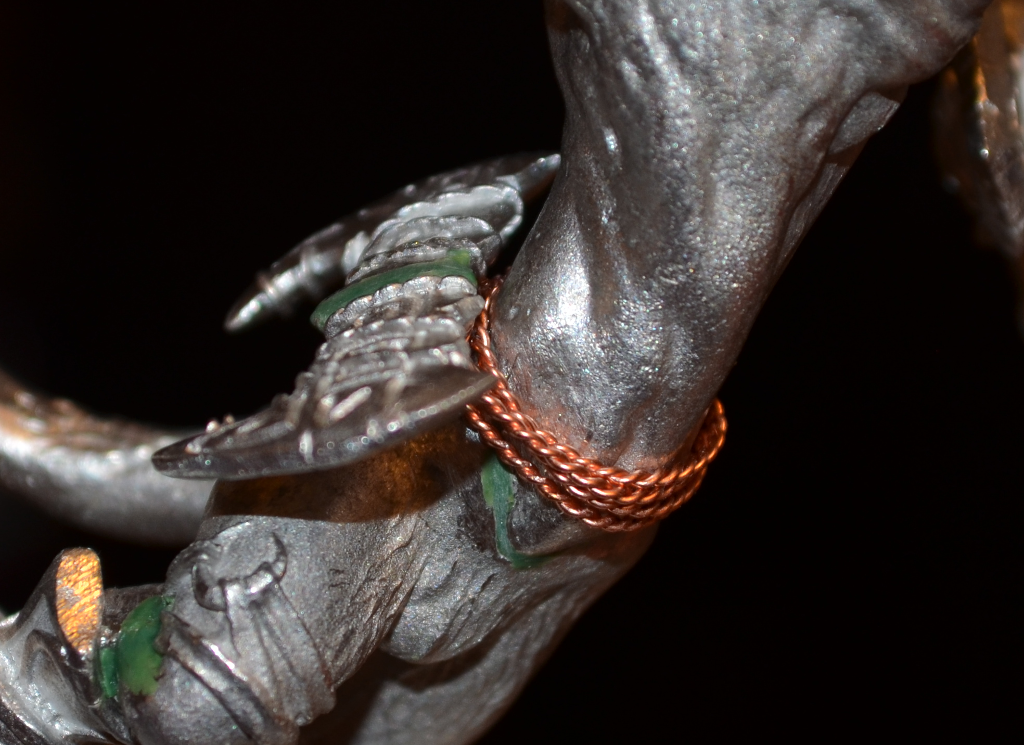
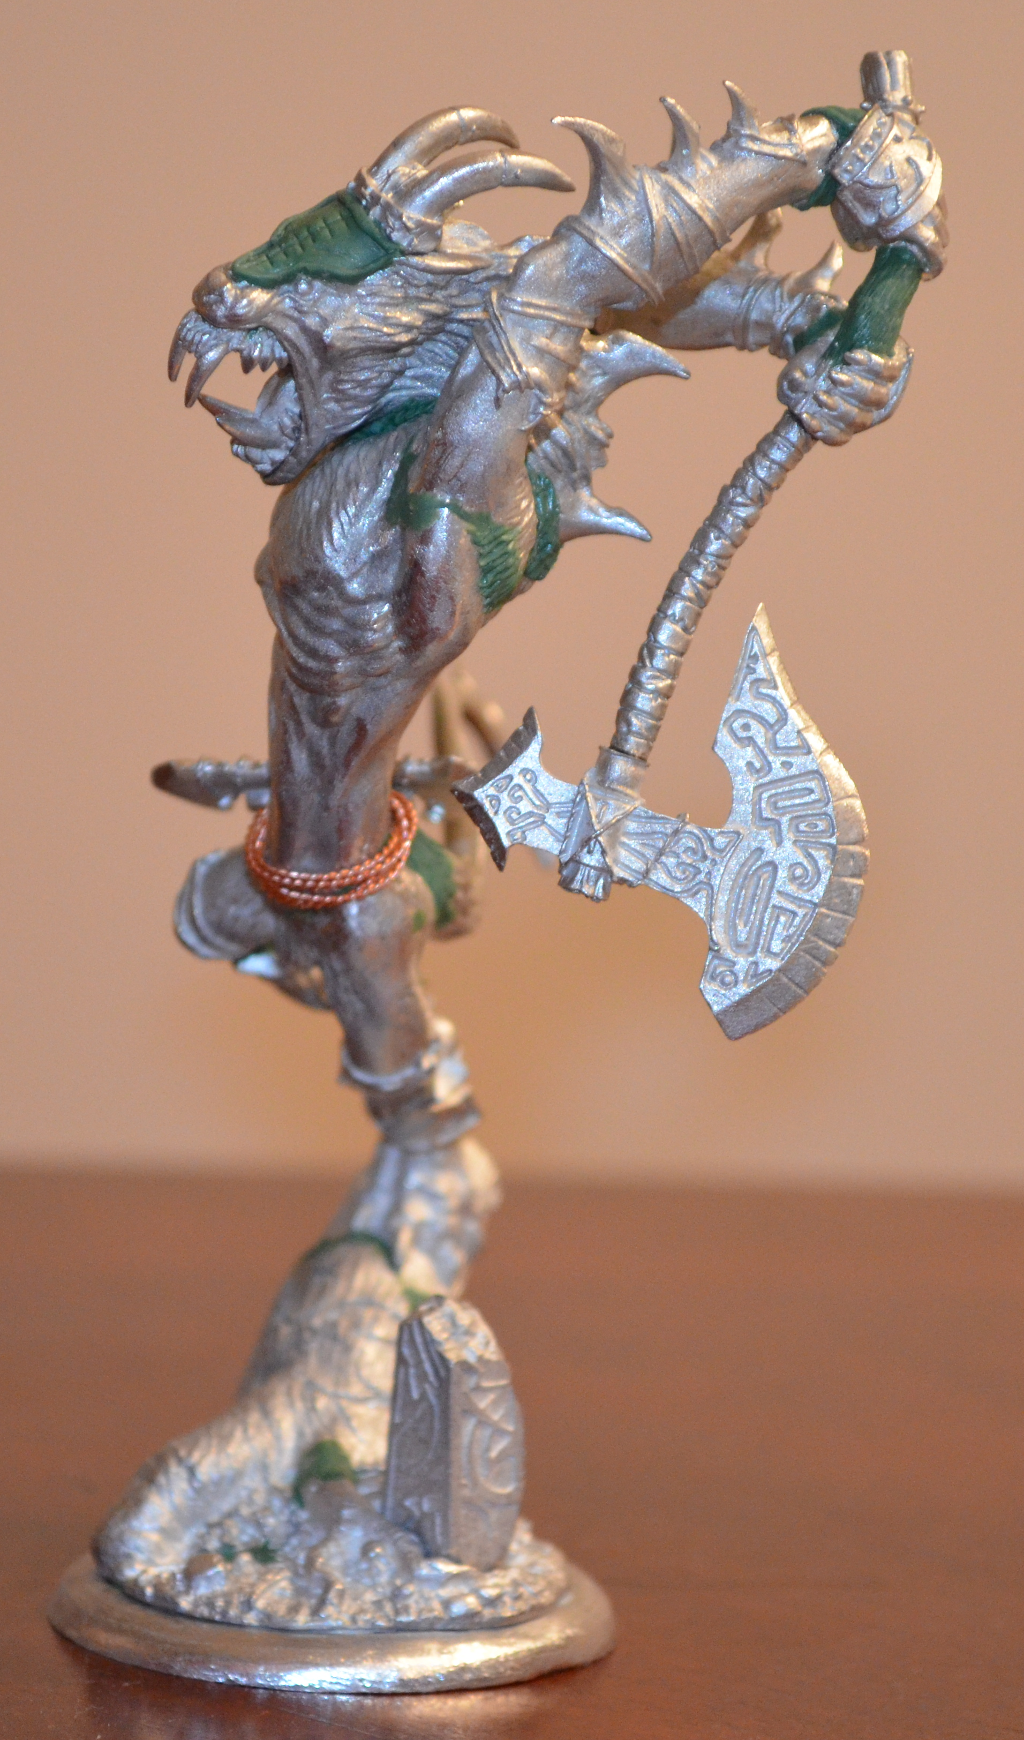
My last dilemma was trying to figure out how to attach the boomerang thingy. I had originally thought about adding a loin cloth with a belt, and attaching the trinket to that, but I followed the same decision making process I had on the headdress. Simpler is better. I pulled out my 26 AWG wire that I picked up for pinning Infinity models, and I pulled out a fair length of it. I cut it from the spool and gathered the two ends together and tossed them into the chuck of my Dremel. I put a handle into the loop of wire and turned the Dremel on. It quickly and uniformly twisted the wire for me, using the handle of the file as the anchor for the other end.
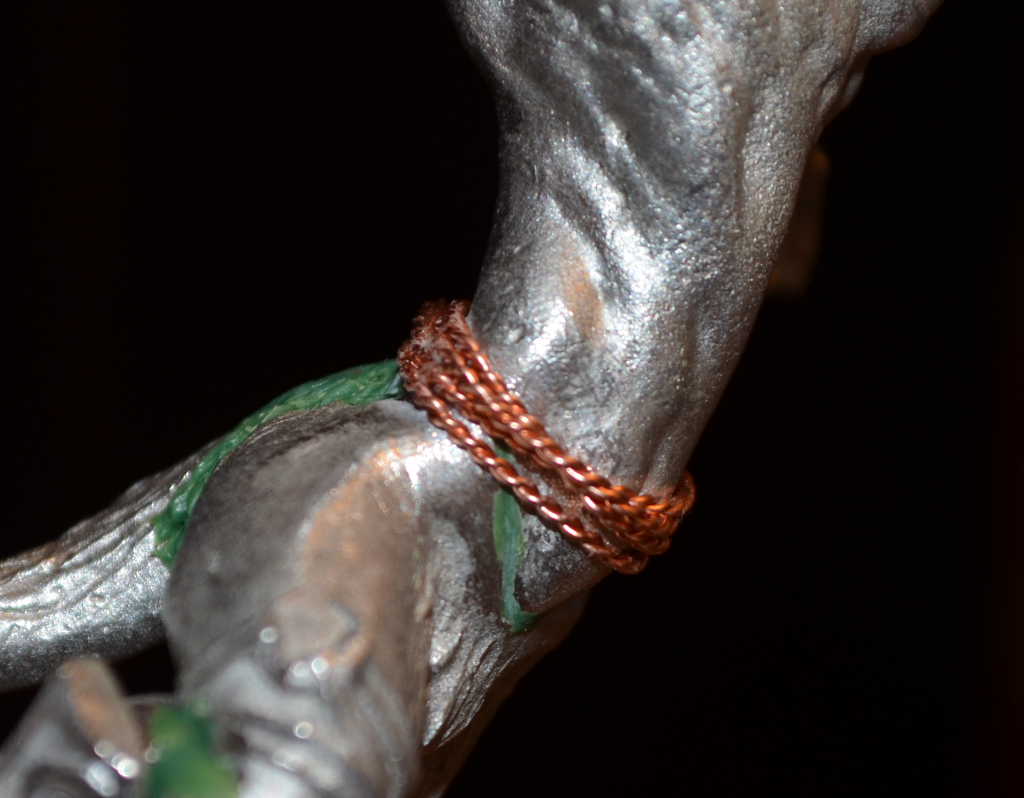
Once I had a tight spiral, I removed the file handle, and pulled the wire from the Dremel. I clipped off the loose ends, and used my normal pinning bit to drill a small hole into the side of the model where I wanted the rope belt to go.
I then glued one end of the wire into this, and gave the model 5 minutes to set. Once solid, I wrapped the “rope” around his waist a few times, and clipped the end of the wire off when it reached the end sunk into the model. A drop of super glue and some skin cells later, and the rope was secured in place.
I then put another drop of glue onto the rope,and one onto the back of the boomerang trinket, and put it in place over the spot where I;d drilled the anchor hole.
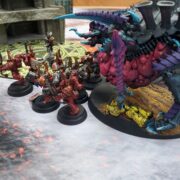
And then, all of a sudden, I was done.
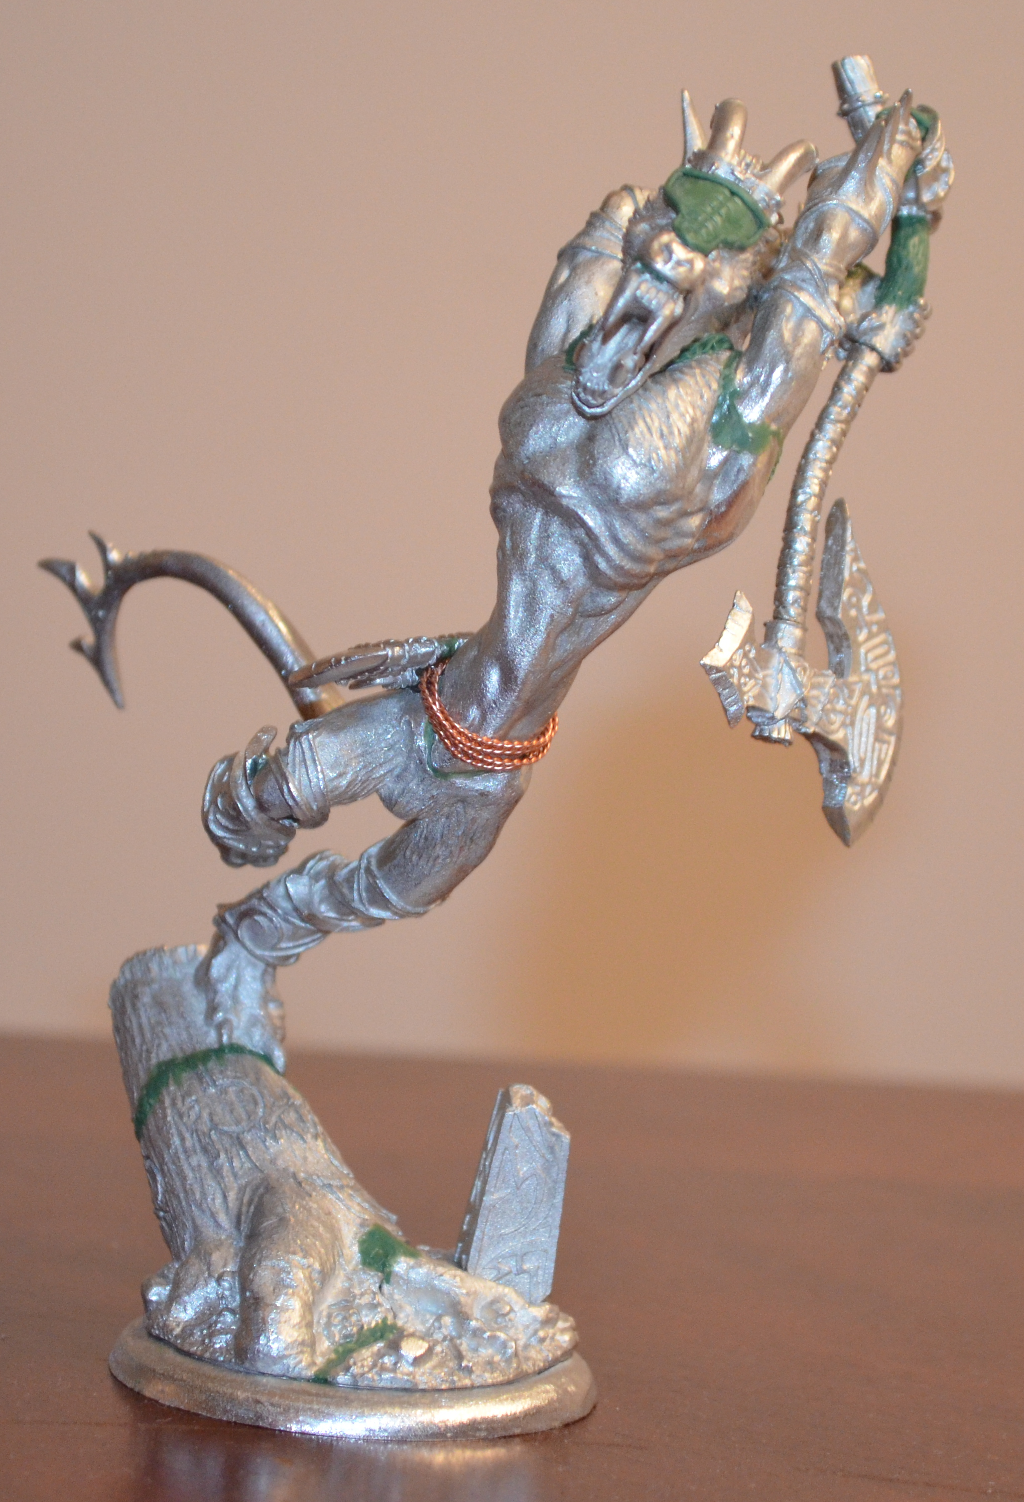
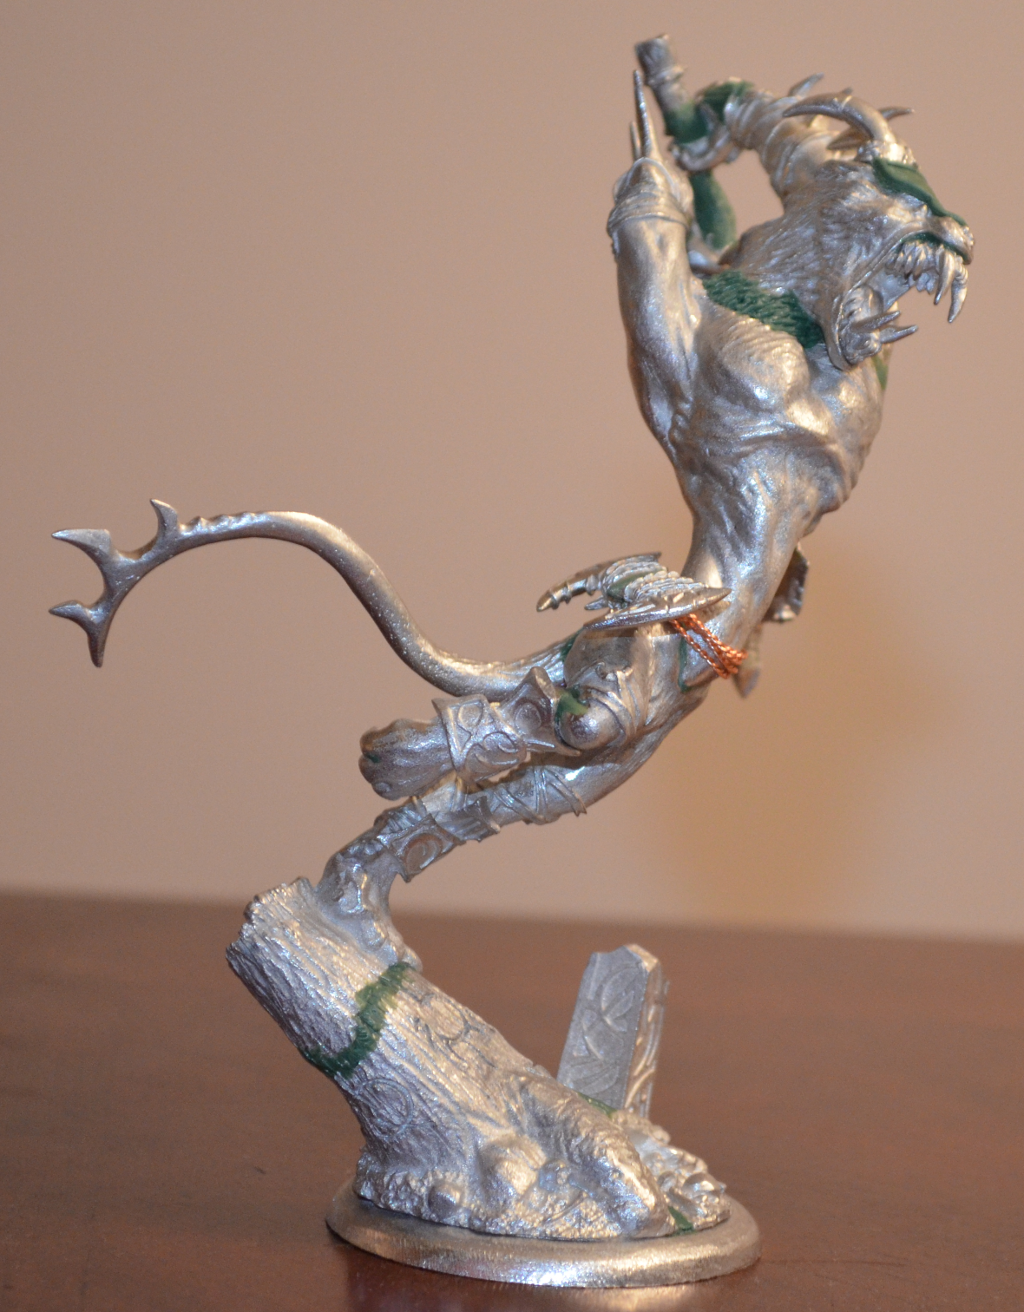
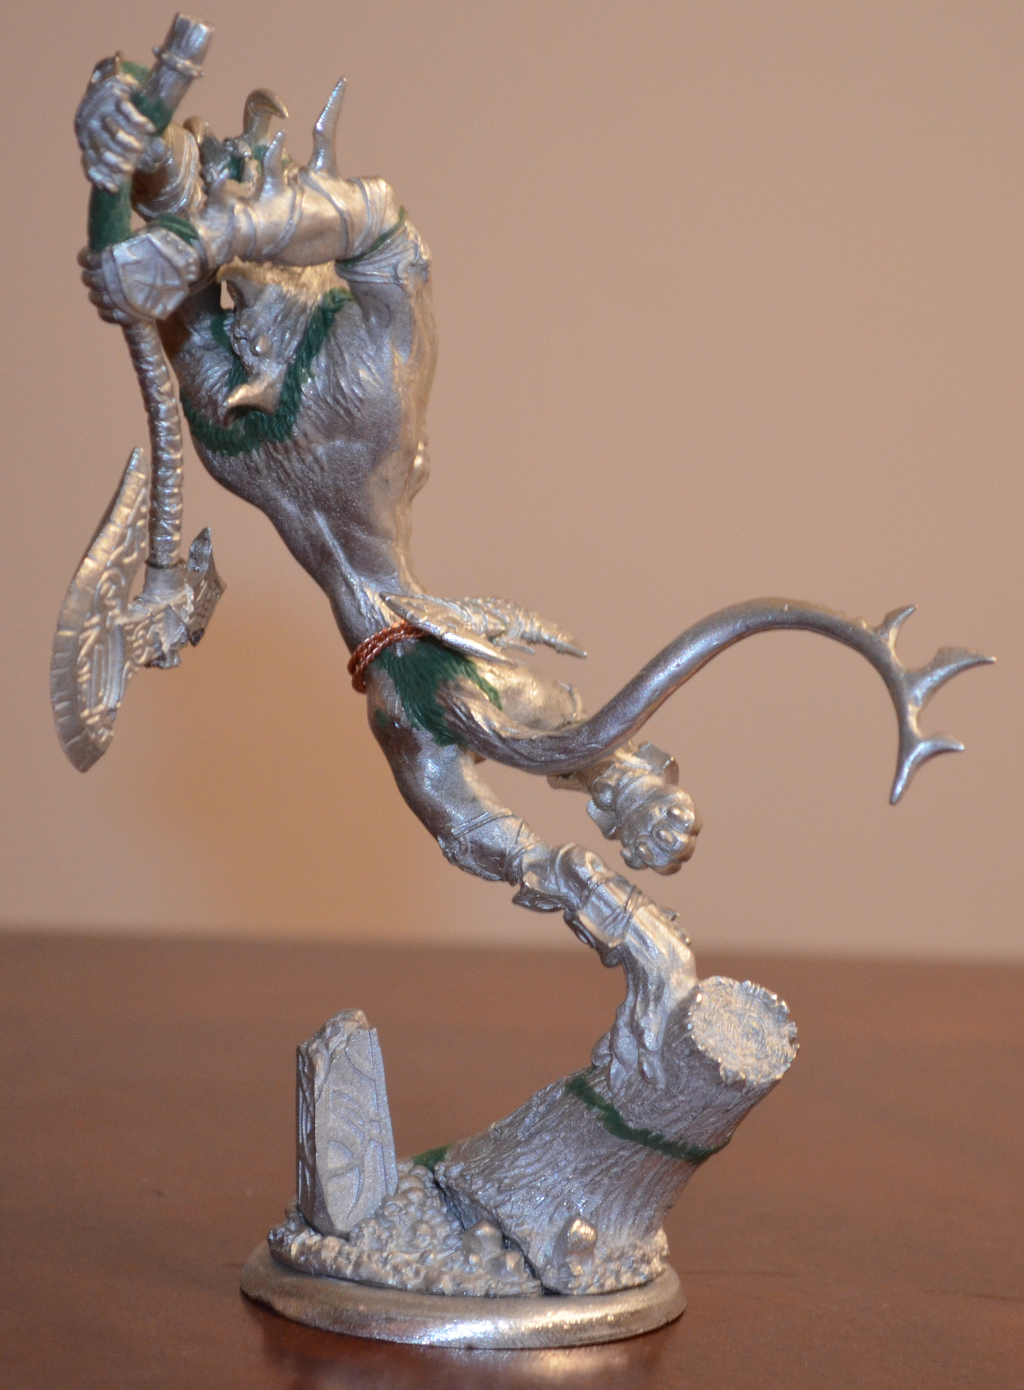
Hey looks great! I’m really impressed with all your work, but the work on the wrists looks like it took a good bit of time to get done right.
The wrists definitely needed more attention that the rest of the model, but considering that’s where the two kits meet up, that makes sense. Challenge = fun!