[How-to] Getting Started with Airbrushing
And here we have it. The updated, “I wrote it down so I wouldn’t have to type it up every time someone asked me” guide to Getting Started with Airbrushes:
Aside: The old version of this article referenced a “Plarzoid Store” which no longer exists, and I’m also not going to provide links to many of the products I discuss here on Amazon like I usually do. I don’t make any real money off the affiliate links, and I’m decreasingly a fan of how they do business. These products are all easy enough to find based online using the make/model and a quick Google search. Support your local hobby stores when possible. If that fails, Midwest Airbrush Supply seems like a solid online retailer. If you want to thank me for putting this together, either share this so my ego is further fueled by the attention or drop a few $$ on the Paypal/Ko-Fi links in the sidebar. Cheers!
Common Questions
Let’s get some of these out of the way right now, to help frame the rest of the conversation.
- Do I need special paint for the airbrush?
No, you can put nearly any paint through the airbrush. You have to learn how to properly prepare it (thinning it, using additives, etc). Your normal Citadel, Vallejo, or Army Painter paint will do just fine. The special “airbrush” paint you see is simply pre-thinned for use in an airbrush. Some folks will tell you it’s not thin enough, others say it’s fine. - Do I have to pick a single brand for all airbrushing my gear?
No, you can connect any brand of airbrush to any brand of compressor. The different brands do try to prevent this by using different types of screw threads for their hose connections, but there is an easy work-around, the quick-disconnect connector. More on that below. - What about this cheap airbrush starter pack on Amazon?
No, the all-in-one pack you may have found is likely not a good place to start. In my experience and from observing folks in my area, I often see those airbrushes and compressors replaced and upgraded within a year or two. Not very cost-effective.
Compressors
I want to start with Compressors because it’s a pretty simple conversation/recommendation from my perspective. Here’s what you need:
- Compressor with a tank. Don’t get a “pancake” or “tankless” compressor. They struggle to provide a steady, constant pressure, and they’re basically always on. This means they can be noisy and have a shorter lifespan. The only advantage they tend to have is taking up a smaller space.
- Regulator with moisture trap. Most compressors will come with one of these, but if yours doesn’t have one, get one. You can’t reasonably use the compressor for airbrushing without one*.
So long as the compressor checks those two boxes, I think it should do the trick. Based on what’s available near you, check the interwebs for what’s reliable and doesn’t have motor/noise issues or heating issues – those tend to be the two main pain points with compressors.
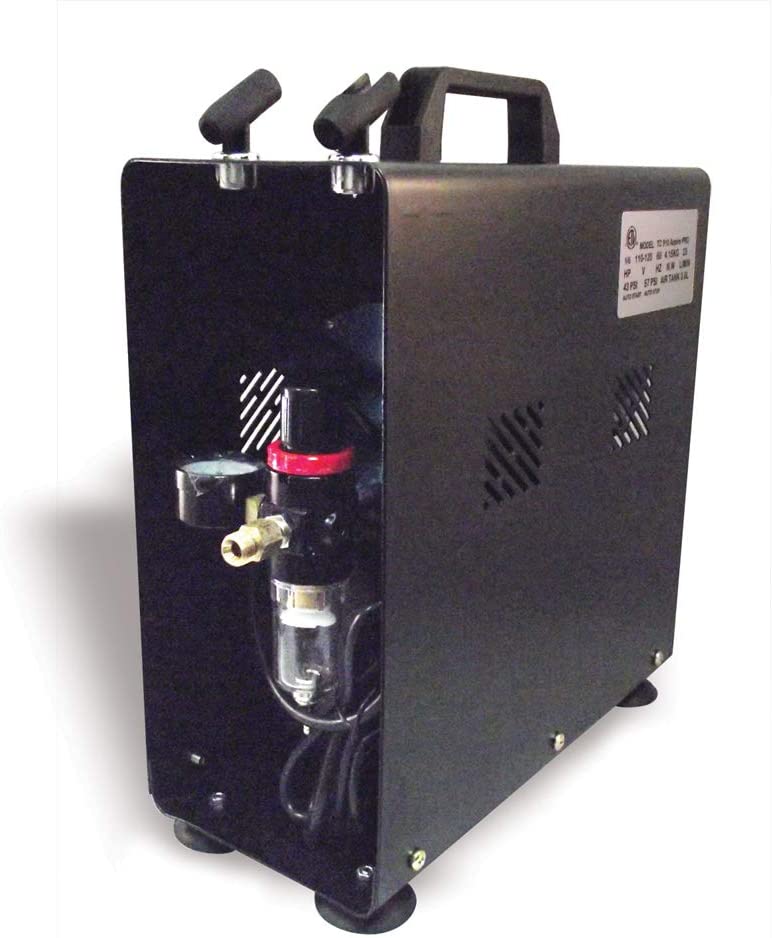
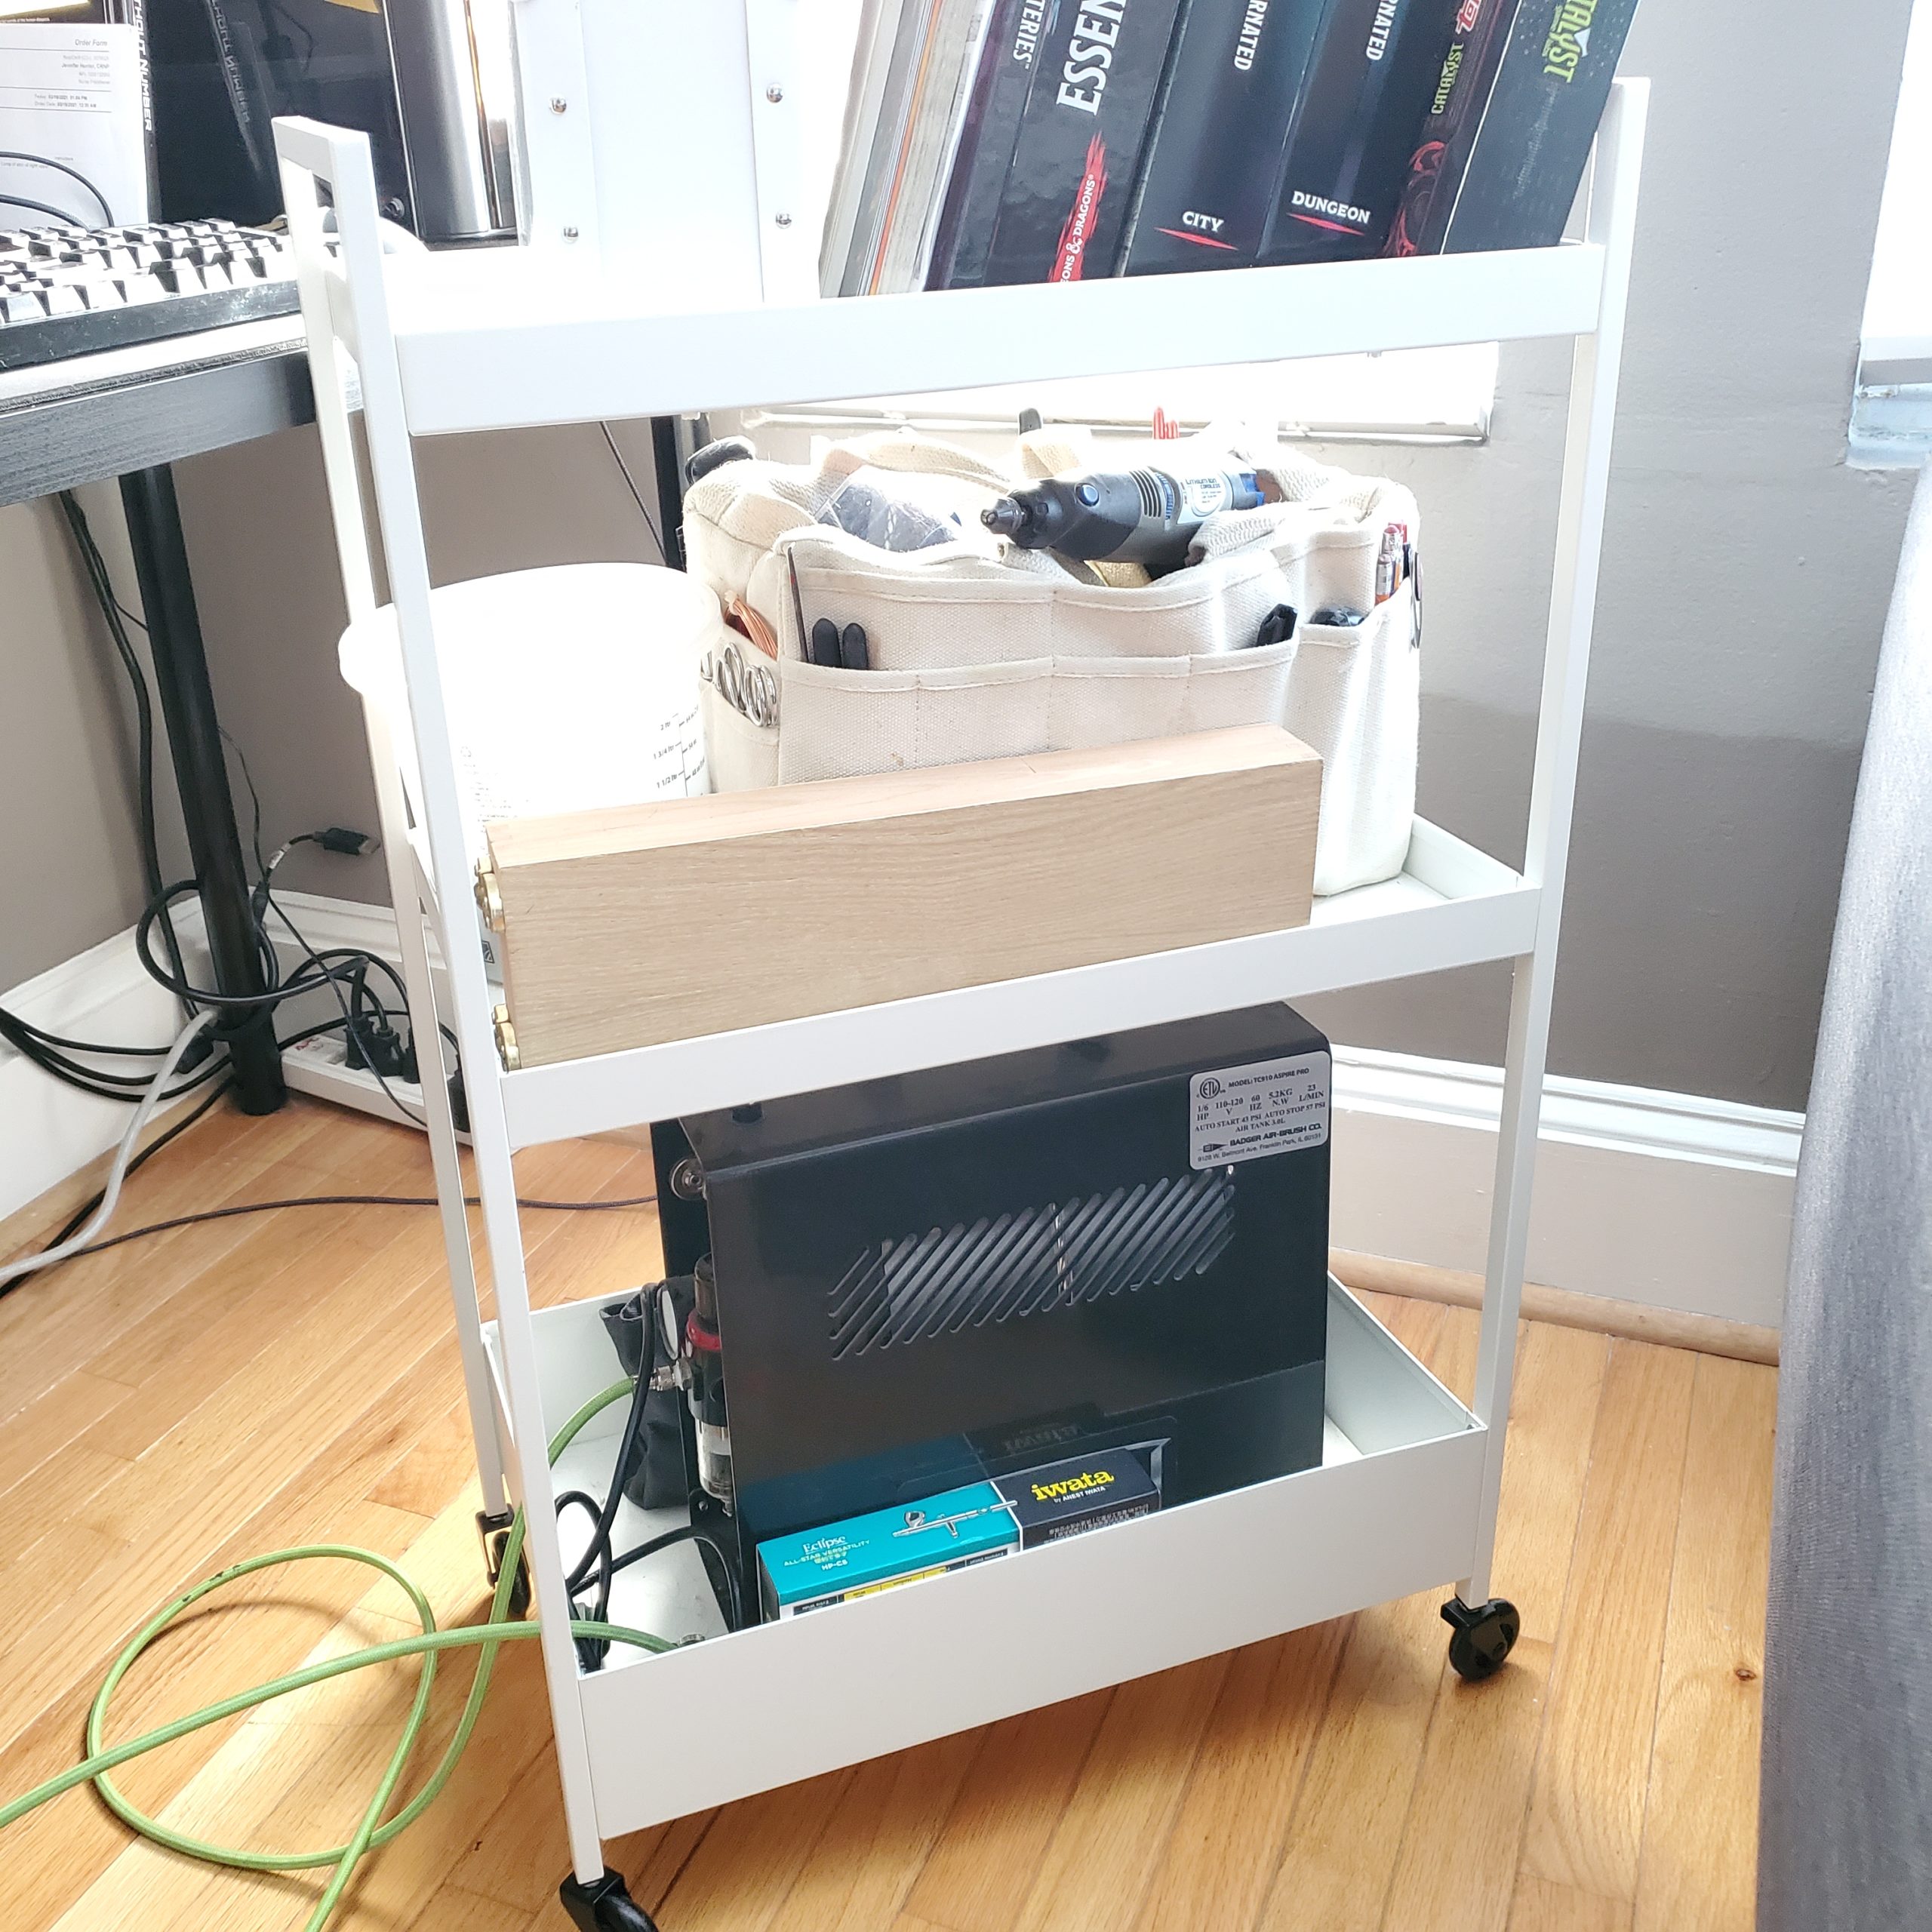
If you care to know what I use, I’ve been enjoying a Badger Aspire Pro TC910 since the fall of 2017, and it’s been rock solid. It’s fairly quiet, has a nice carrying handle and was reasonably priced when I purchased it ($130). I hear the Iwata compressors are also good, but I have heard they can run into heating issues. My first compressor was a Grex, and it began to die after a year or two.
* The regulator part of the contraption moderates the pressure so it’s constant and even, which helps make the spray out of the airbrush consistent and predictable. Without it, you will get wildly varying bursts of pressure while the compressor is running, and get terrible results. The moisture trap aspect removes the condensed water that forms when the compressed air is allowed out, keeping that water out of the air hose and out of your airbrush. You don’t want random drops of water causing paint inconsistencies and ruining your clean glow effects or smooth transition.
Airbrushes
There are many, many airbrushes on the market. I refuse to speculate, so I will speak to the three that I use on a regular basis. Thankfully, I like all three, so consider what follows not only an overview of the tools I use but a recommendation for each of them.
A brief word on troubleshooting airbrushes: No matter what airbrush you buy, understand that they are fragile instruments. They have some delicate parts, and by the very nature of putting liquids and pressurized air through them, they have inherent problems. Patience is the #1 priority when troubleshooting. Brute force is expensive. The needles can pierce your skin, and the nozzles can get clogged by debris smaller than a grain of sand. Luckily, most problems are solved by simply emptying out the airbrush and doing a thorough cleaning.
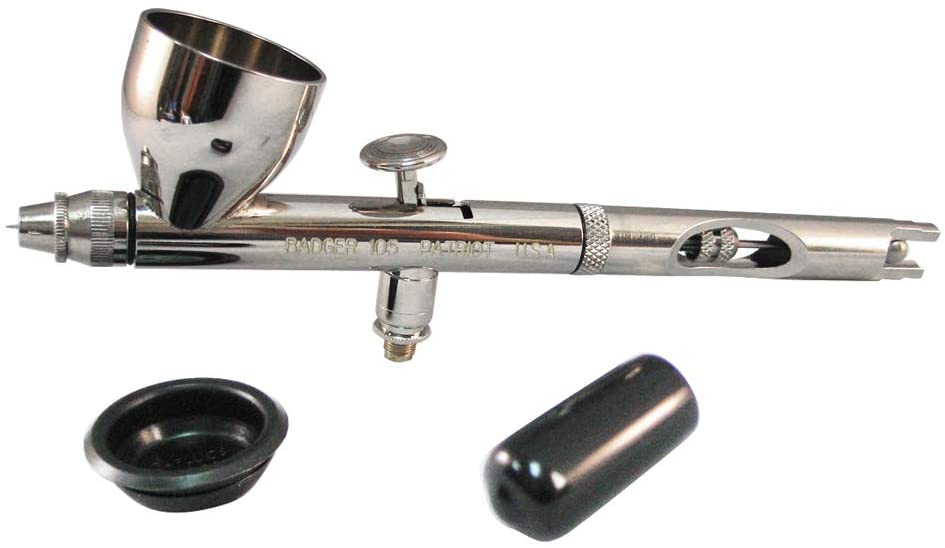
Badger Patriot 105
The Patriot 105 is one of the most recommended starter airbrushes I see on discord channels and online forums. It’s cheap (often between $80-100) and great for priming, basecoats, and zenithal highlights. With Badger’s lifetime guarantee, you can beat the shit out of it, and when it stops working just send it in for them to deal with (at the cost of any replacement parts). What’s not to love?
The Patriot 105 also supports a few different needle/nozzle size combinations, so you can tune its spray cone up (fire hose) for terrain, or furniture or down (can of compressed air) for miniatures. That’s pretty handy based on what you may need it for. Just don’t get which nozzle goes with which needle mixed up. The needles have color-coded ends, but the nozzles have no such helpful indicator on them that I’m aware of.
I used one for a long time as the primary replacement for the pistol grip Grex airbrush I started with when it locked up. It’s now my backup, and that’s just fine. I still recommend it as the starting place for budget-conscious hobbyists looking to get started. Badger is an American company, and their website is a great throwback to the dial-up era, so if those things are important to you, there ya go.
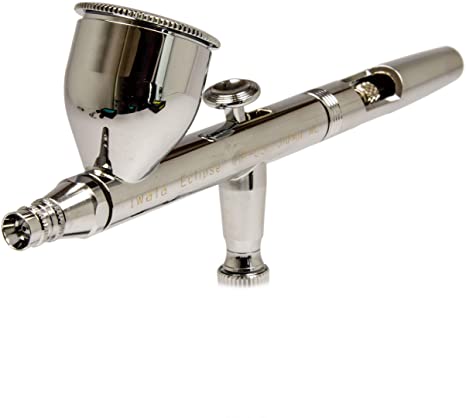
Iwata Eclipse HP-CS
This is my go-to airbrush for anything that isn’t fine detail. It’s the most recent addition airbrush-related purchase I’ve made, and it has largely replaced the Badger Patriot 105 for me. It’s notably more expensive than the Patriot, but it’s a bit less temperamental and offers a bit larger range (big spray or fine detail). It disassembles nicely and is quick to clean but is just a touch more tedious to re-assemble than the Patriot.
The Iwata products tend to have a sense of finer craftsmanship and polish to them, and their prices reflect that. Additionally, since Iwata is not US-based, parts everything for the Iwata products are more just a bit more expensive and harder to find since it all has to be imported, so that’s worth knowing going in. That said, if you take care of it, it’s been worth the investment from my experience.
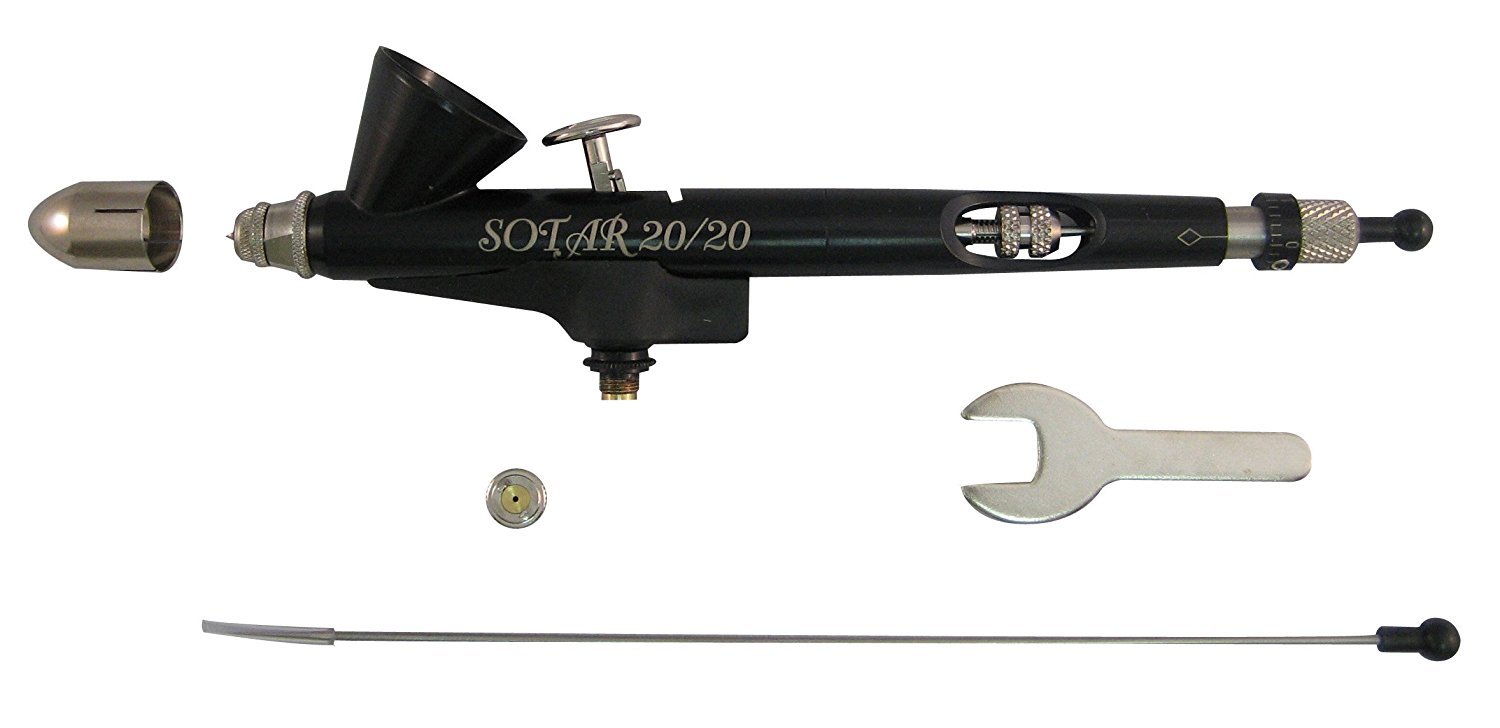
Badger Sotar 20/20
“Handcrafted” by an elite team at Badger, this airbrush looks nothing like any of the others they offer, with its matte black body and teeny, tiny cup. It’s designed only for fine detail, and largely, it does that very well. I’m still mastering it.
If you want one, Amazon (sadly) often has the best price, but the yearly Badger birthday sale is also a great source. Definitely don’t pay full retail ($400?).
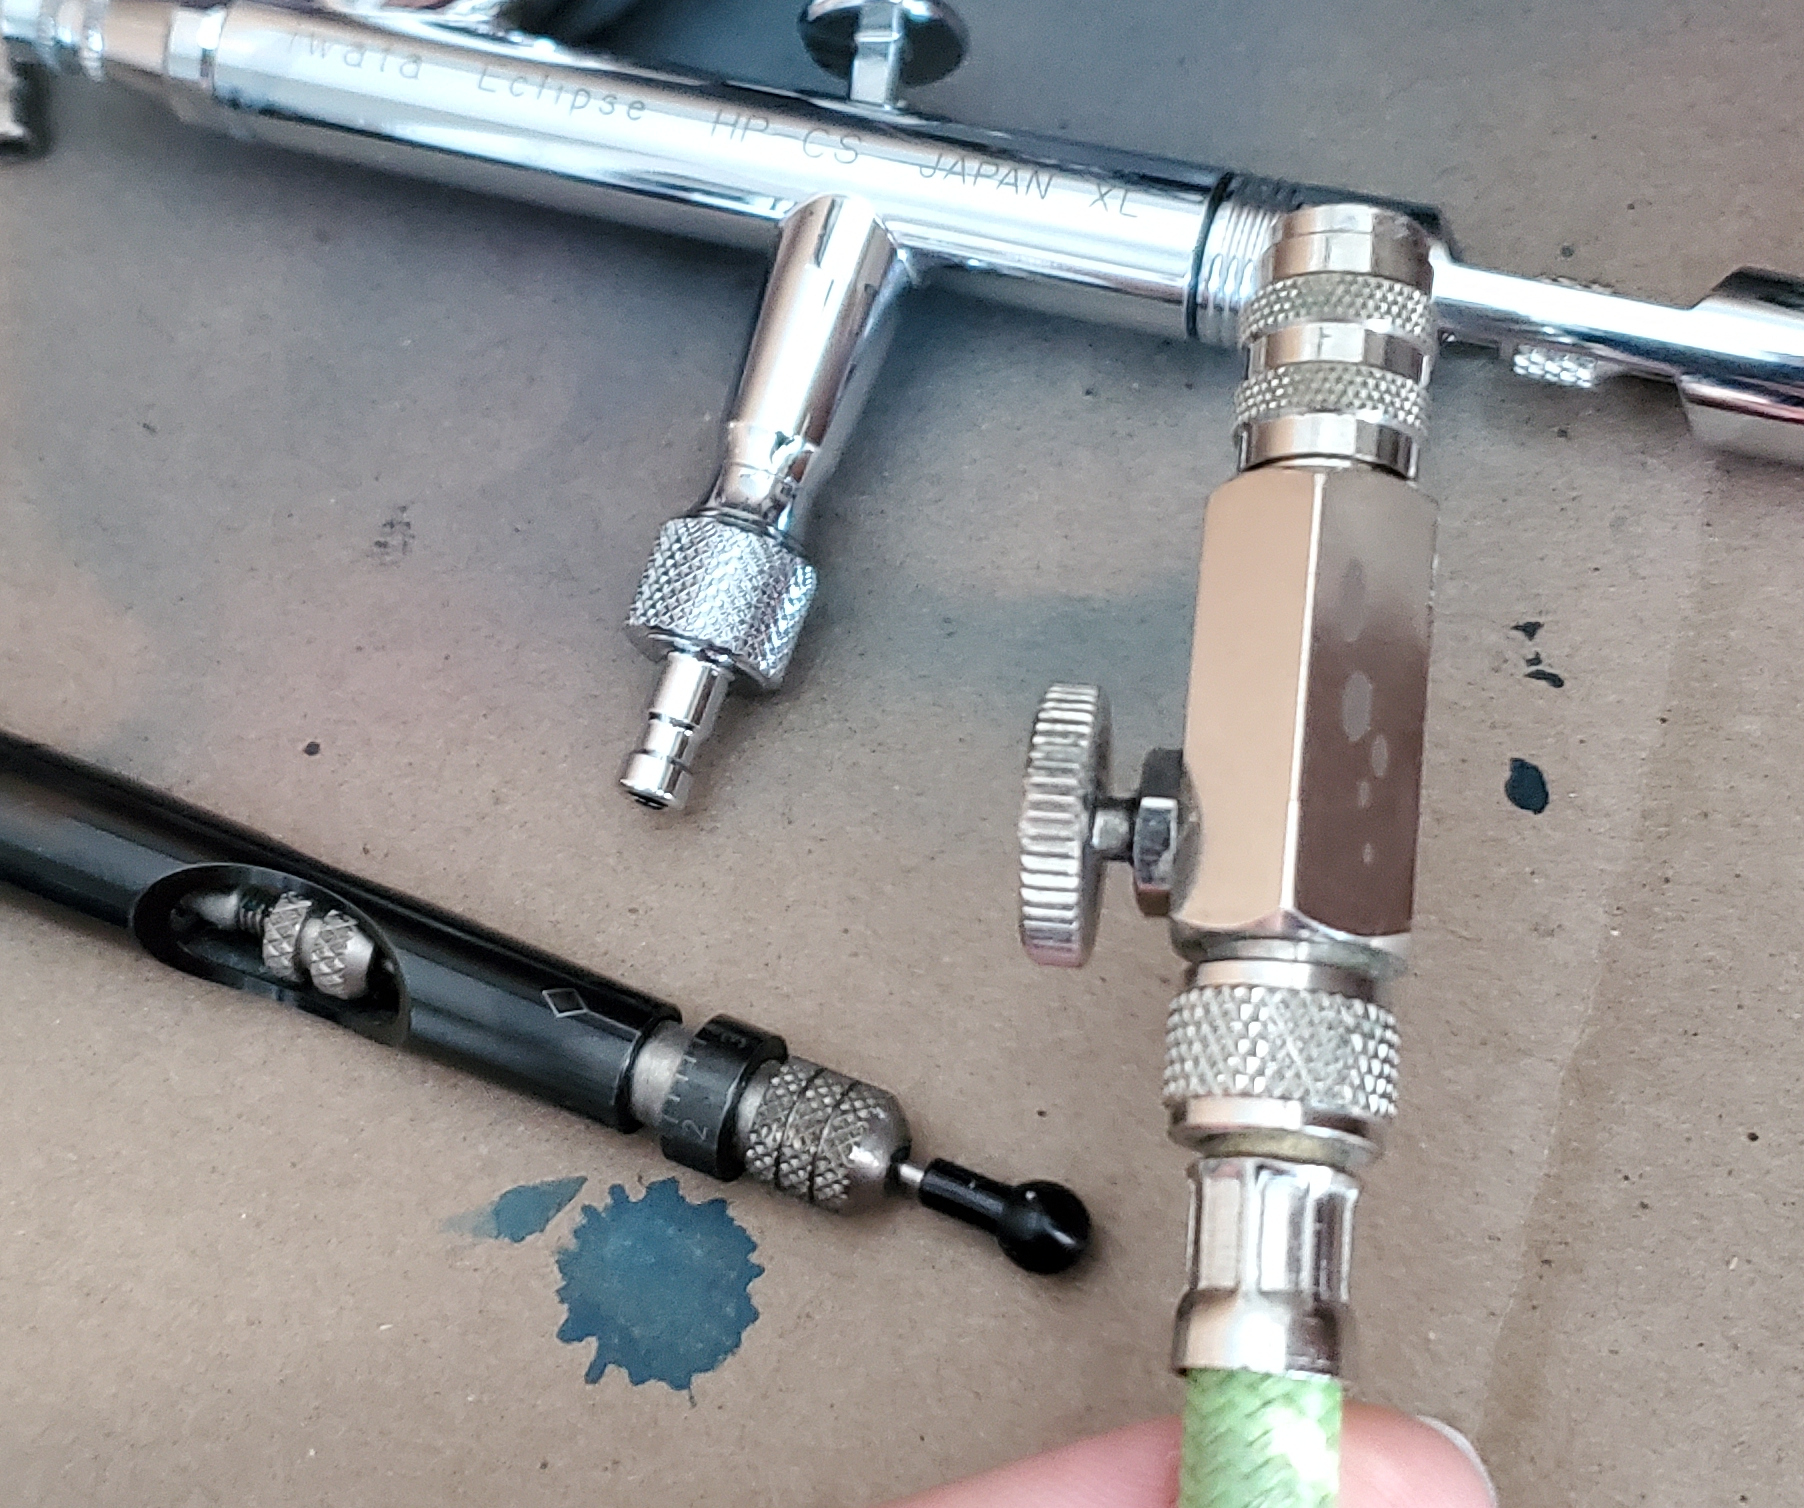
Hoses and Interconnectivity
I mentioned earlier that you can mate up any compressor to any airbrush. That’s true, and here’s how:
- Purchase a hose from the same manufacturer as your compressor. Hook it up. Plumber’s tape is optional, but suggested.
- Buy a quick-disconnect kit from the manufacturer of your compressor. These kits have a male/female end, and one of them will mate with the end of the hose that is intended for the airbrush (it should be the “female” end, which will have the actual quick-disconnect mechanism).
- Buy quick-disconnect kits for each of your airbrushes. These should be the “male” ends, and should be simple to attach.
- Done!
The quick-disconnect is a standard of sorts, so the unique threads that each manufacturer chooses to use no longer matters when you try to put a Badger Airbrush onto an Iwata hose, or the other way around. The quick-disconnect acts as a universal adapter, much like a USB connector for your computer.
The other great thing is, this protects the threads on your airbrushes. Those threads are often cut into the metal body of the airbrush, and if they happen to get stripped or ruined, it’s an expensive fix. Since you’ll never be screwing/unscrewing your hose connection every time you need to swap airbrushes, your threads will never see any wear and tear.
Paint Additives and Thinning Non-Airbrush-Ready Paints
There are a number of ways to turn regular hobby acrylic paint into airbrush-ready paint. It’s largely a process of thinning it down so it won’t clog the airbrush, but there are two other considerations as well. With thinning for the airbrush, it’s a balance between helping the paint flow through the confines of the airbrush, but also land with good coverage, and getting it to stay where it initially lands, and not run all over (known as “spiderwebbing”).
There are several additives and tools to use to help with this process. However, there are a few helpful constants in all of it:
- Avoid Windex or anything with Ammonia or alcohol. Not only is Ammonia harmful to your health, but both ammonia and alcohol also destroy the binding agents in the paint, and will act more as a paint stripper than anything else.
- When mixing the paint and thinner, a milk-like consistency is the goal. When the liquid is run along the side of the container (airbrush cup, mixing class, etc), it should be neither opaque (like unthinned paint) nor transparent (like water) but in-between. It should take 2-3 seconds to run down the side of the container and not leave much of a lasting residue.
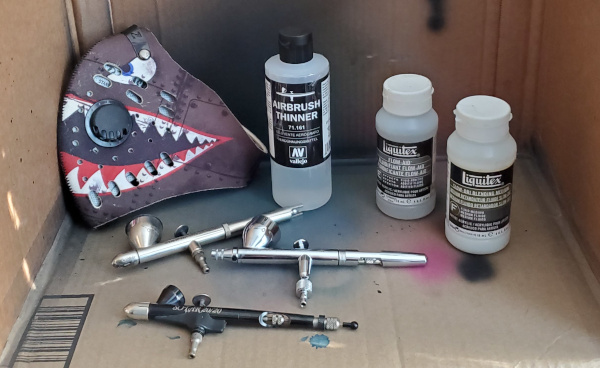
Airbrush Thinner
Several airbrush and paint companies make their own version of this. I have had good success with Vallejo’s. It thins the paint, and I believe it quickens the drying time. Try it on it’s own, try it in a mixture, or try it in a stew!
Don’t, actually.
It doesn’t say it’s toxic, but there is an exclamation mark inside an orange triangle that’s quite concerning, so… use caution.
Don’t… don’t drink it.
I didn’t tell you to drink it.
That was a joke.
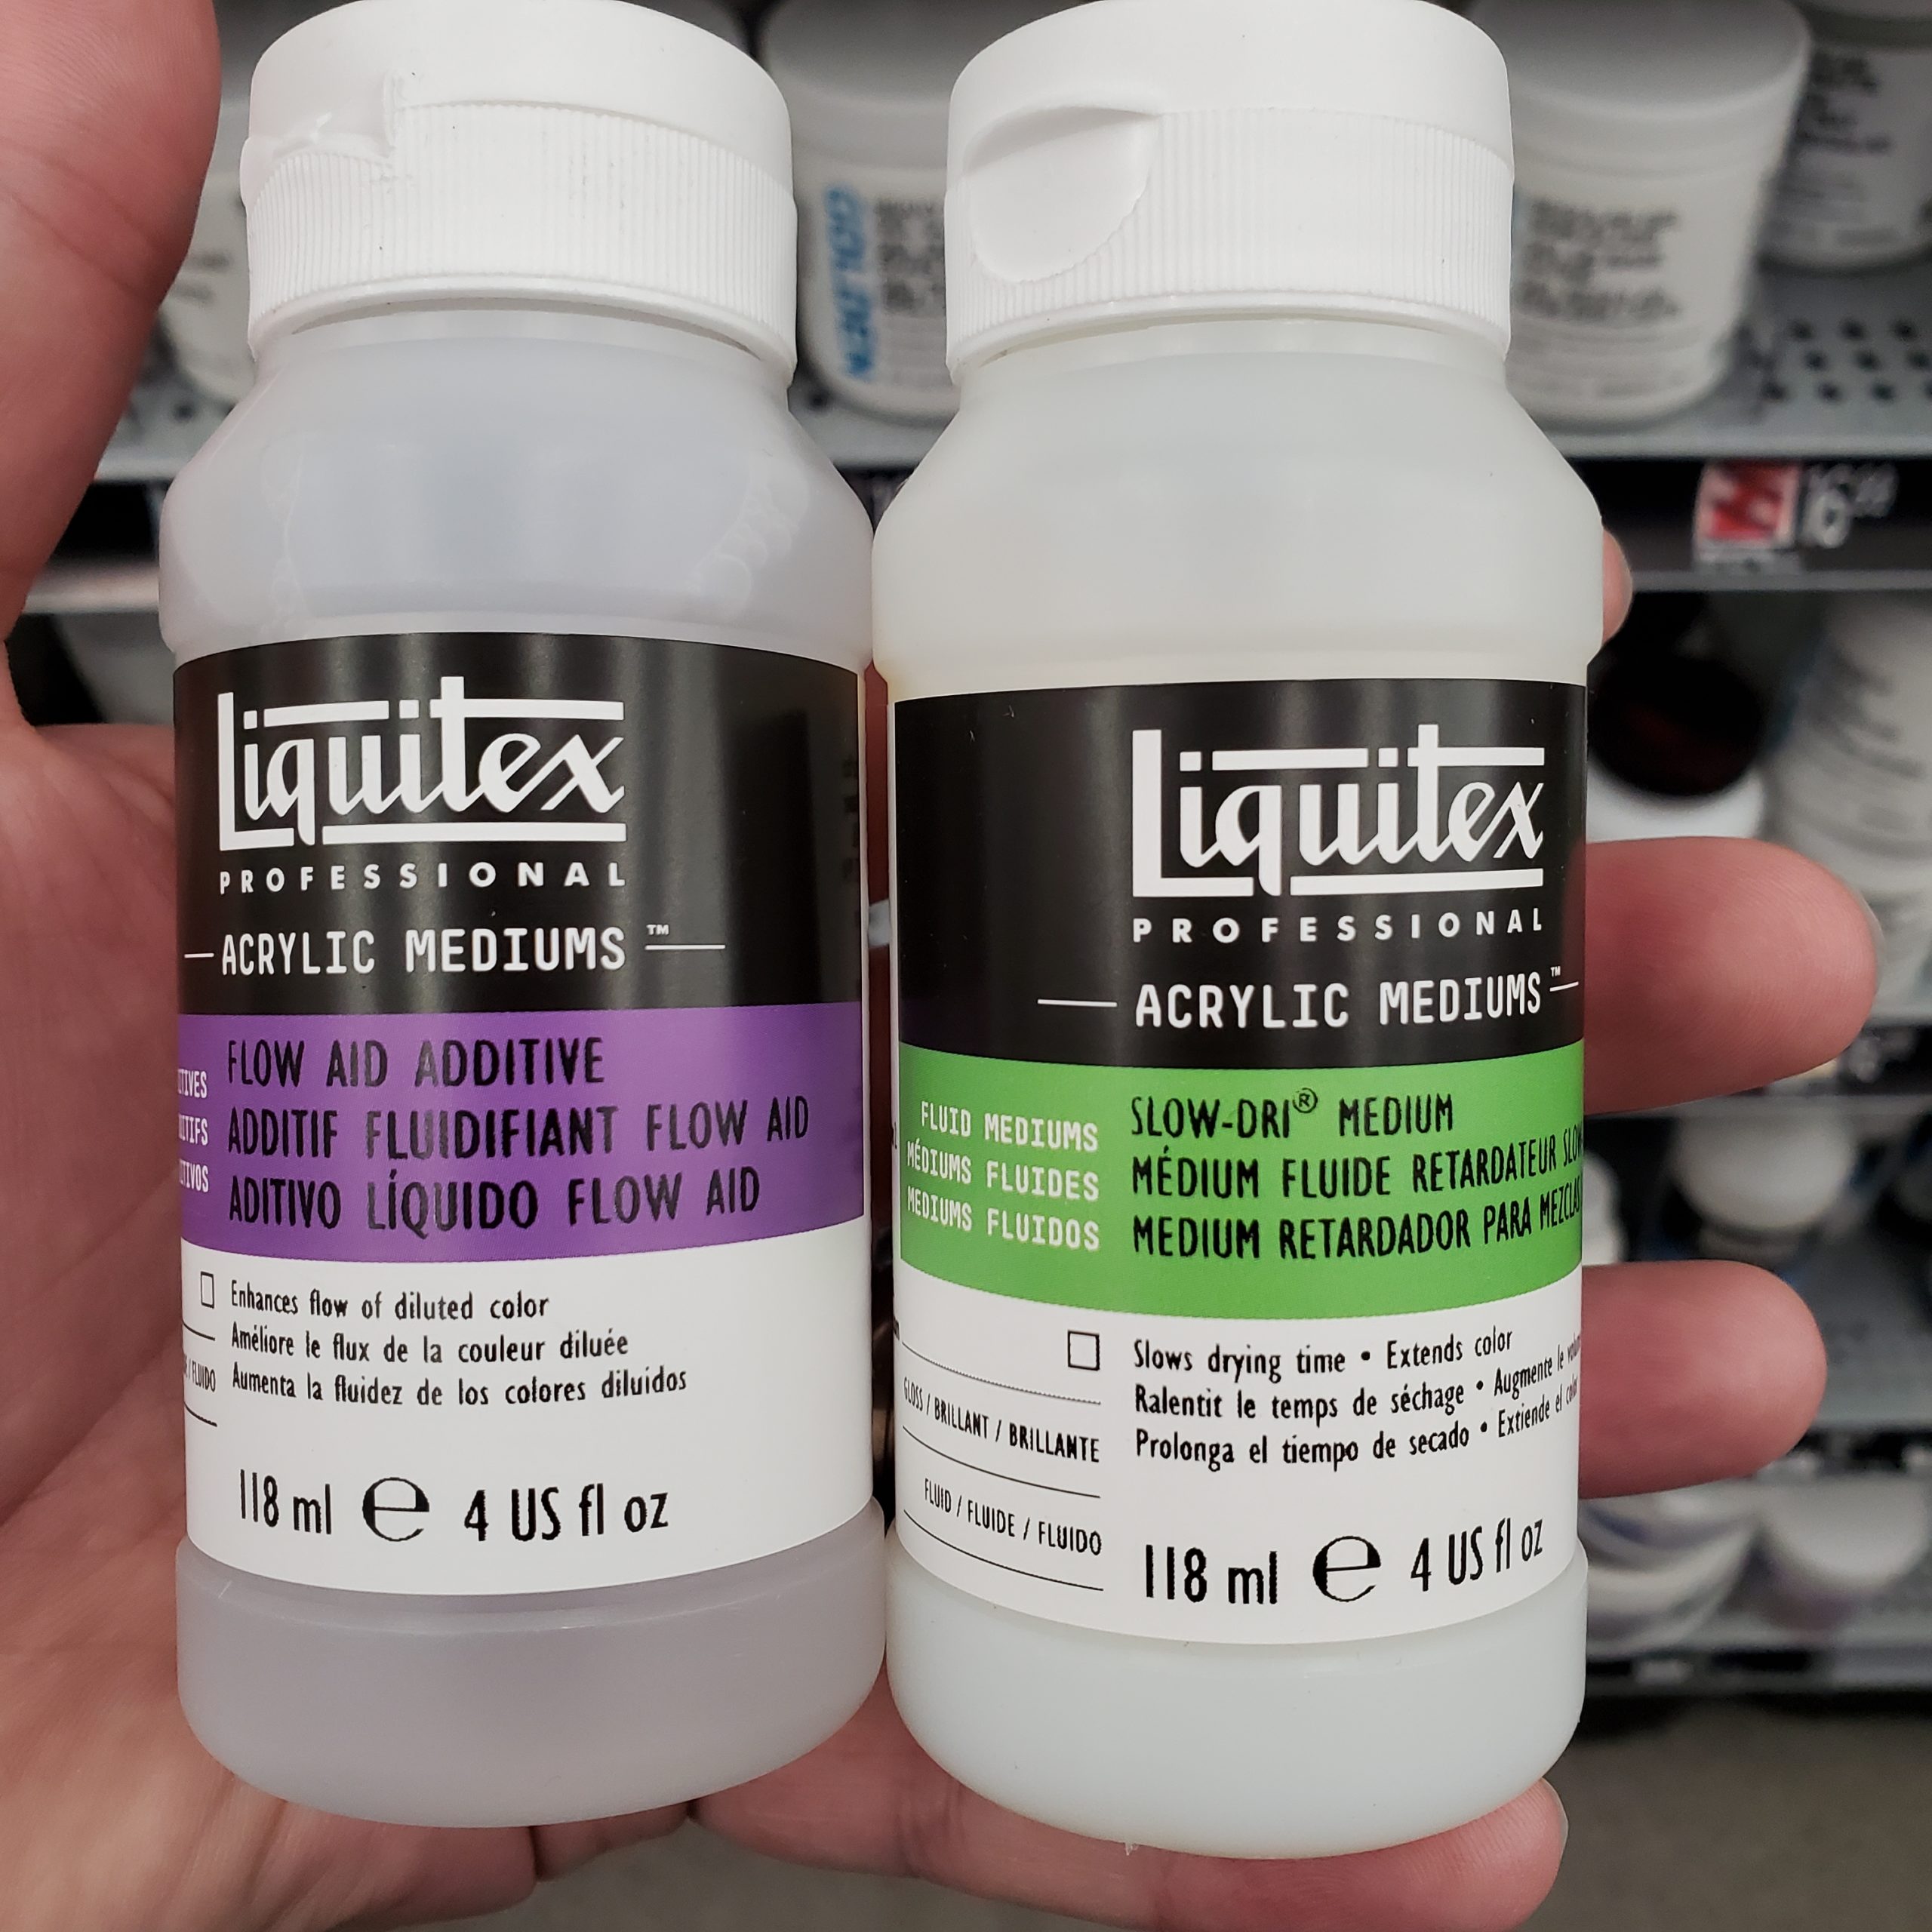
Flo-Aid
I’ve only seen this as a Liquitex product, but Flo-Aid is meant to be a flow improver. It lowers the surface tension of the water element to the paint mixture and makes the fluid looser and more easy to move around. Given the tight confines of the inside of an airbrush, I’ve found this to be a helpful thing to have in my thinning concoction. Note that you often are supposed to thin this with water before use (Liquitex is a 10:1 water to Flo-Aid).
Slo-Dri or Acrylic Retarder
I’ve seen both Liquitex and Golden retarder mediums, and they both do the same thing. The goal here is to elongate the dry time of the paint. While this isn’t often a great thing for airbrushing, it can help fight one of the pain points encountered with acrylics: tip-dry*.
* Tip-dry is when the paint dries out and builds up on the tip of the needle. This blocks some of the paint flow out of the airbrush and it becomes increasingly more and more difficult to get solid coverage. This is a dangerous issue, since the tip of the needle is a very delicate and sharp part of the airbrush, and damaging it can ruin the performance of the tool.
It’s been ages since I’ve mixed the custom cocktail that I stole from someone online that was wiser in the Airbrush arts than myself, and I had to dig into the crusty old parts of the internet to find the recipe. After some searching, I remembered that it was Schnauzerface‘s recipe I was using, and I found him commenting on a CMON forum post (here) with his recommendation:
I usually recommend 50% distilled water, 40% drying retarder, and 10% flow aid. I try not to go too heavy on the flow aid, as a little bit goes a long way. The drying retarder works well to avoid tip dry, so I like to throw a lot of it in there.
– Andrew, aka. SchnauzerFaceMinis
Pulling It All Together…
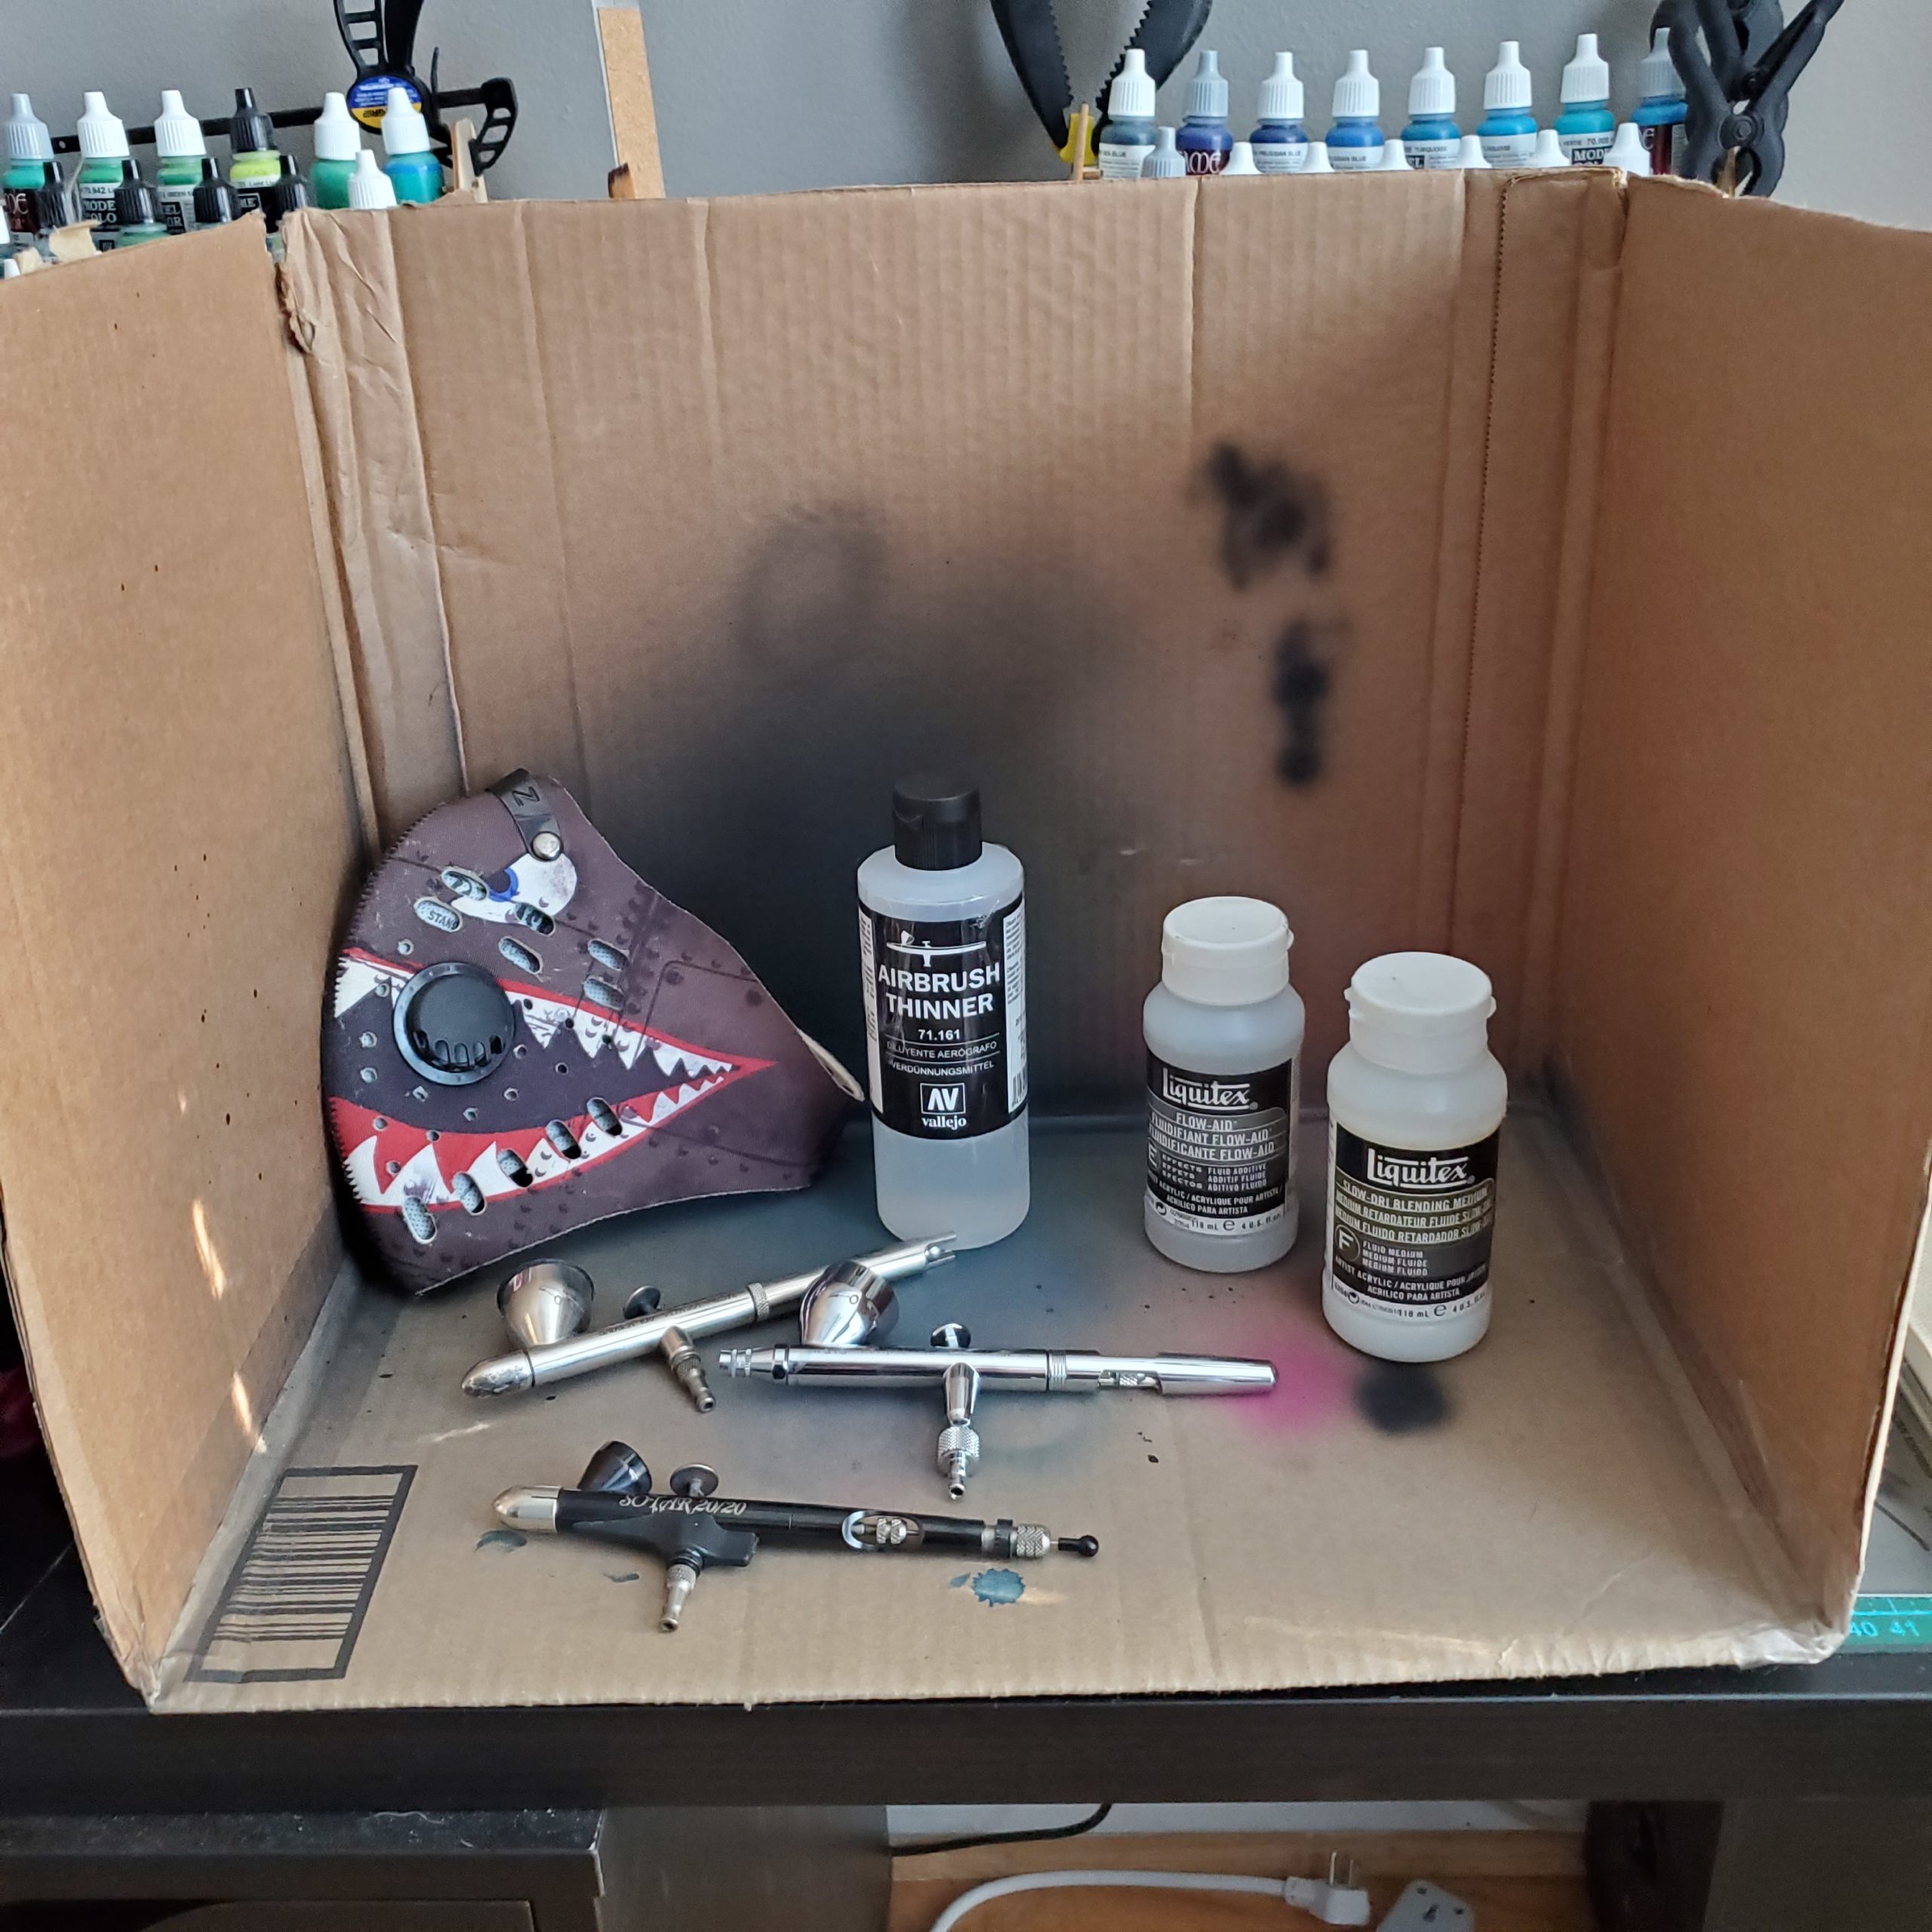
Ok, so that’s a lot. At the end of it all, here’s my recommendation on what to buy to get started:
- Compressor: Badger Aspire or Iwata Sprint Jet IS-800
- Hose: compressor compatible hose
- Airbrush: Badger Patriot 105
- Quick Disconnects for EVERYTHING (possibly only one set needed if your compressor and airbrush are from the same manufacturer)
- Thinner additives: Liquitex Slo-Dri Retarder Medium Liquitex Flo-Aid (both easily found at your local paint or craft supply shop)
- Tattoo Bottles (at least three – thinner, water, and isopropyl alcohol)
- Plastic drink cups (for dumping/spraying into while cleaning the airbrush)
- Cardboard box (cut away one side to act as a spray booth)
- Face mask (you should have plenty of these by now)