[Studio Update] Armored YT-1300 Commission

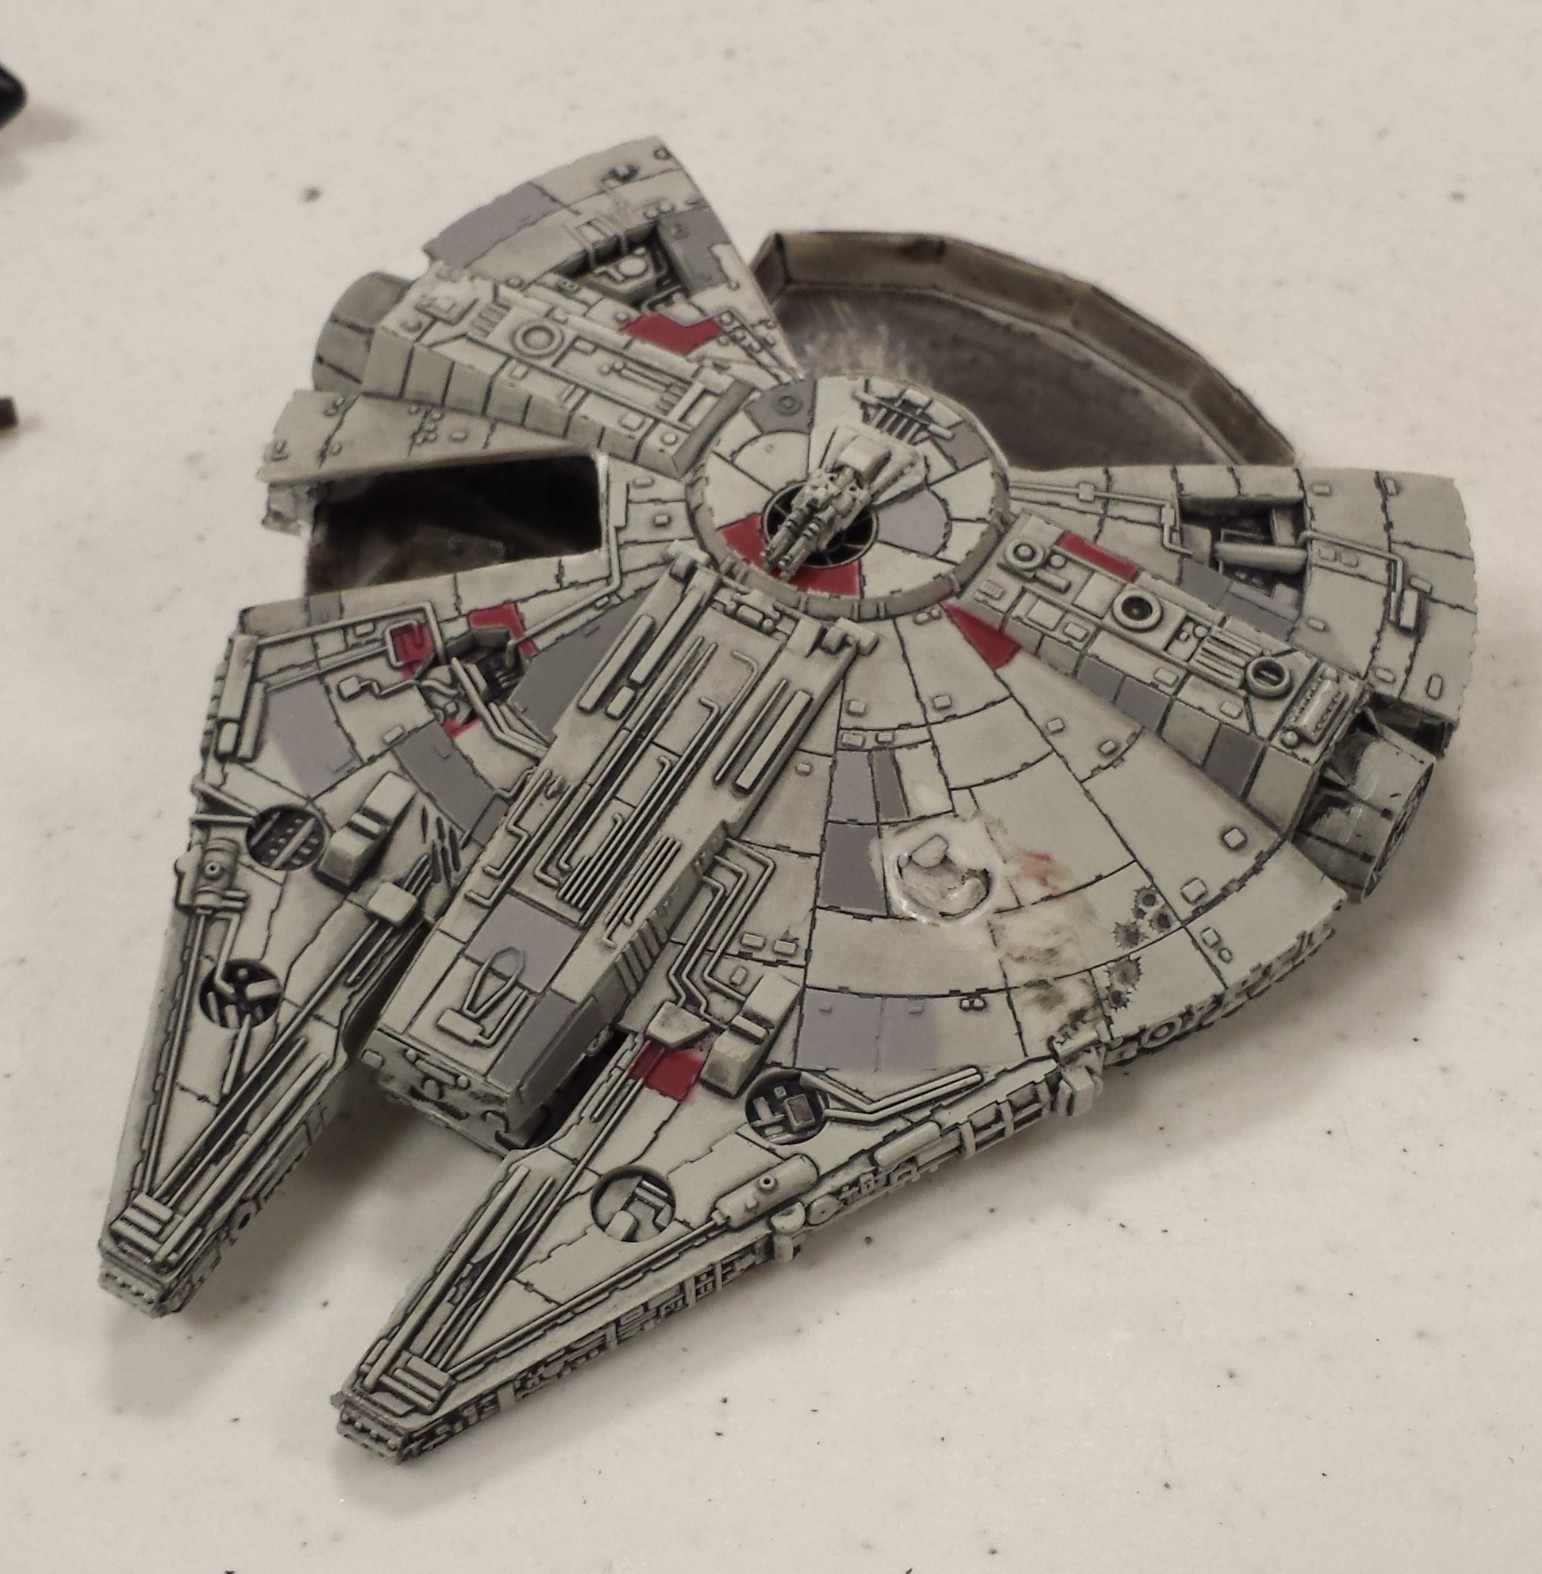
A while back, a buddy of mine (Northblade of Hobby Hysteria) ran across this awesome X-Wing Armored YT-1300 conversion by RobJedi.

He contacted me about replicating this, and I recently got started working on it, following RobJedi’s blog as a guide.
I started with some destruction. I used a cutting wheel on my dremel to cut out the cockpit, hallway, and the rear quarter of the ship. I also cut off the small front pieces in between the mandibles.
I cut out some pieces from 0.5mm thick polystrene, and fit them into the holes left by the cockpit.

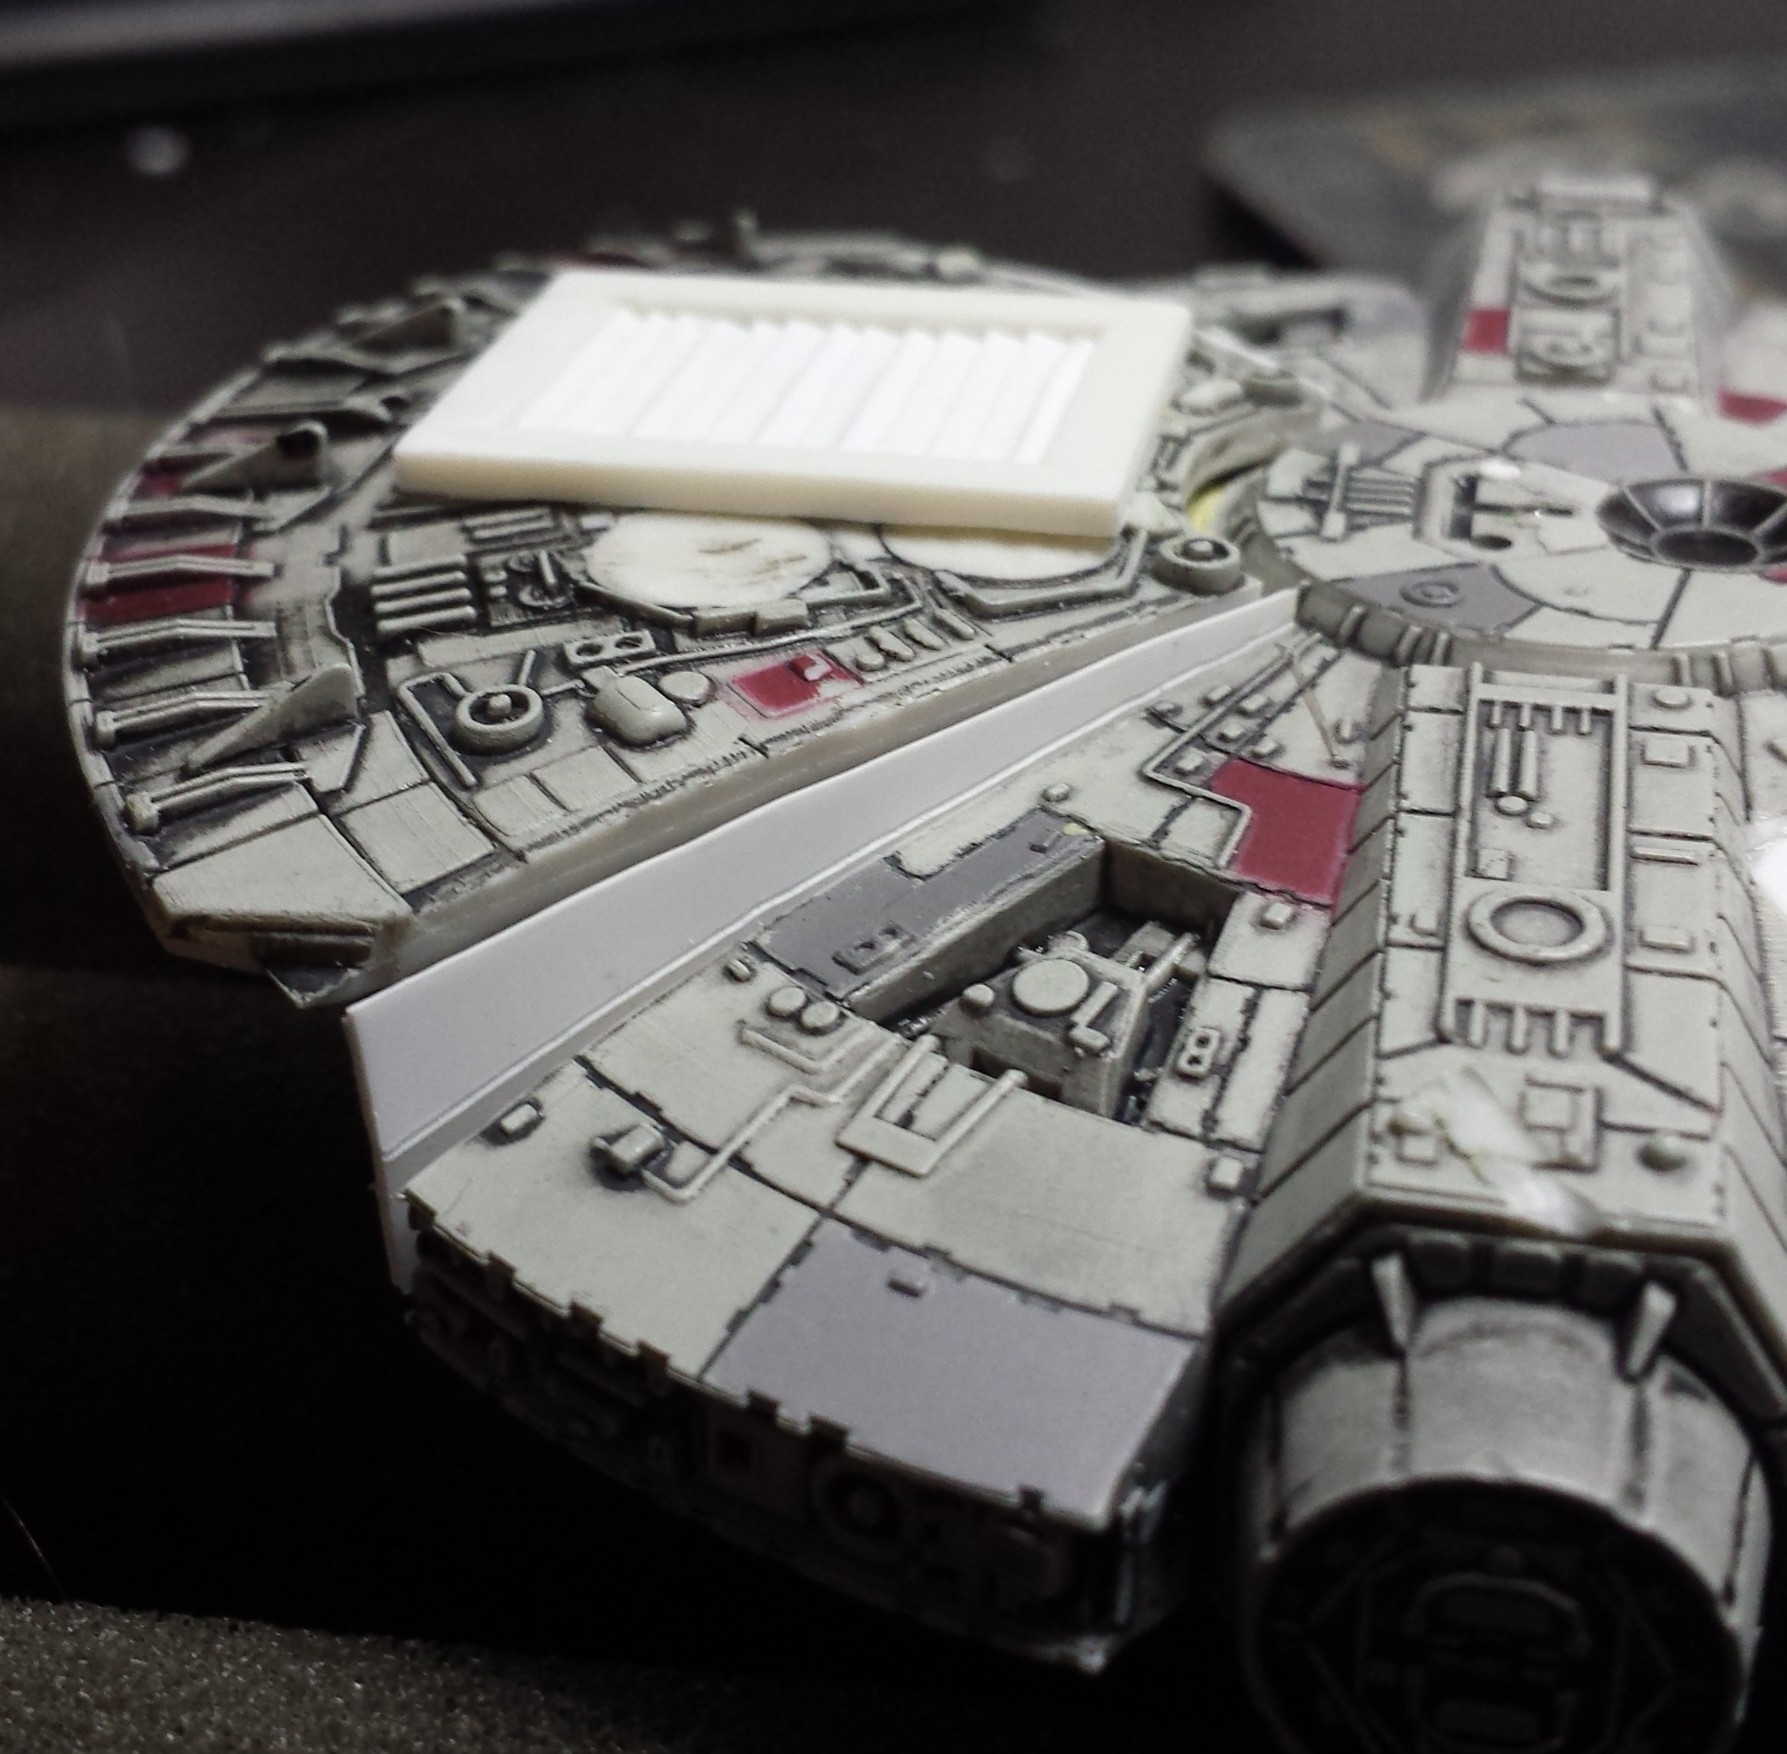
After that, I started working on the new cockpit, located between the mandibles. I took lots of measurements with a set of calipers and used my fancy new Tamiya Scribing Tool to cut out the panels I needed. I’ve been trying to take notes on all my measurements, in case I make another one of these.
I started with the bottom part, since it’s anchored off the existing central channel.
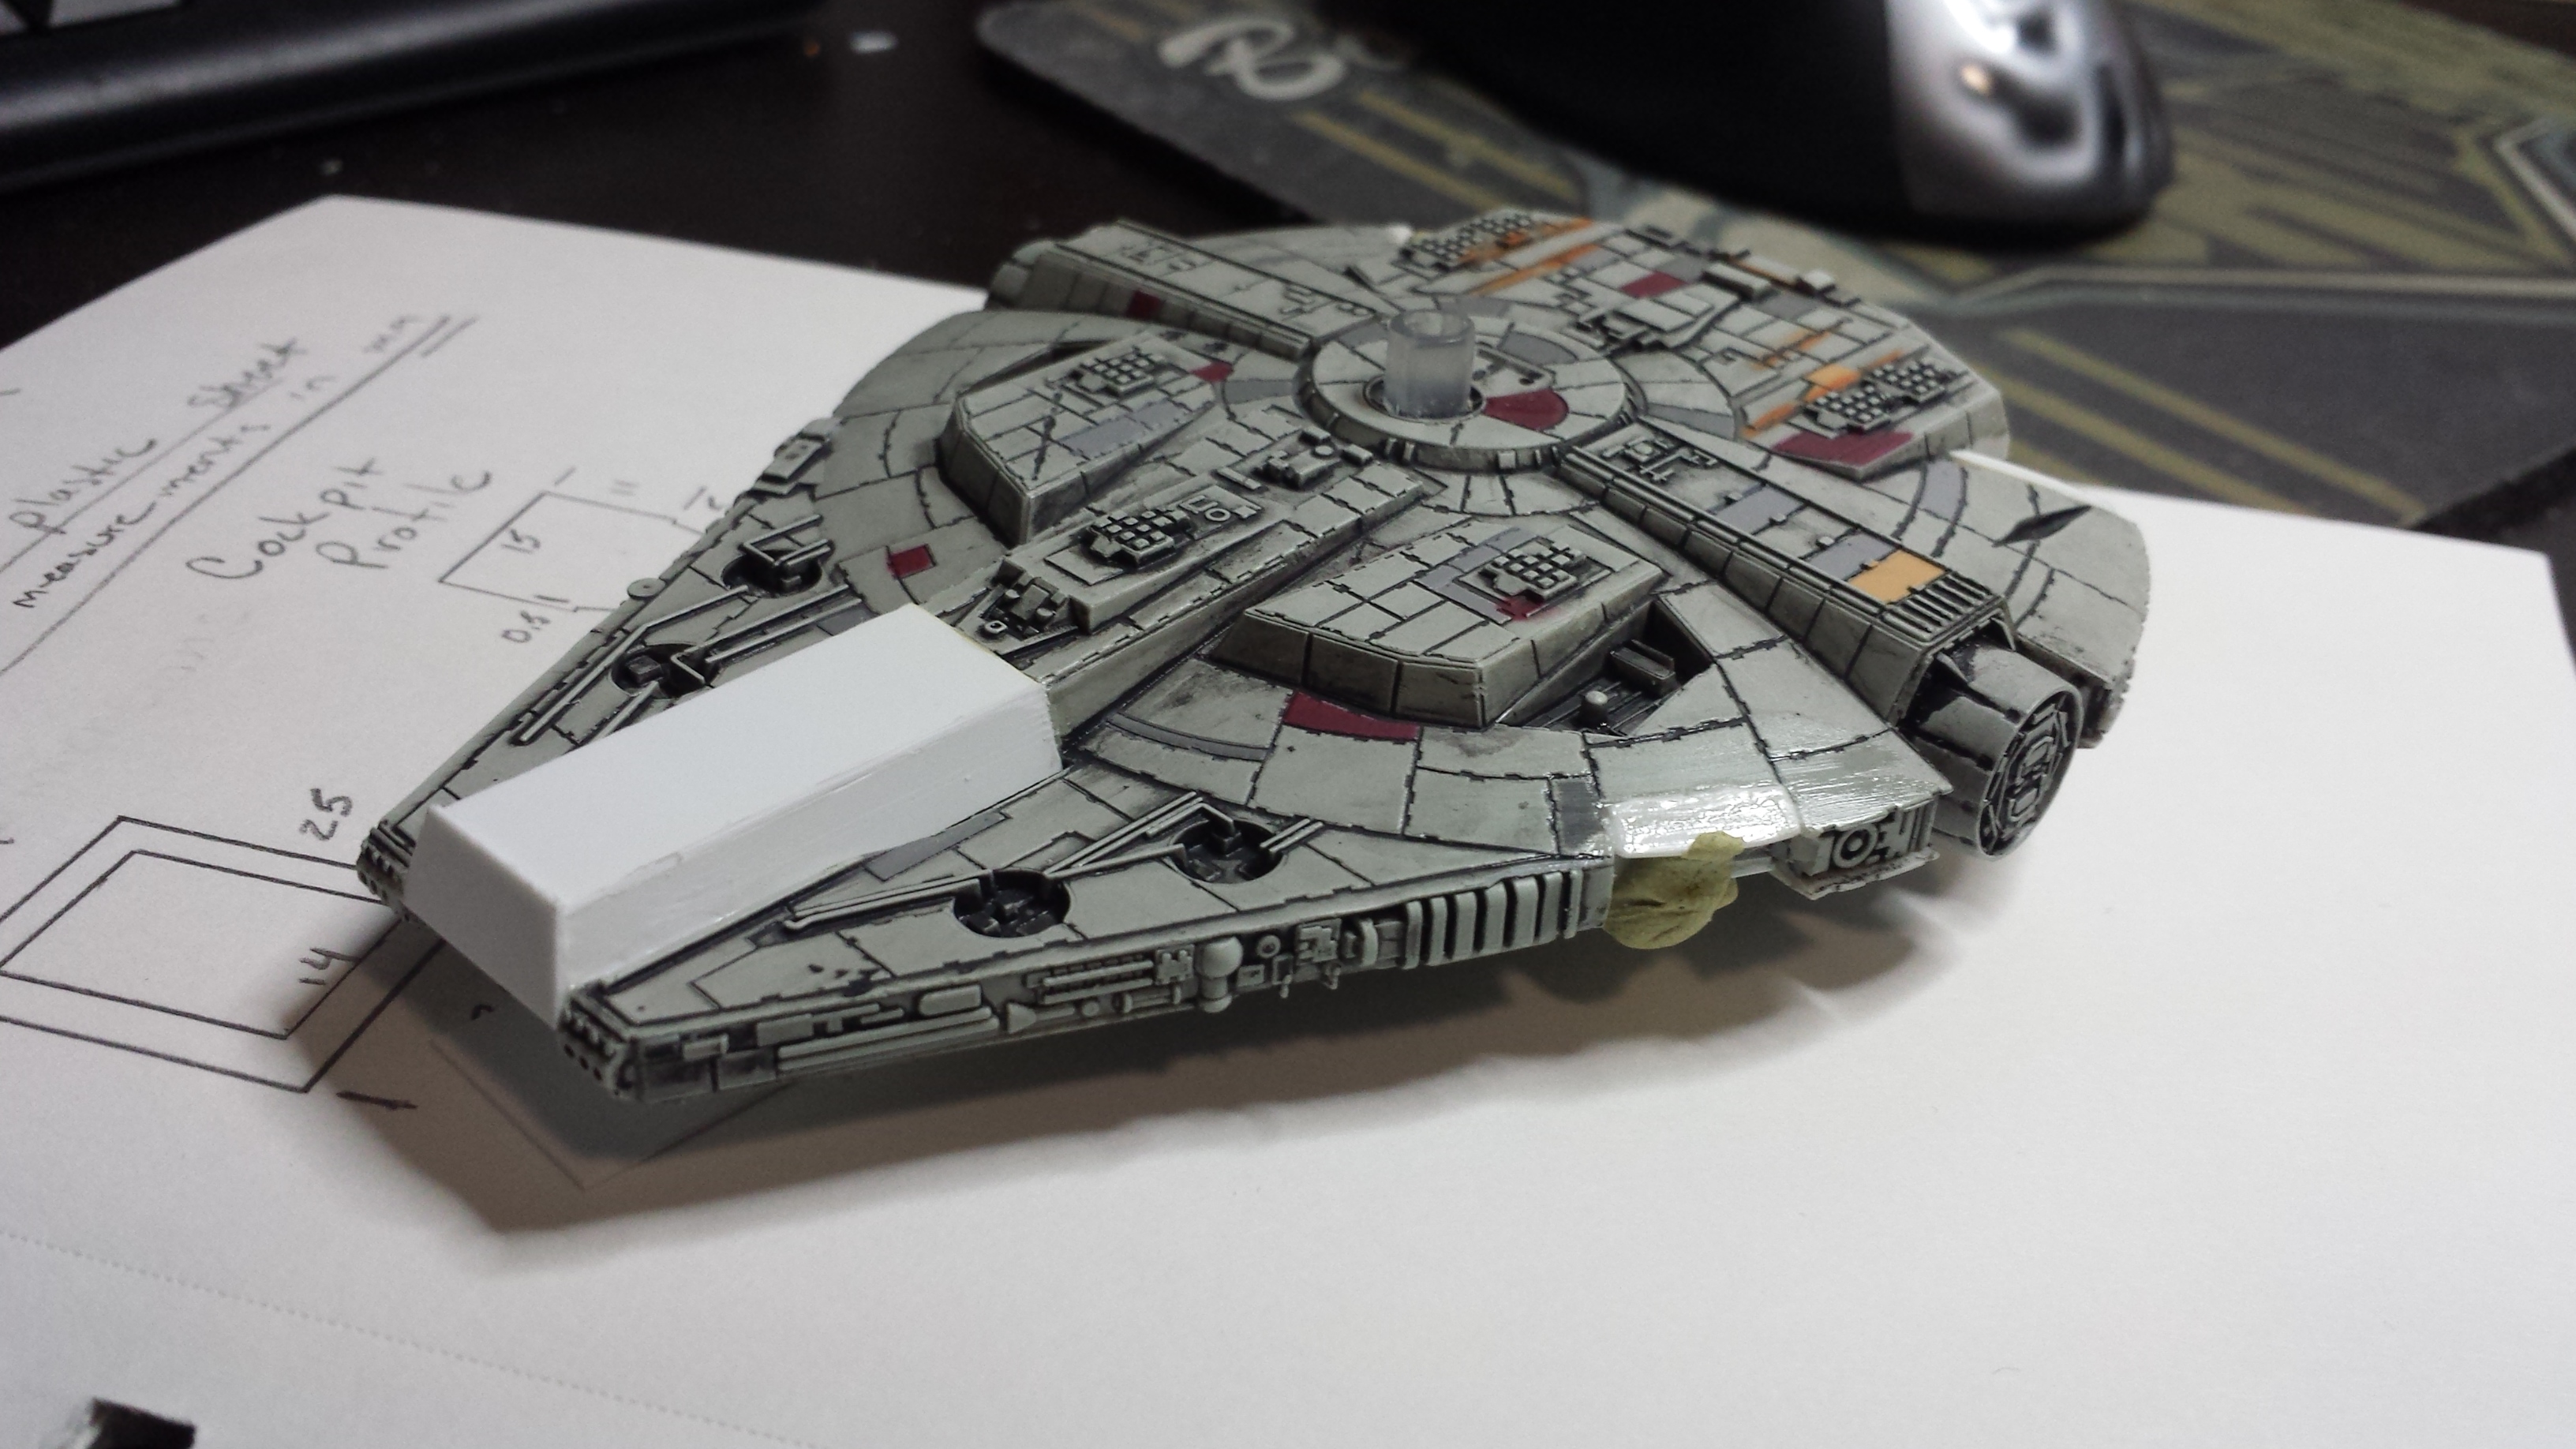
Then I added in some uprights. These were cut to fit into the angled bottom, and would give me a structure for building the upper half.
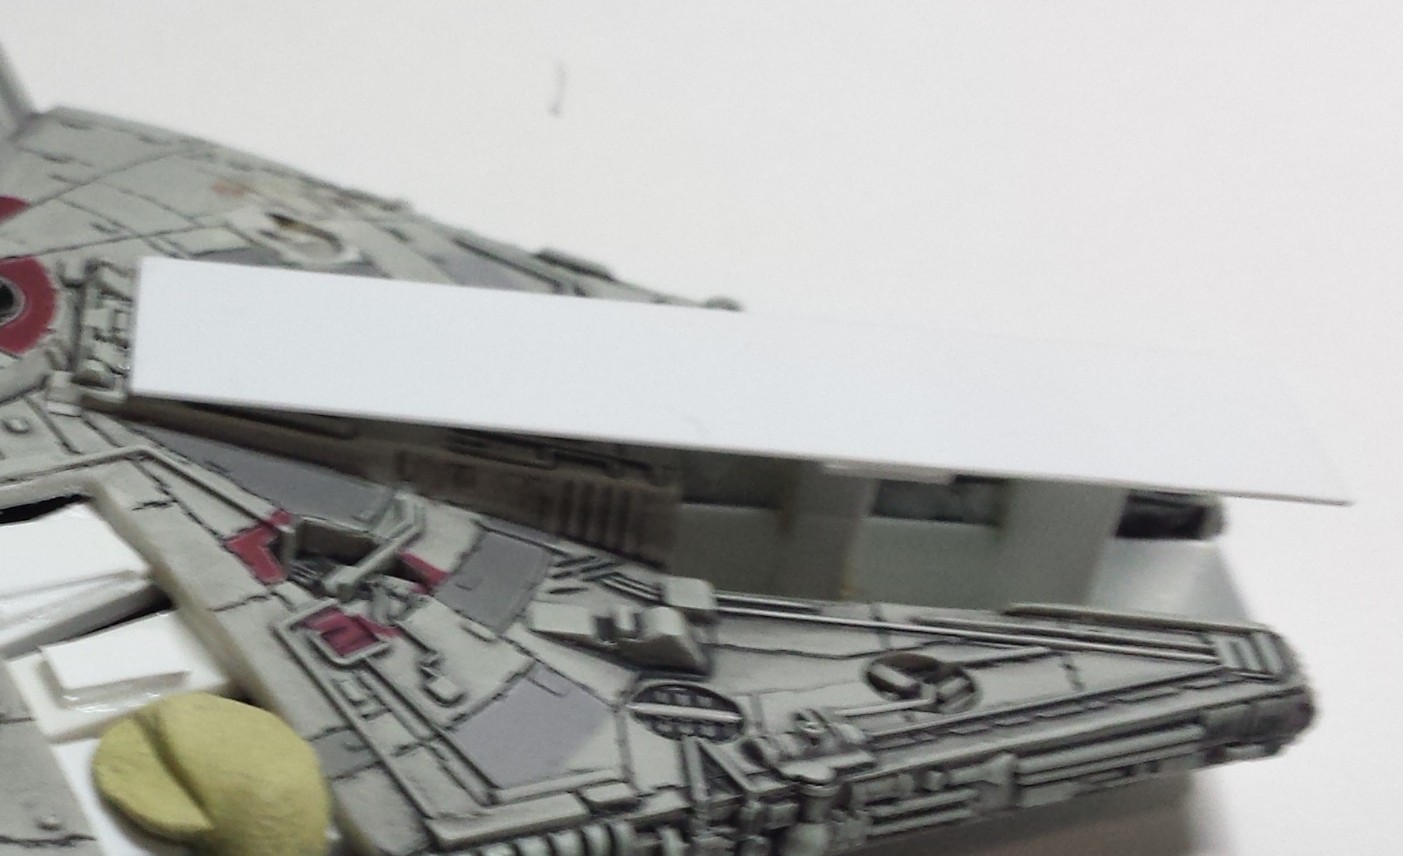
Once the top was in place, I added the taper using the scriber and hobby knife. Once that was done, I was able to build the sides. The cockpit windows were cut out, and simply backed with a small piece of scrap polystyrene.
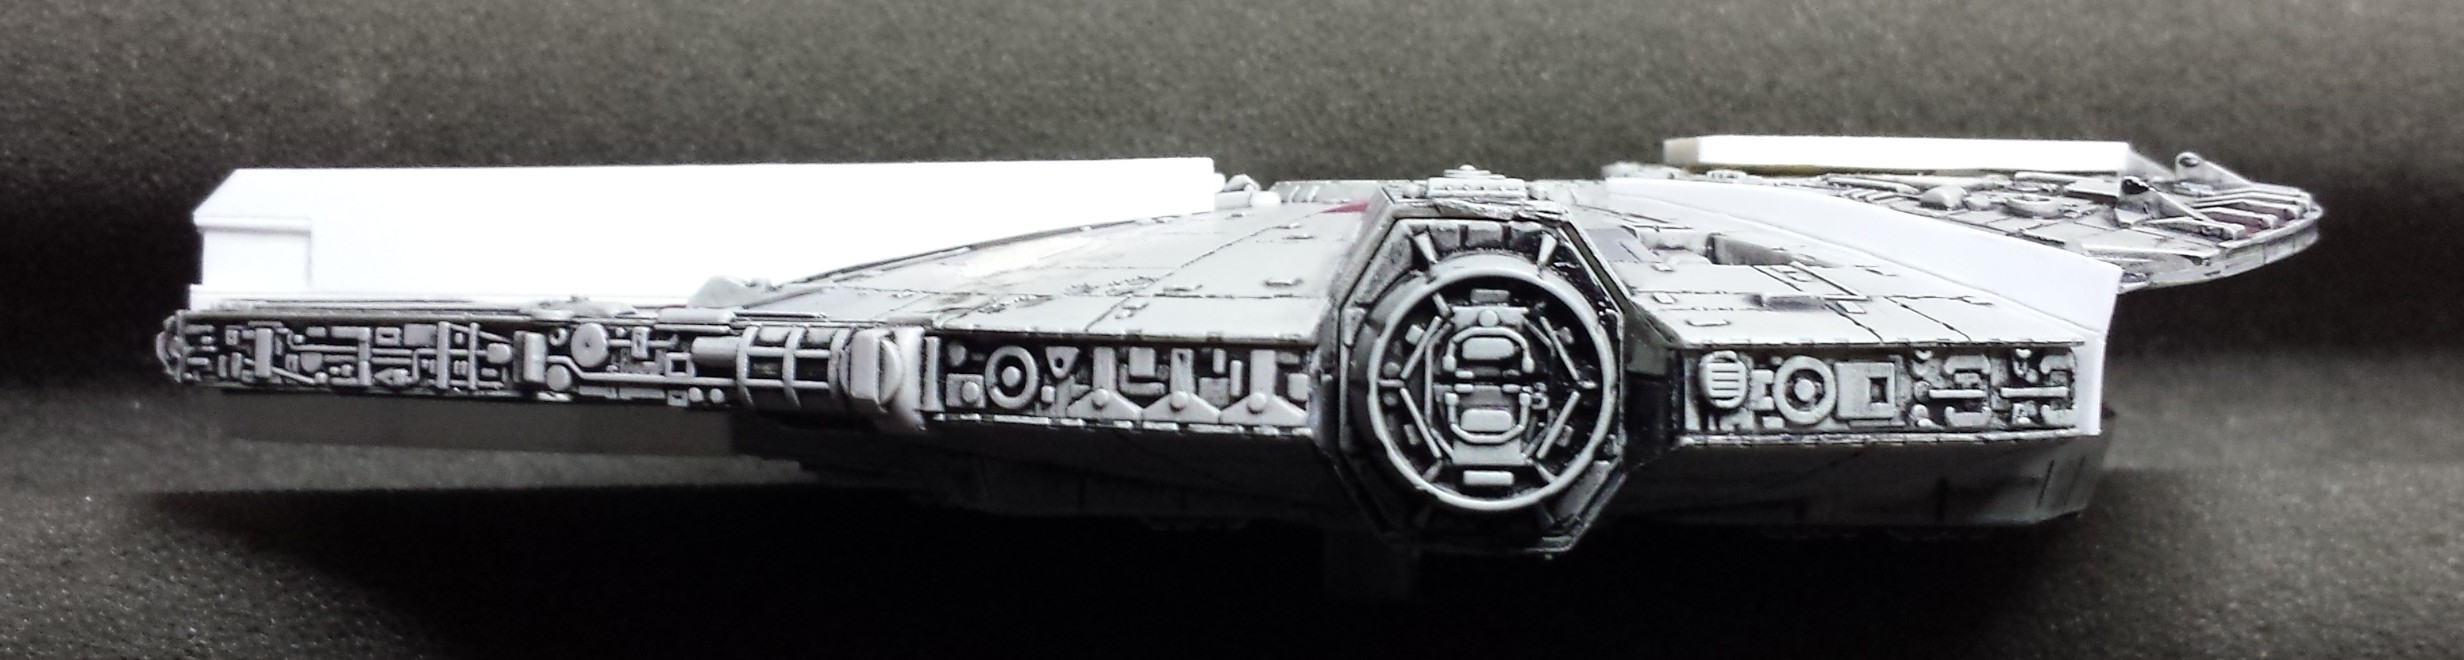
The engine area got a similar treatment. I used a huge blob of Sticky Tac to hold the engine cover where I wanted it, and then built the side supports around it. This area isn’t glued in yet because I need to build the engines first while it’s easy to get access to the area.
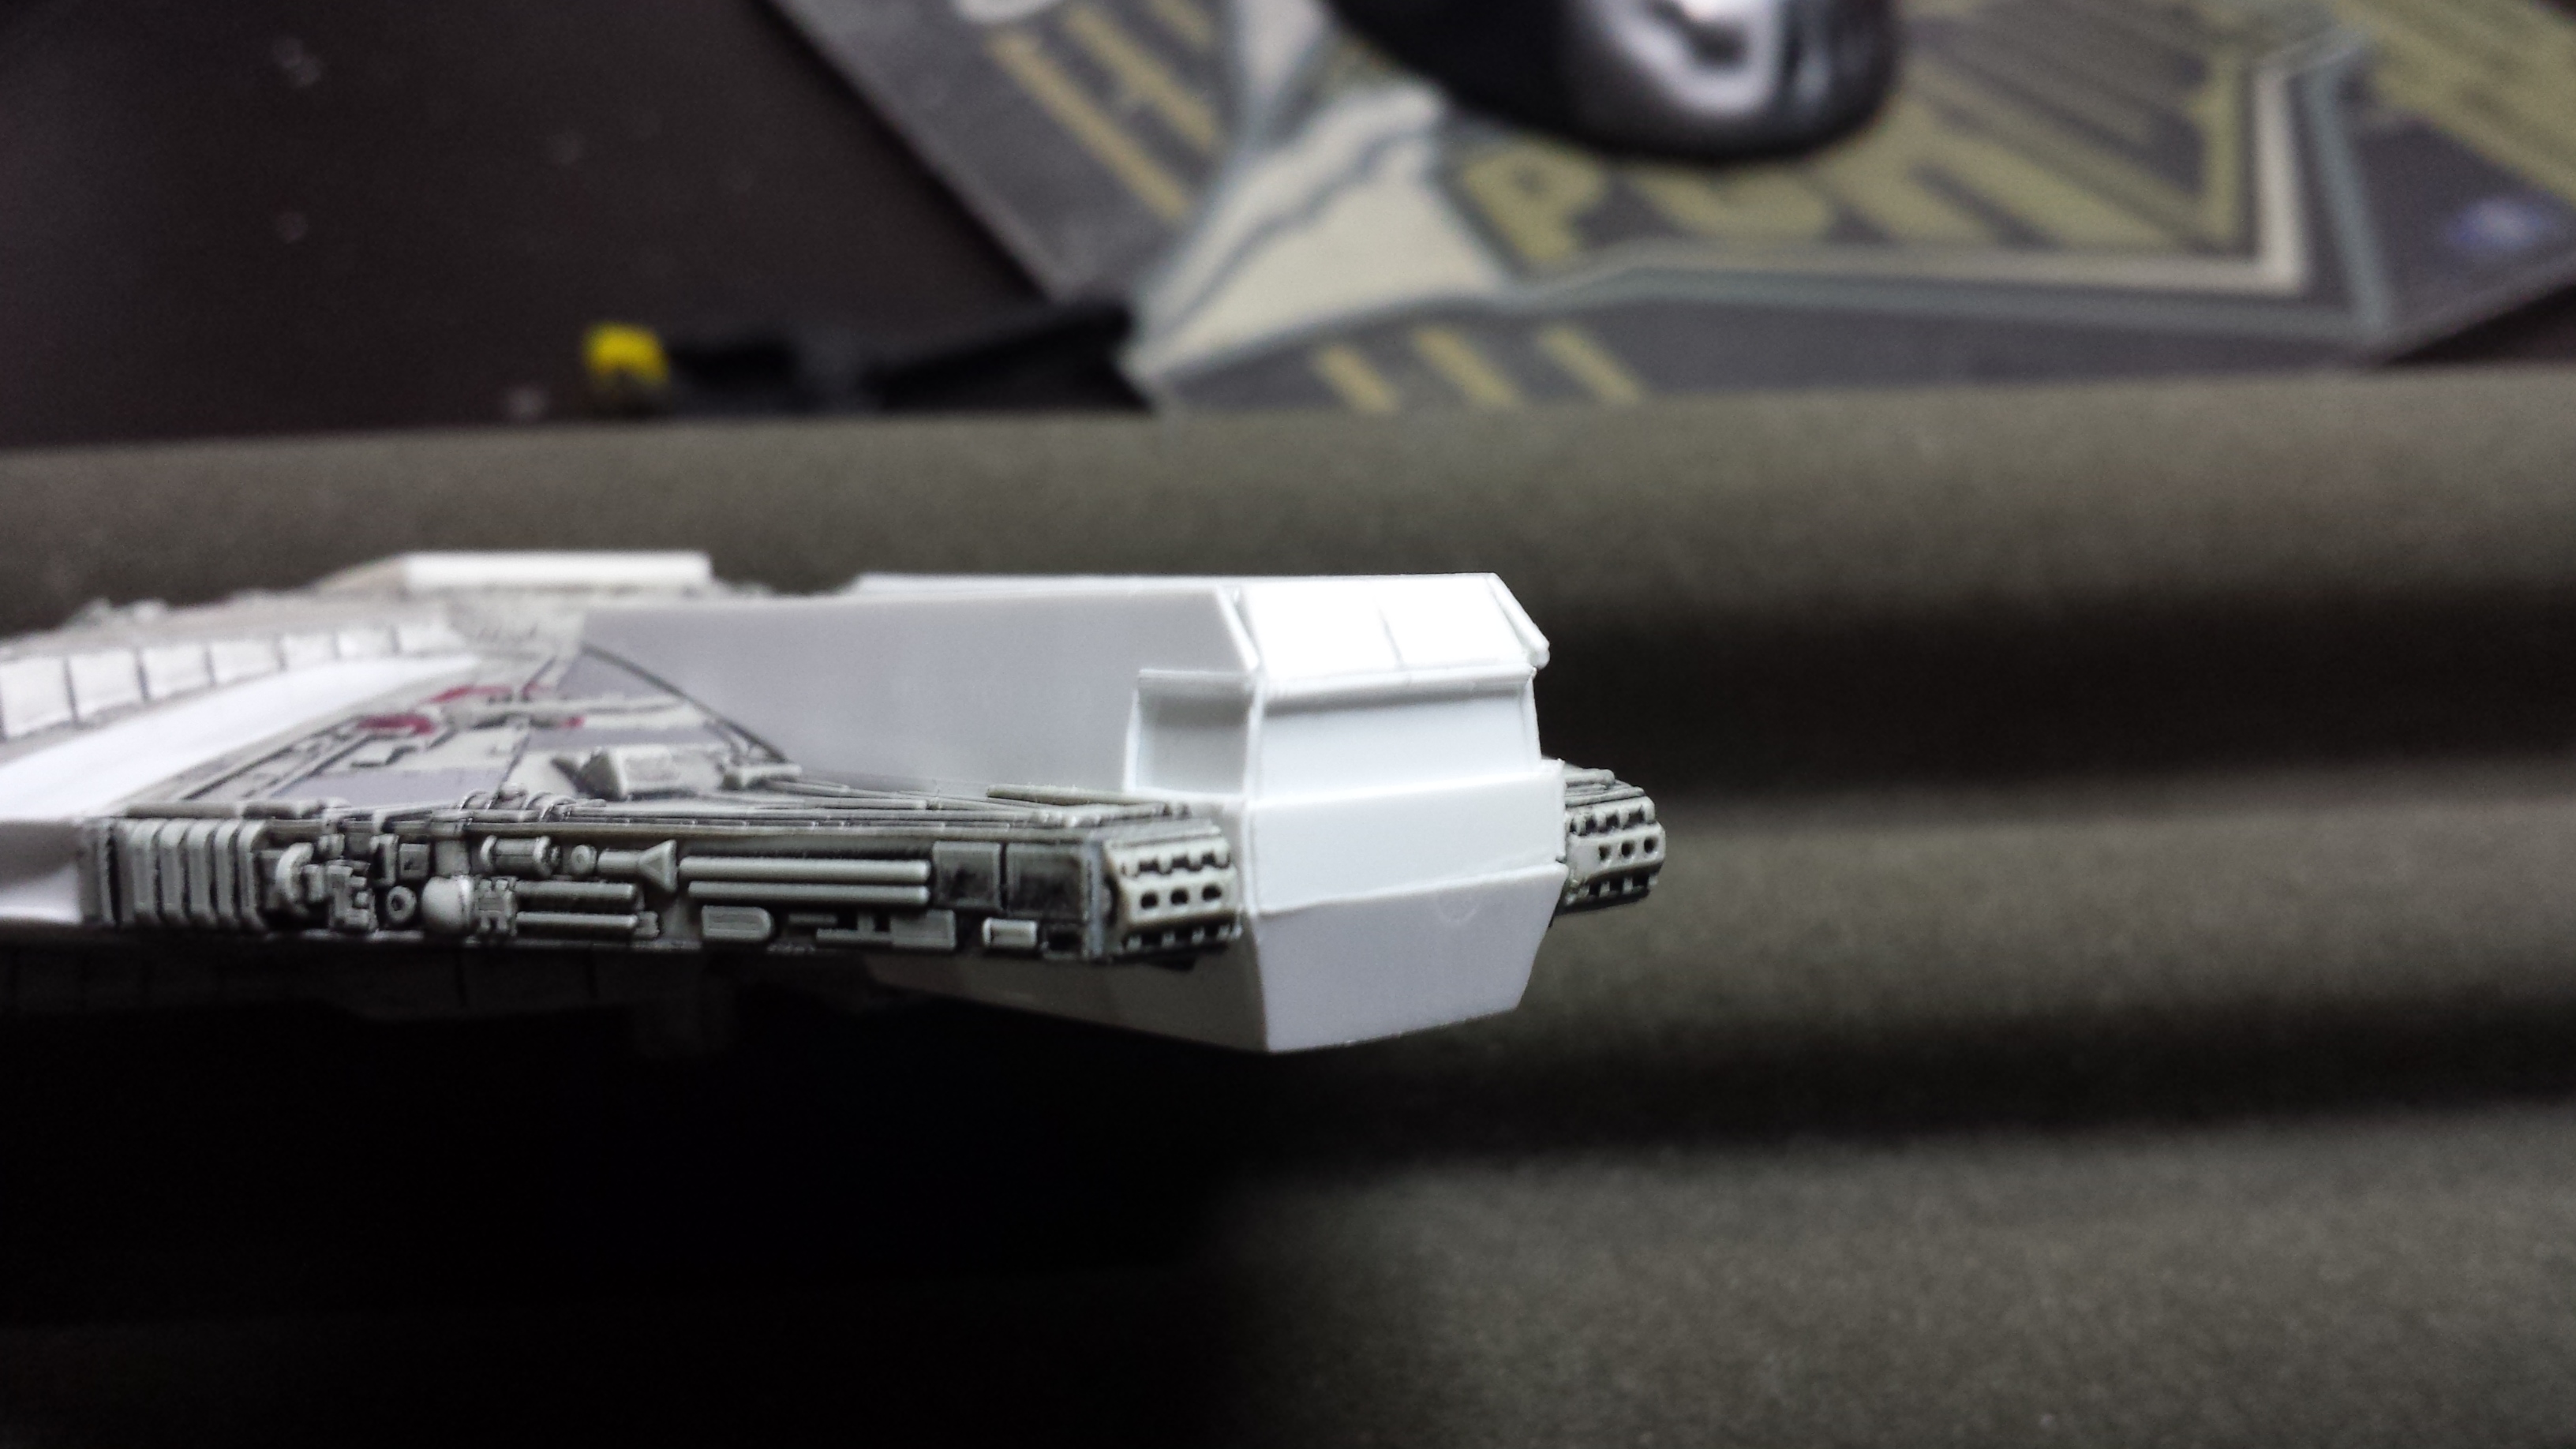
The Armored variant has a different look to the rear end, so I used a dremel to remove the six circular vents and I built a rectangular one. The frame is built out of strips of 1.5mm thick polystyrene, and the vent louvers are just 0.5mm thick strips layered on top of each other, sitting at about a 45 degree angle.
RobJedi built his engine cover completely from scratch, but that level of effort is beyond my capabilities right now, so I’m re-using the one from the original kit. It has a bit of a curve in it from the domed shape of the YT-1300’s body, but it still cuts a good profile once the back edge has been raised up.
That’s all I have on this project for now. The next steps involve building the engines, adding all the missing panel lines on the new construction, and adding all the bazillion little detail bits all over the ship.
Cheers!

Approved.
Yes! I can finally die happy now…
This is a sweet conversion! I’m looking forward to you going mad…er…your next update. ;D
This is awesome. I had been kicking around the idea of making the up-armored Y-wing as a conversion, and now I’m pretty inspired to go try it.
Wow, very cool!
I have been looking at the X-wing game, but now that they are coming out with Armada with the capital ships…. I was unsure when X-wing first came out, I saw the prices and knew they were pre painted. I was stupid and assumed it was a rip off, but seeing the ships up close they are really well painted for pre paints. I have been looking for another game to replace Battle Fleet Gothic, and the Star Wars: Armada will hopefully scratch the large ship space battle itch.
I do think I will pick up a Slave I from X-wing, just because.
Anyways… How does converting for X-Wing work? Is it allowed? Is that the only way you can get different ships? Just wondering if it is for the game, or just for personal preference.
-Bearded Dwarf
I’m not sure how conversions in X-Wing are dealt with. I’ve not played the game in anything but a kitchen table setting.