Beyond basic basing – Part 2
I hope you enjoyed the first part of the basing tutorial from Mugu. Now that he’s got all the bits and parts necessary, let’s see the magic happen!
Welcome back to Part 2 in our basing article! So have you been out rummaging around in your children’s toy boxes, taking apart those old FM radios in your garage, and permissively looting your friends broken models in their bits boxes?
One thing I didn’t mention in the first article is the big “Why” in doing what I like to do with bases. Essentially, Privateer Press models aren’t very easy to convert or change, especially the metal ones. Its not impossible or even very hard, depending on the model, but it take practice and sometimes skill to pull off a good looking conversion. But almost anyone can make a good looking base and more or less customize it to individual tastes. You can also use bases to tie and army’s theme together, for example you can make an all mercenary pirate army that has wooden planks and maybe some other things you’d find on a pier or ship on it or a Cygnar army that has lots of sandbags and maybe some planking as well to show that it has been involved in a lot of trench fighting.
While I do, as I stated earlier, tend to make my bases and then try to figure out how to attach my miniature to it later, I do look at the miniature to try to lessen the chance that I’ll make a base that just won’t work with the miniature at all (which I have done in the past). Most of the bloodgorgers have roughly the same stance, walking forward with one foot in front of the body and the other behind the body, but unfortunately they have a loin cloth/tabard thing which means we really can’t have them stepping over something unless I remove the loincloth or have each foot on a raised rock/step/skull/etc.
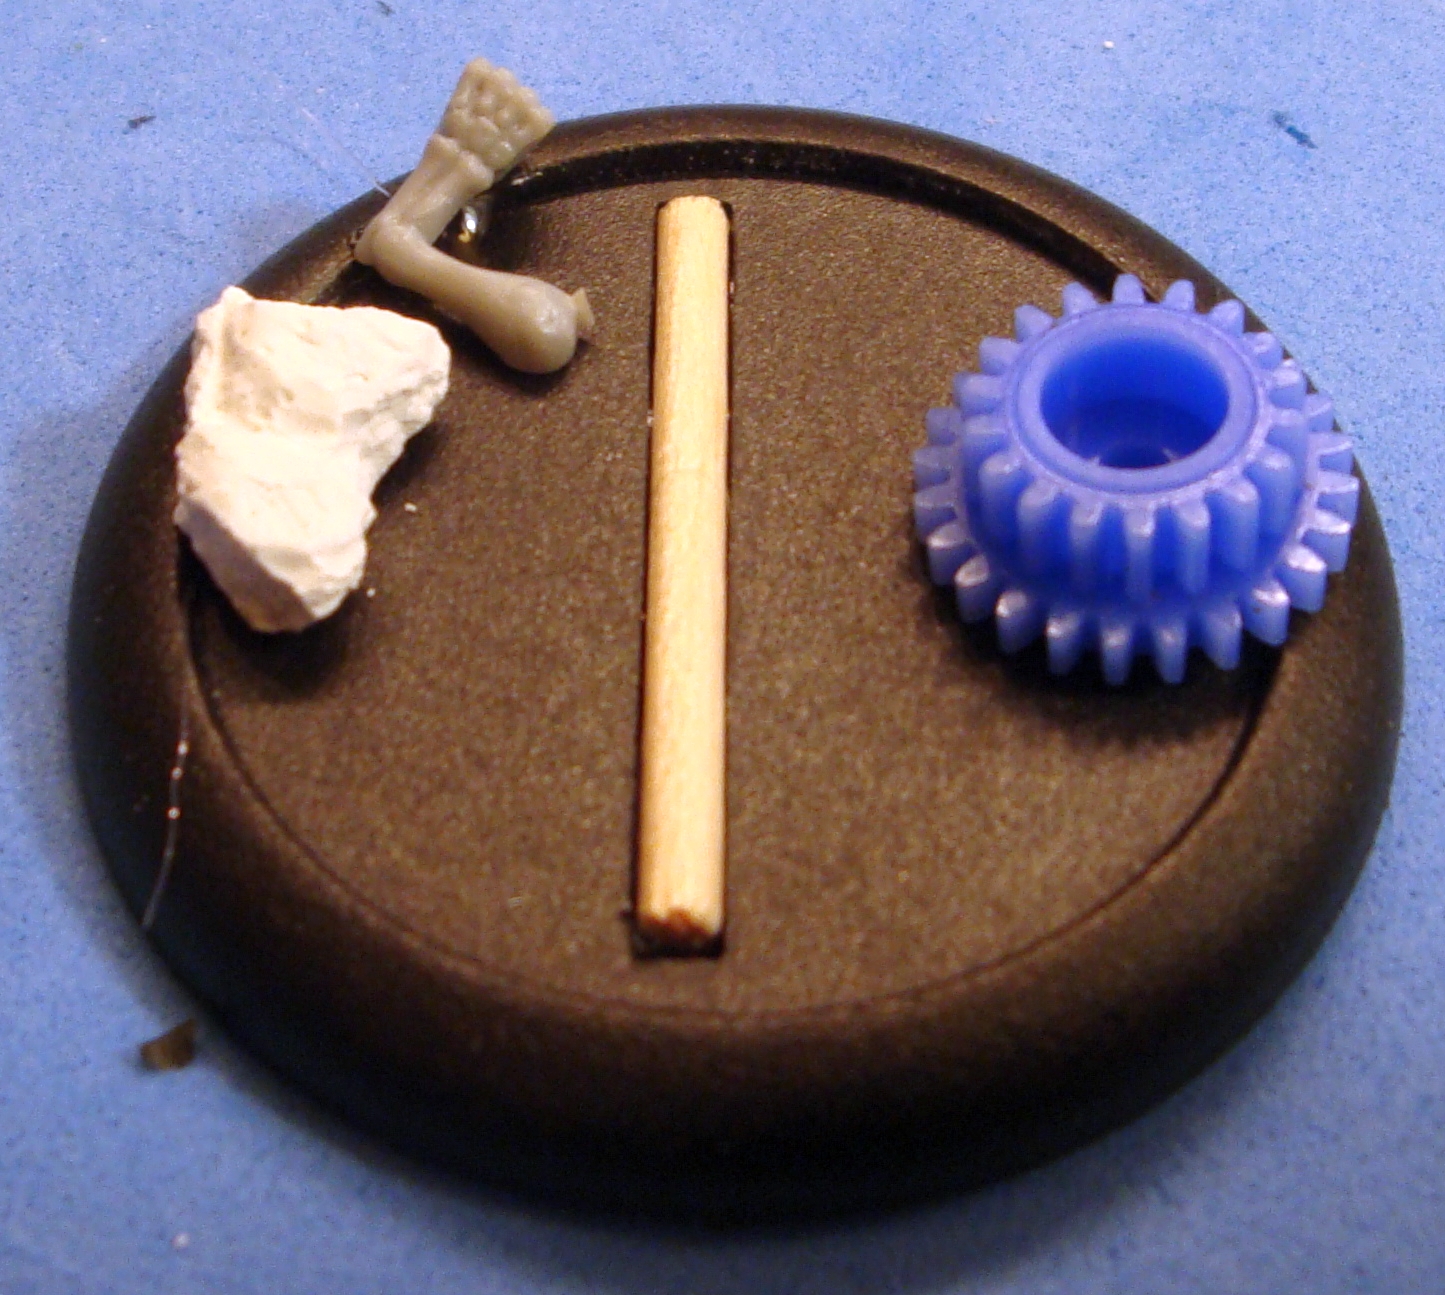
My first step will be to fill in the slot with a craft stick very similar to a toothpick.
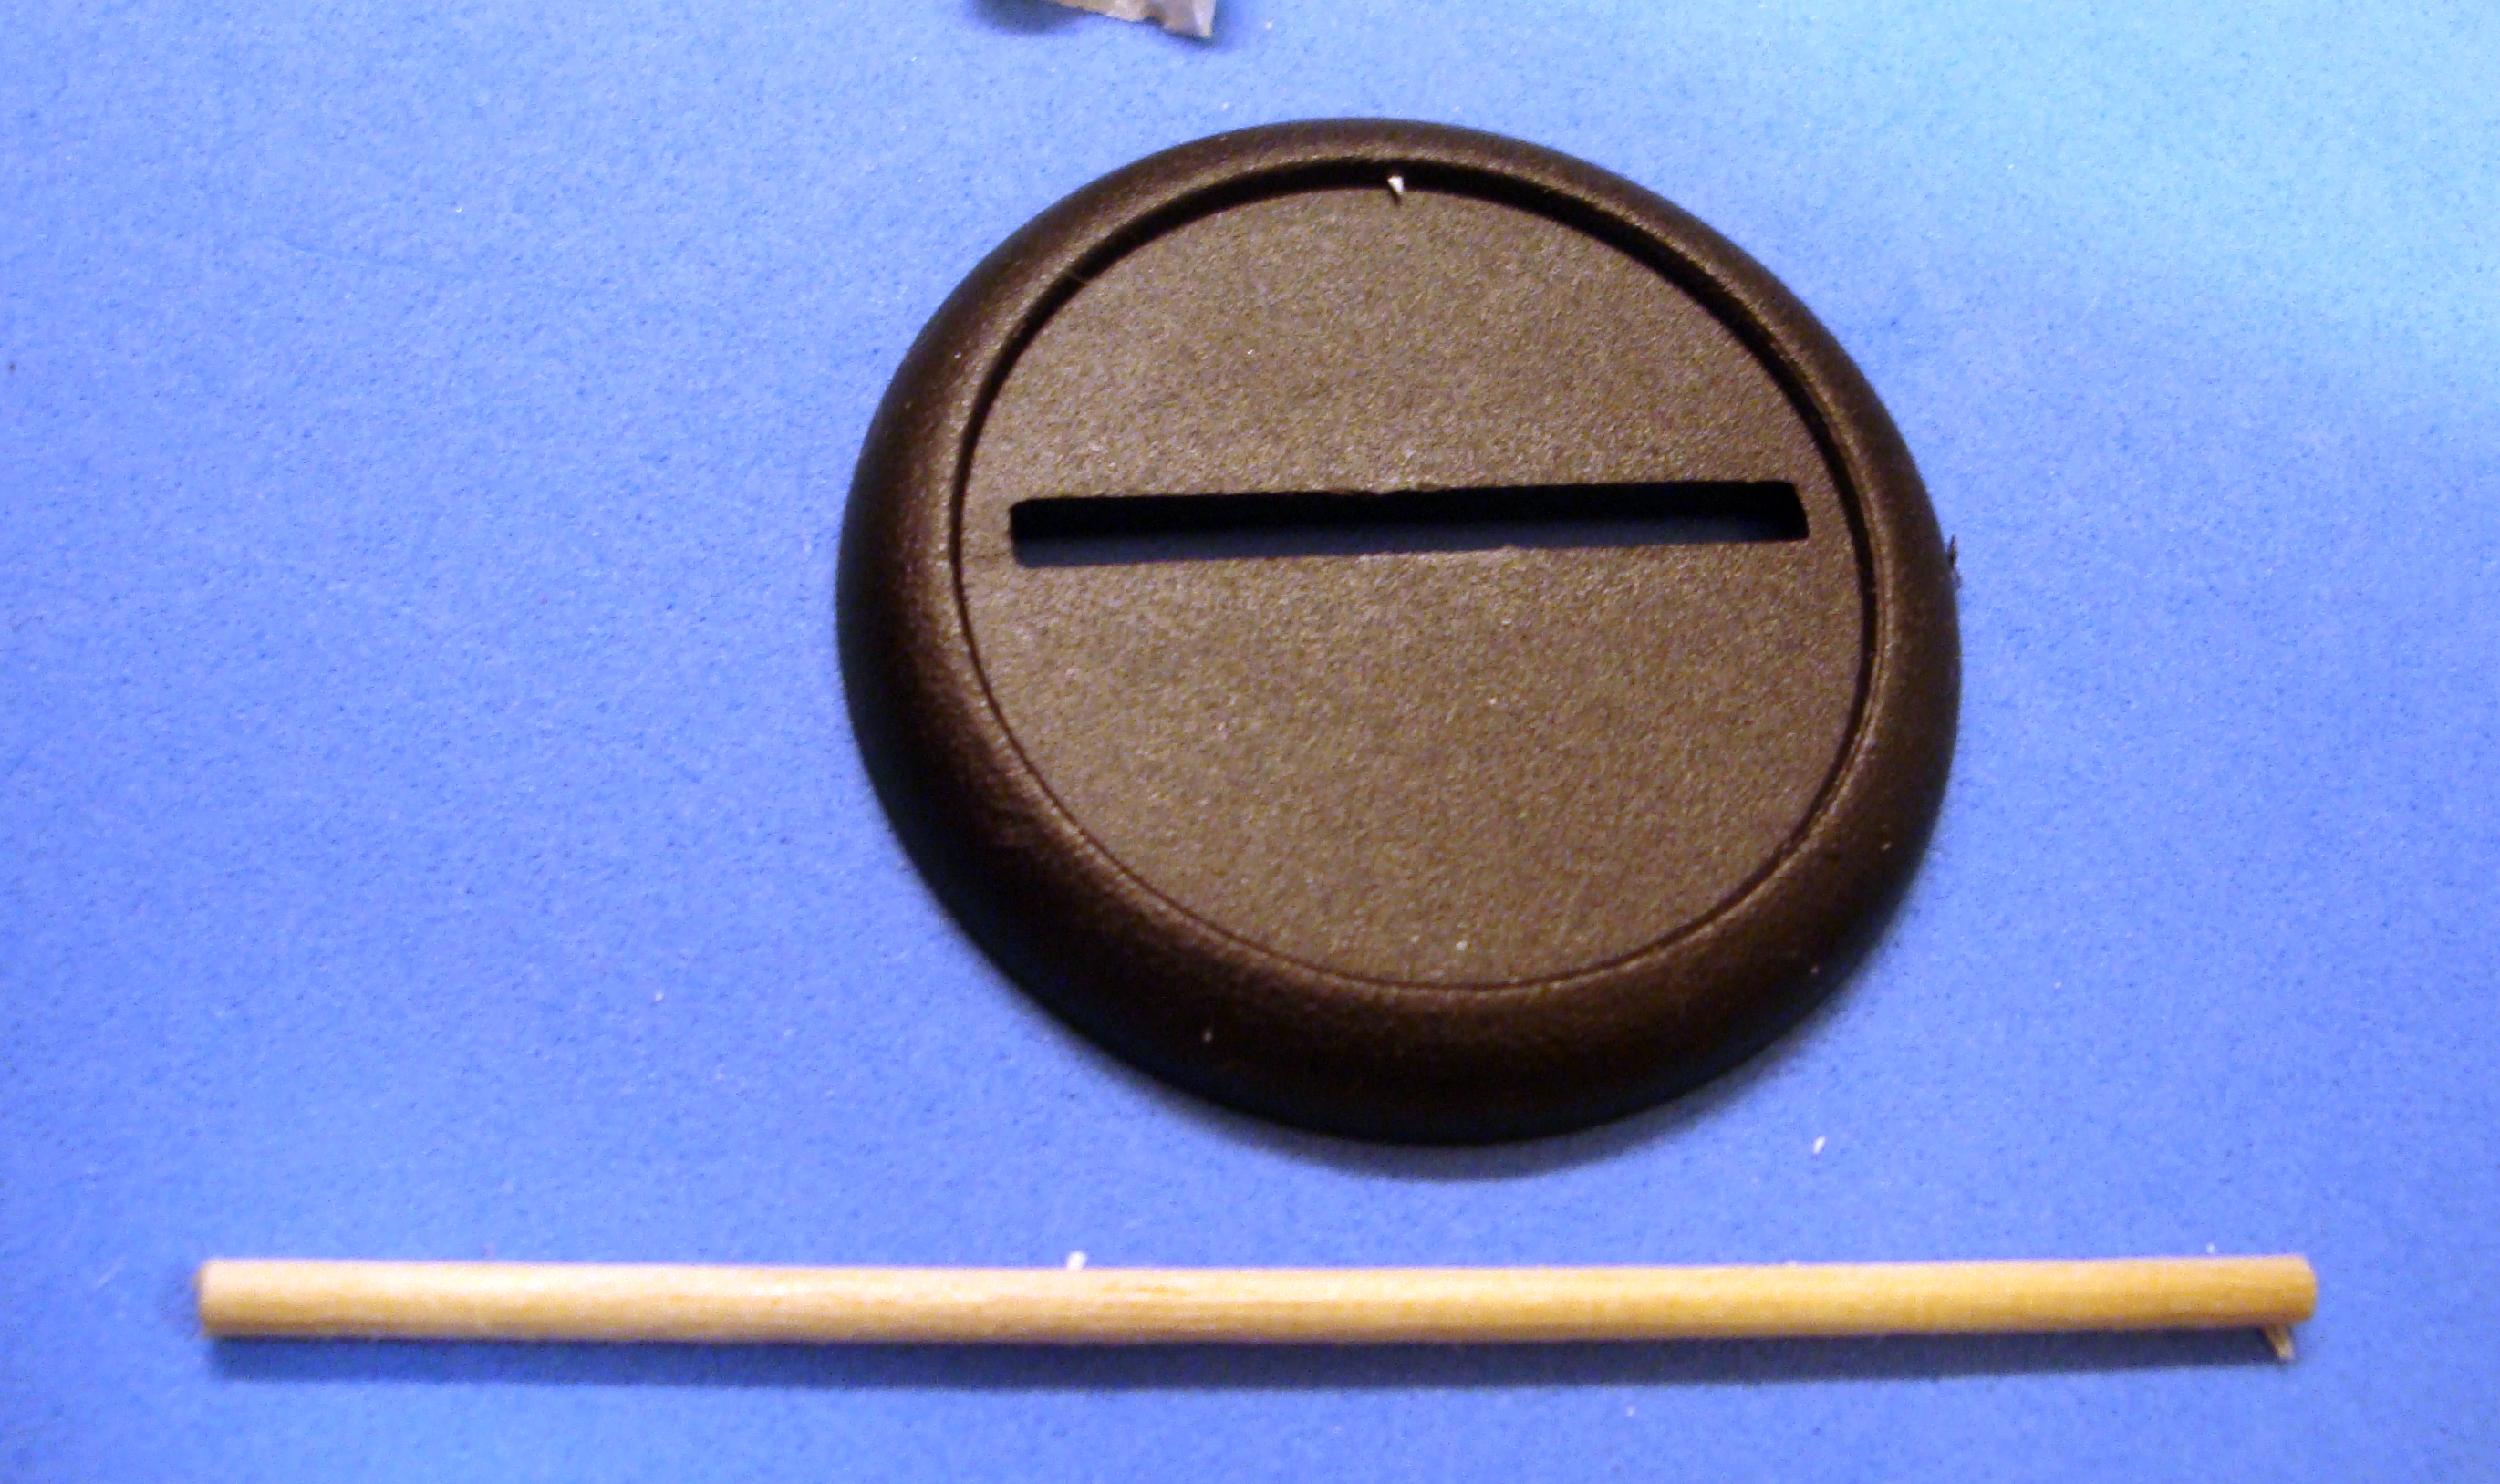
I cut the stick with my heavy snips, turn over the base, insert the cut stick, and fill in the hole with hot glue. Then I turn over the base and push the stick down a bit before the glue fully hardens as the stick will stick out some due to gap between the base floor and the edge of the base. The sticks were really cheap, probably about the same price you’d pay for a box of thoothpicks. But with a discount coupon to your favorite craft store, it can be cheaper.
I usually like to place two to three things on a base depending on the size of the base and the size of the items I’m going to put on the base.
With Warmachine bases, I like to imagine that the armies are fighting on old battlefields that are littered with debris. With Hordes bases I don’t usually use gears or bits that look like they might have come out of a machine unless its part of a warjack. Otherwise I tend to make my bases pretty similar all in all. I usually do a dry fit arrangement of bits to see what I like the look of and then glue them down.
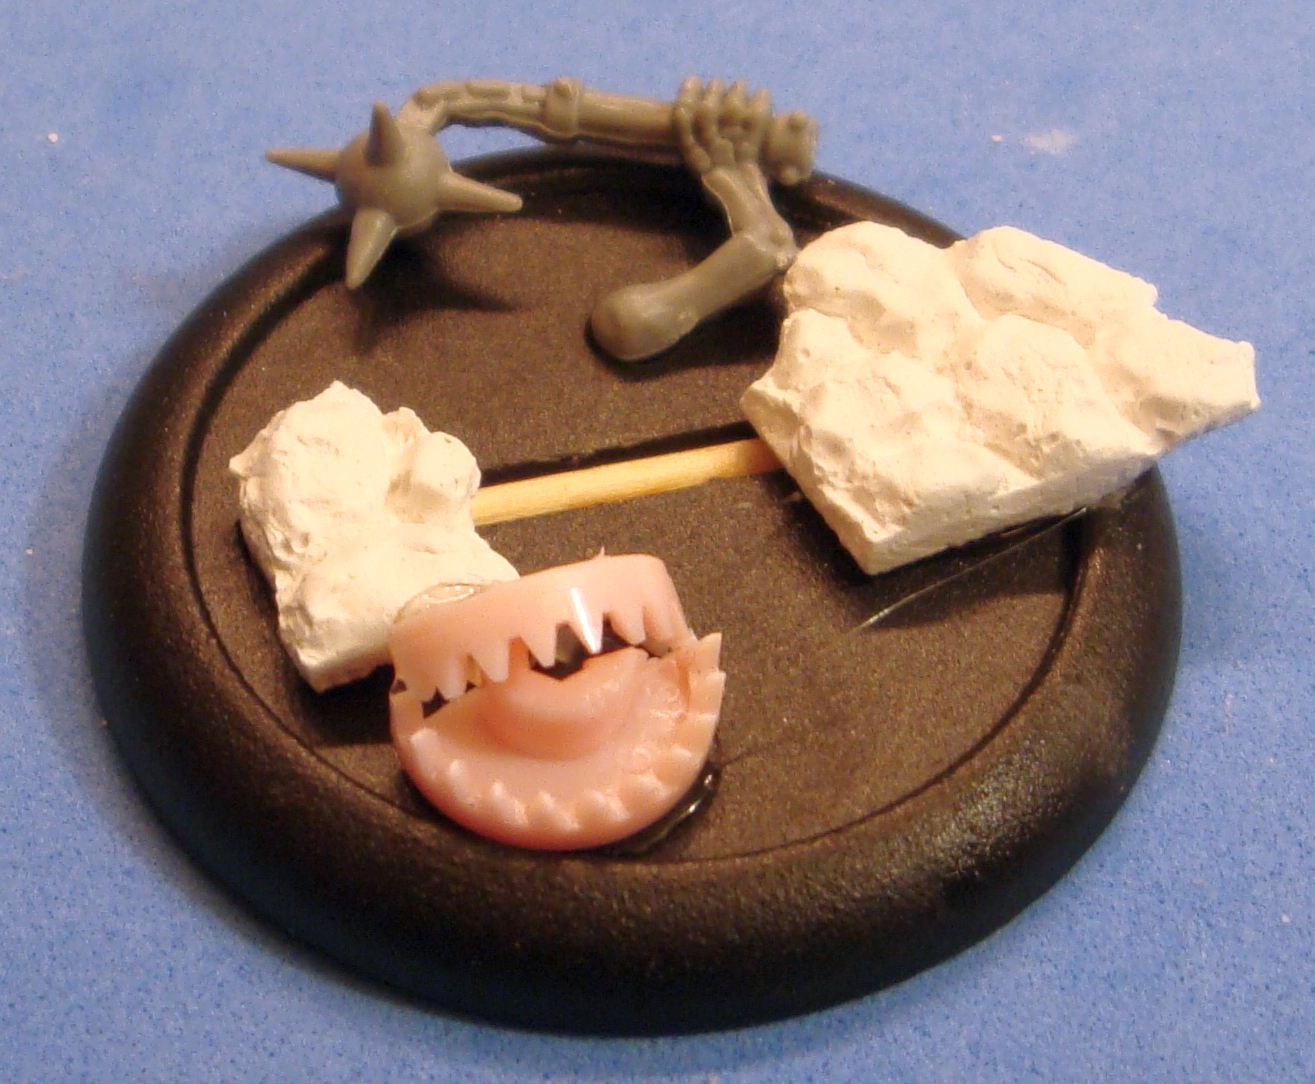
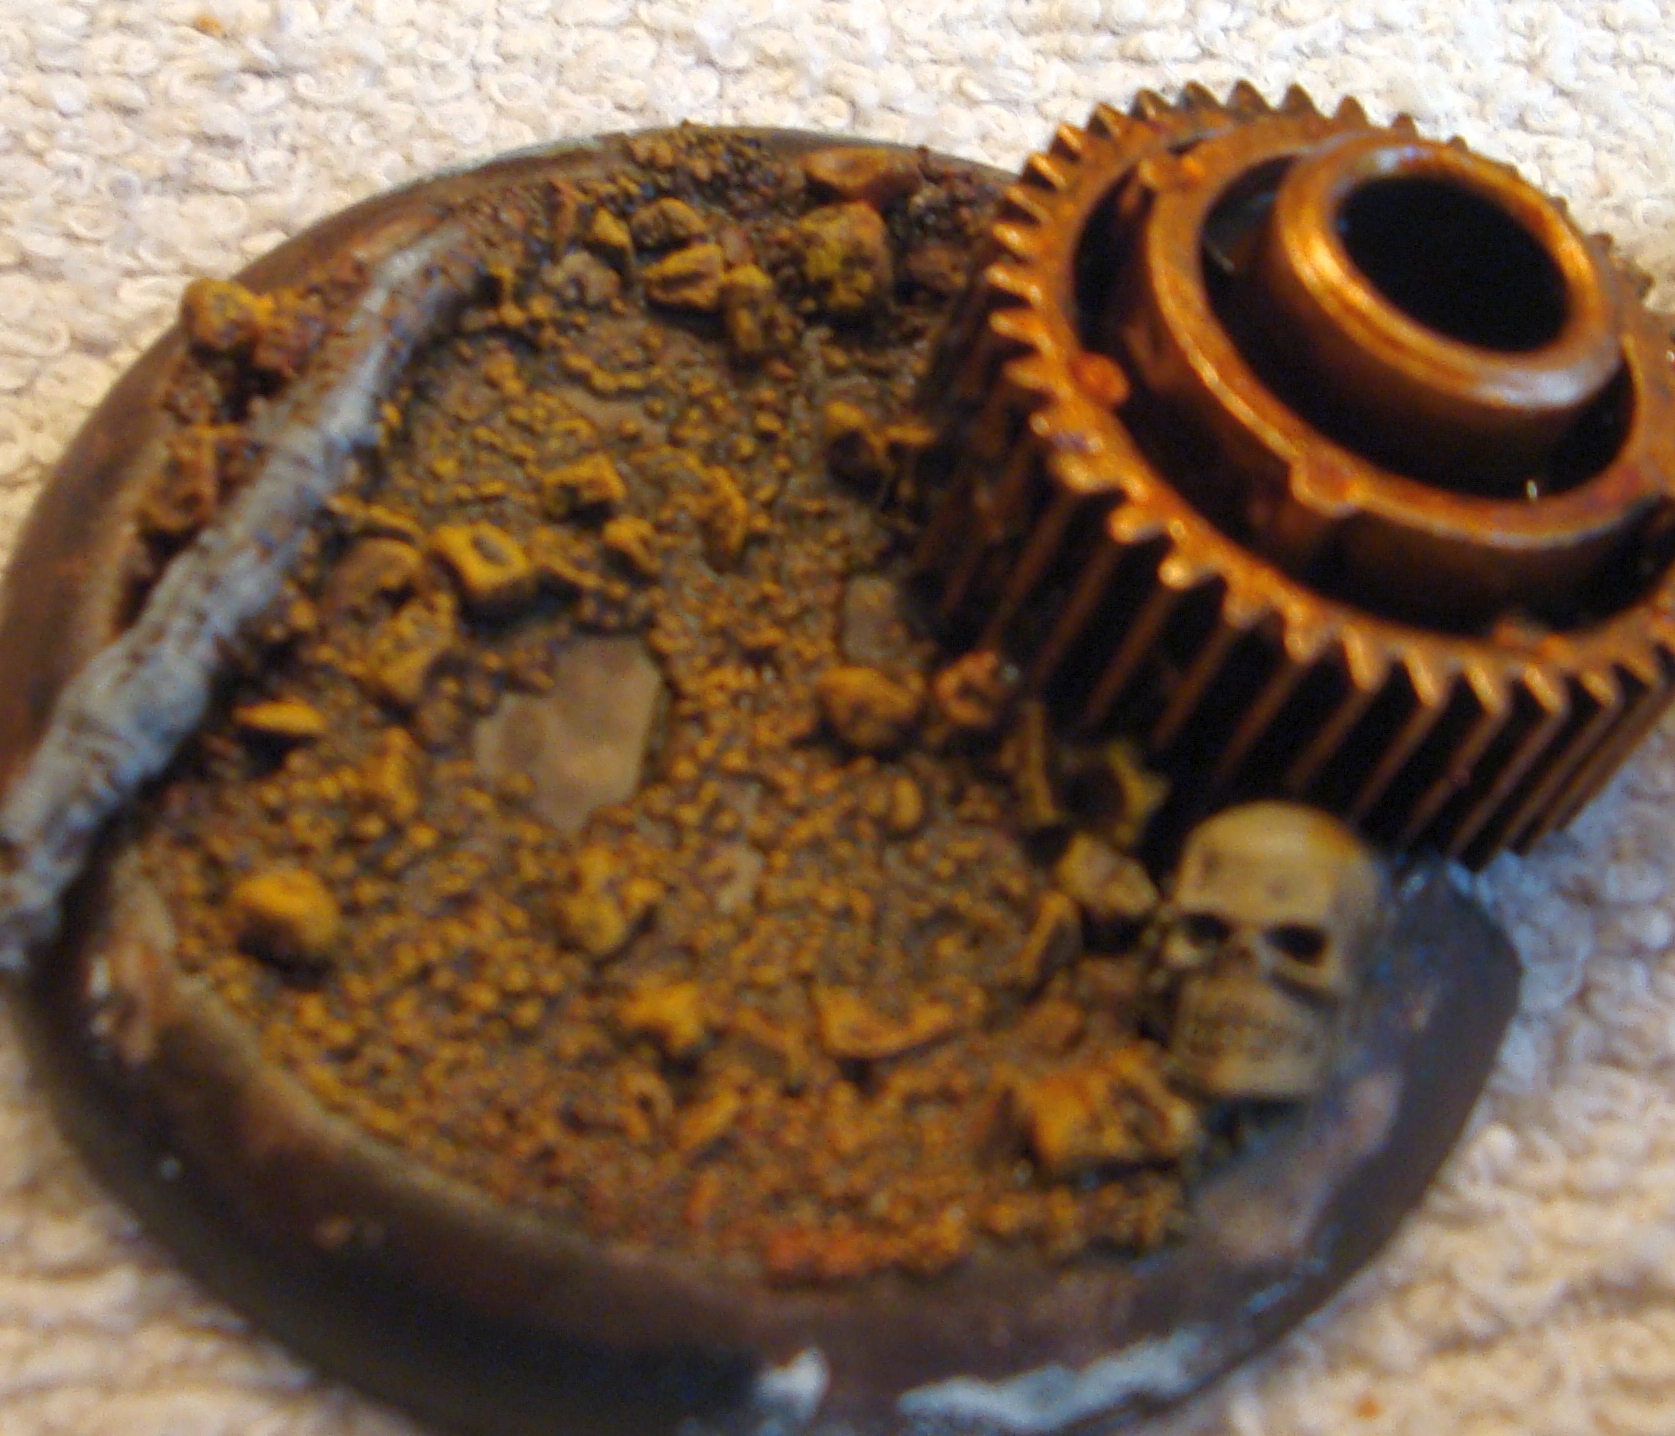
Here’s the first base that I made. It has two pieces of cobblestone, a gear that I cut in half with my snips, and a skeleton weapon arm.
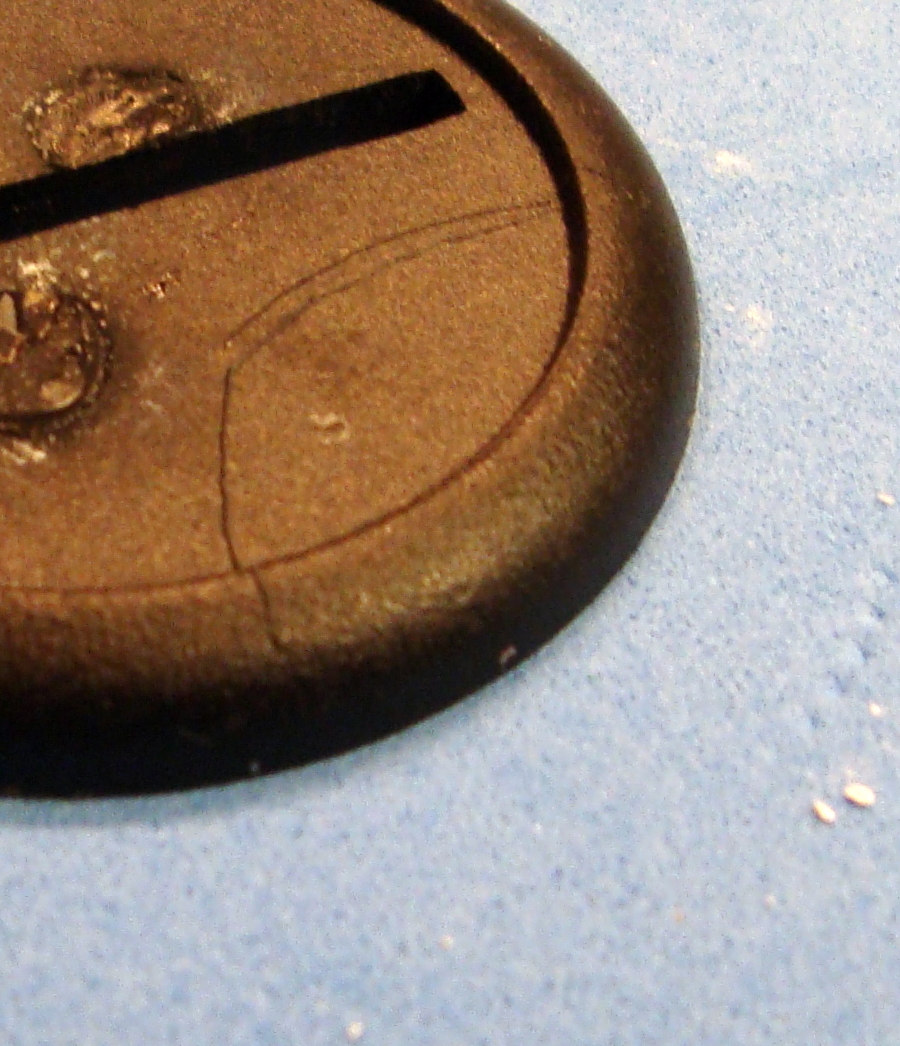
I’m not concerned about the hot glue that’s showing under the gear as it will be covered up by ballast and/or static grass later. You can see that one of the cobblestones goes over the edge of the base without sticking up at an angle. That’s because I cut out part of the base with a hobby knife. It looked like this when I was finished cutting it:
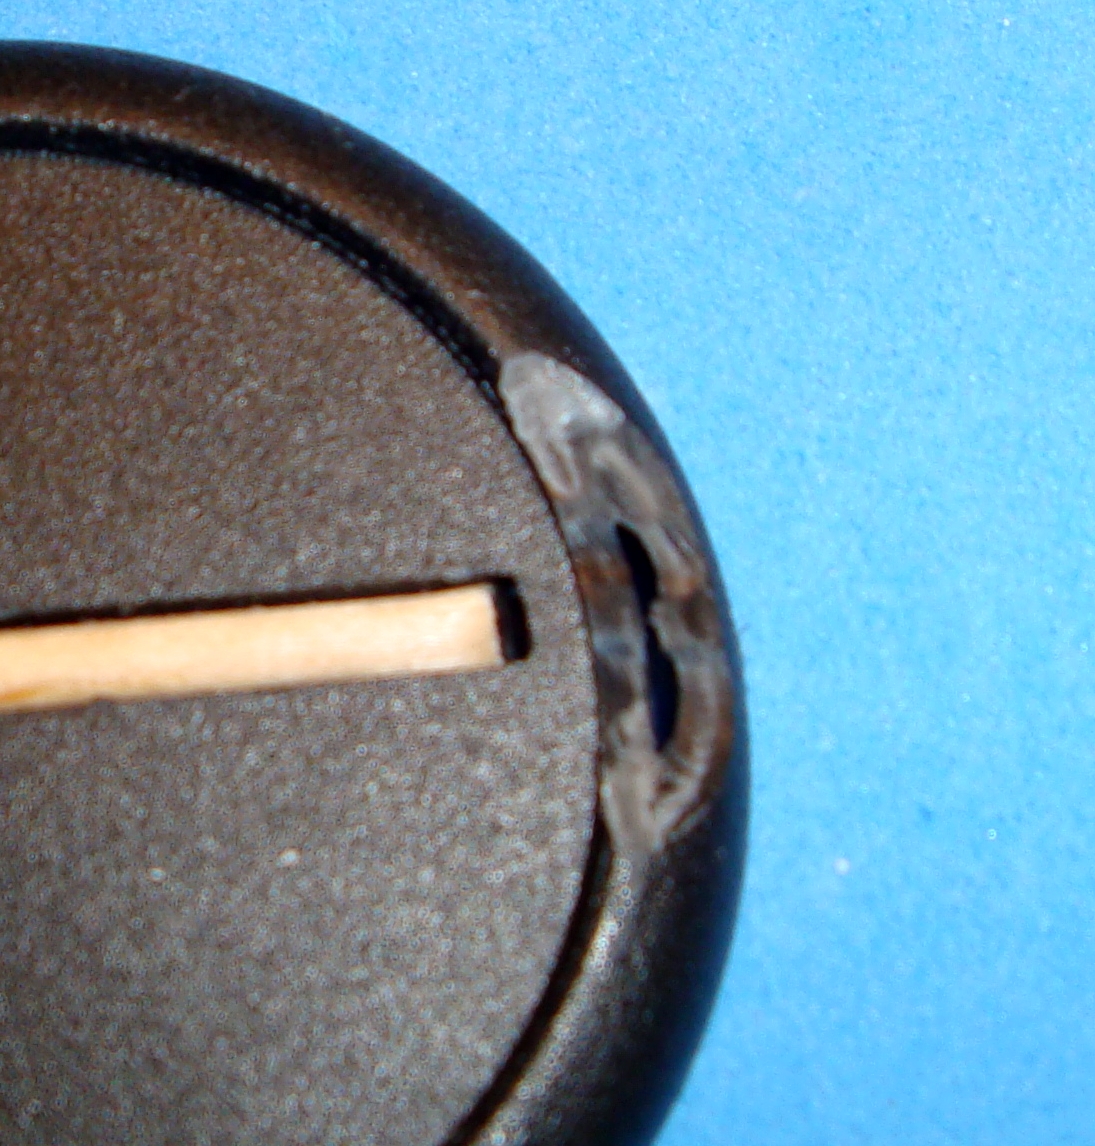
As you can hopefully tell, there’s a hole where I’ve cut through the lip of the base. Don’t be afraid to cut through your base or even to cut parts out of them. But I advise leaving enough base intact to be able to mark your front arc on your models.
This will eliminate any confusion in the future during games as to front arc. In any case, I hot glued a cobblestone piece right over the hole and the only sign that anything is different is a slight curve in the base lip.
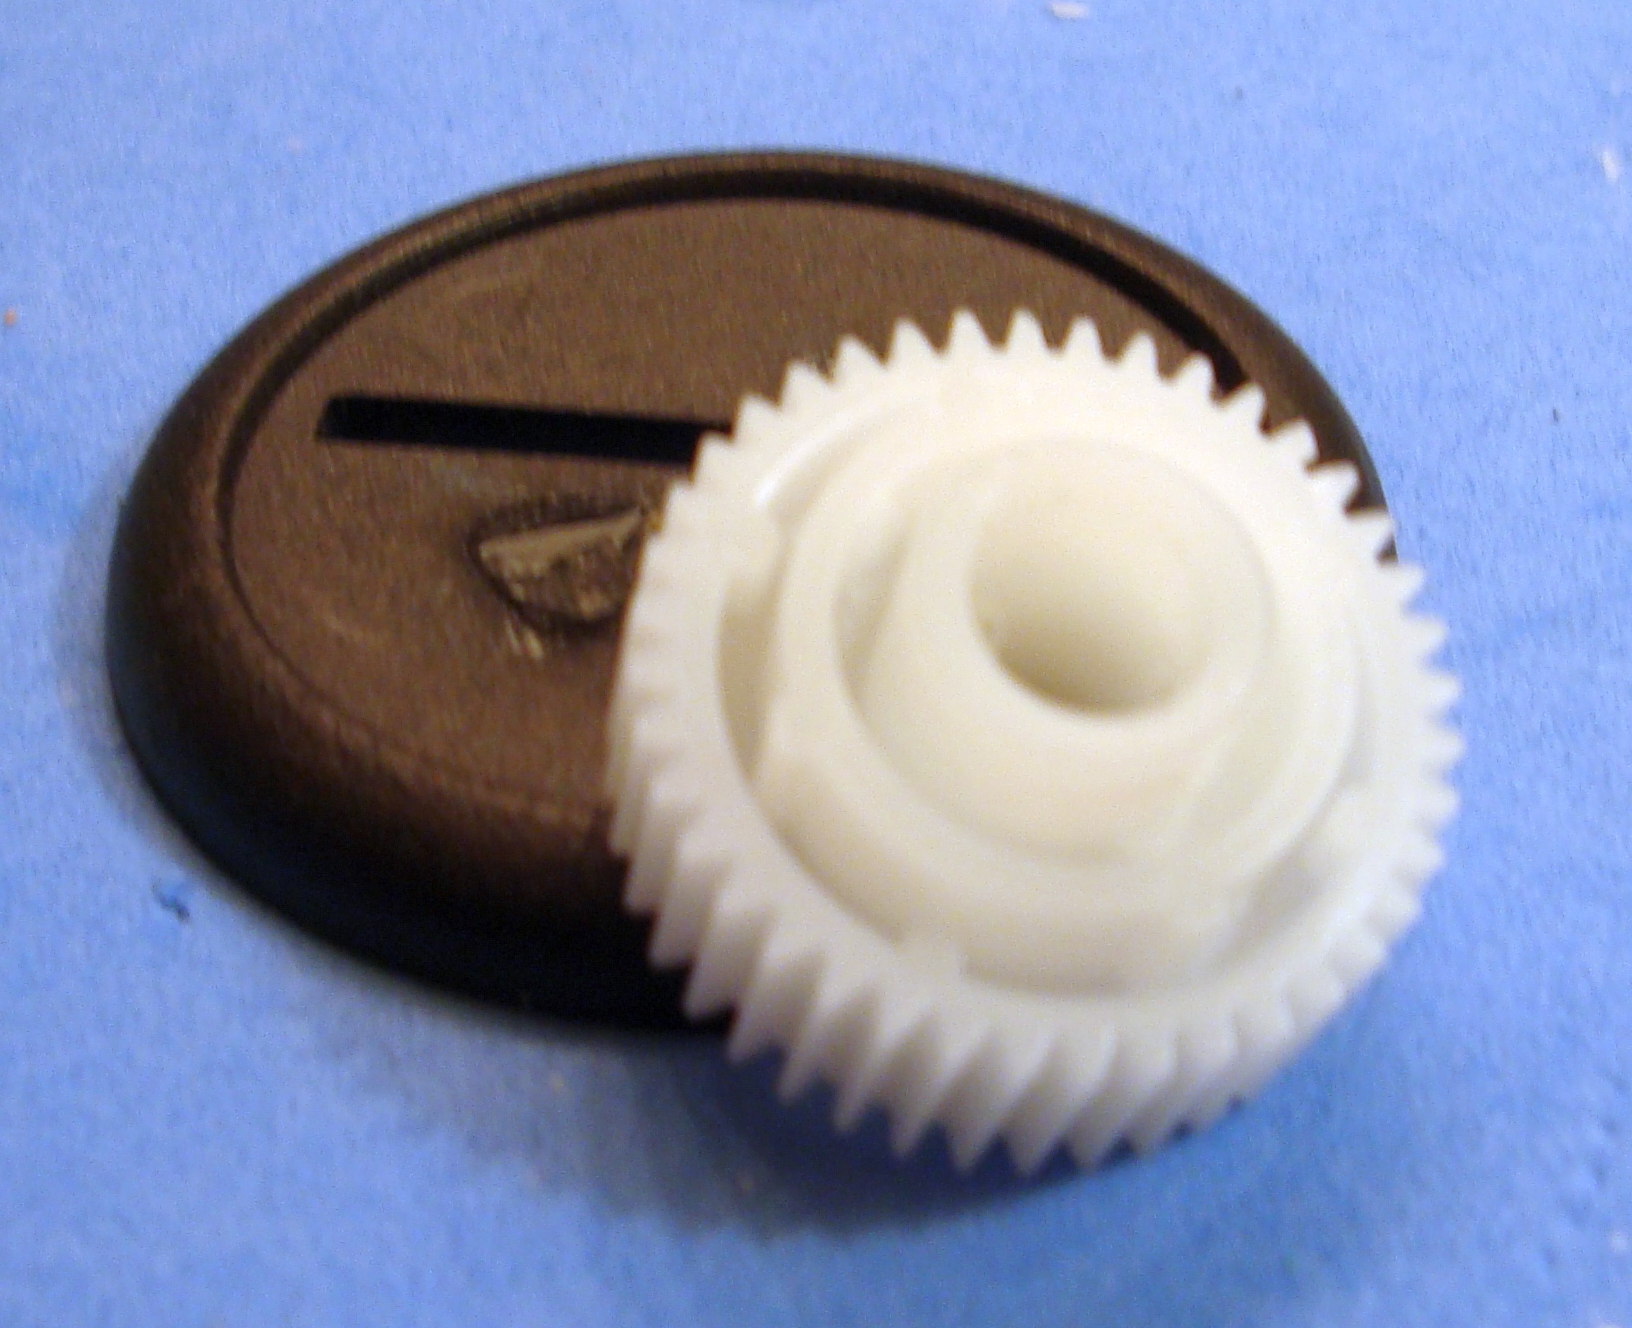
Here’s the second base:
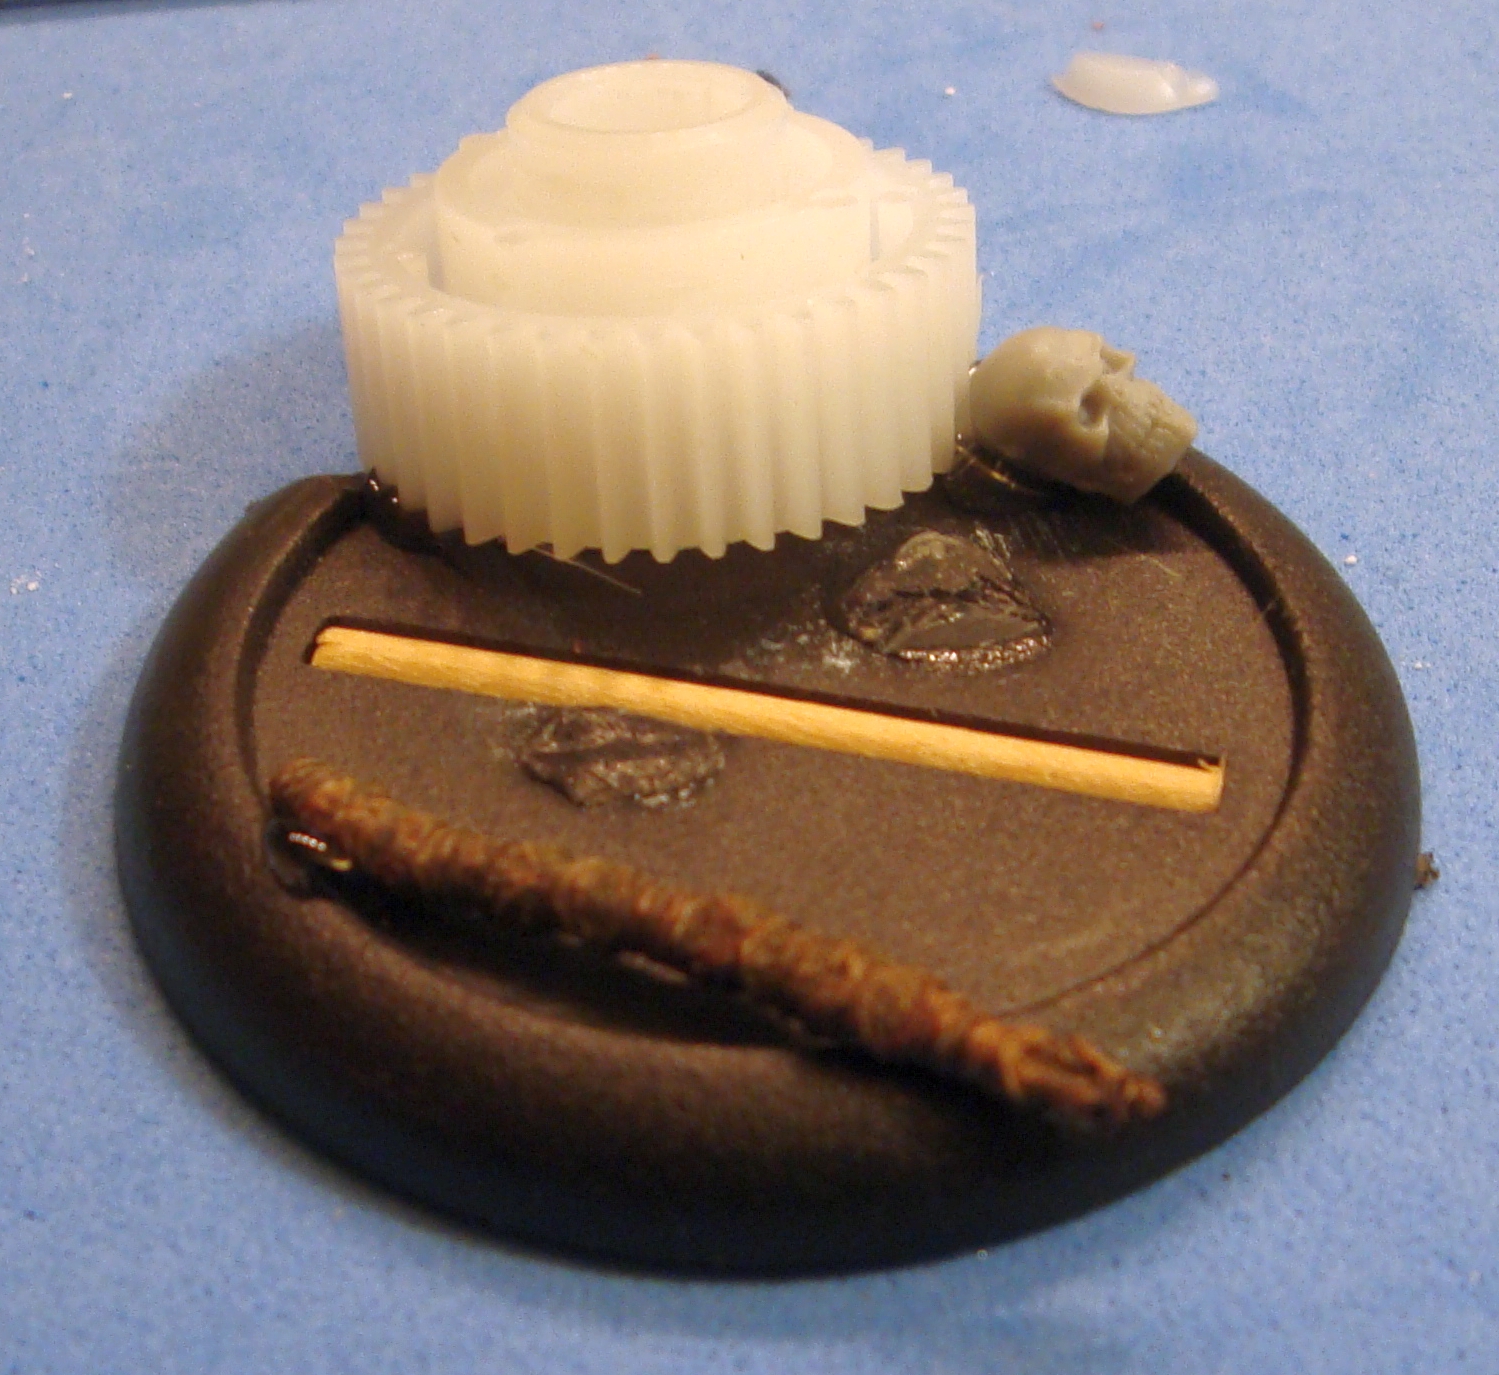
You can tell that the large gear is at an angle. When I’m going to cut a section out of the base to place something in it, I first use my hobby knife to trace around it:
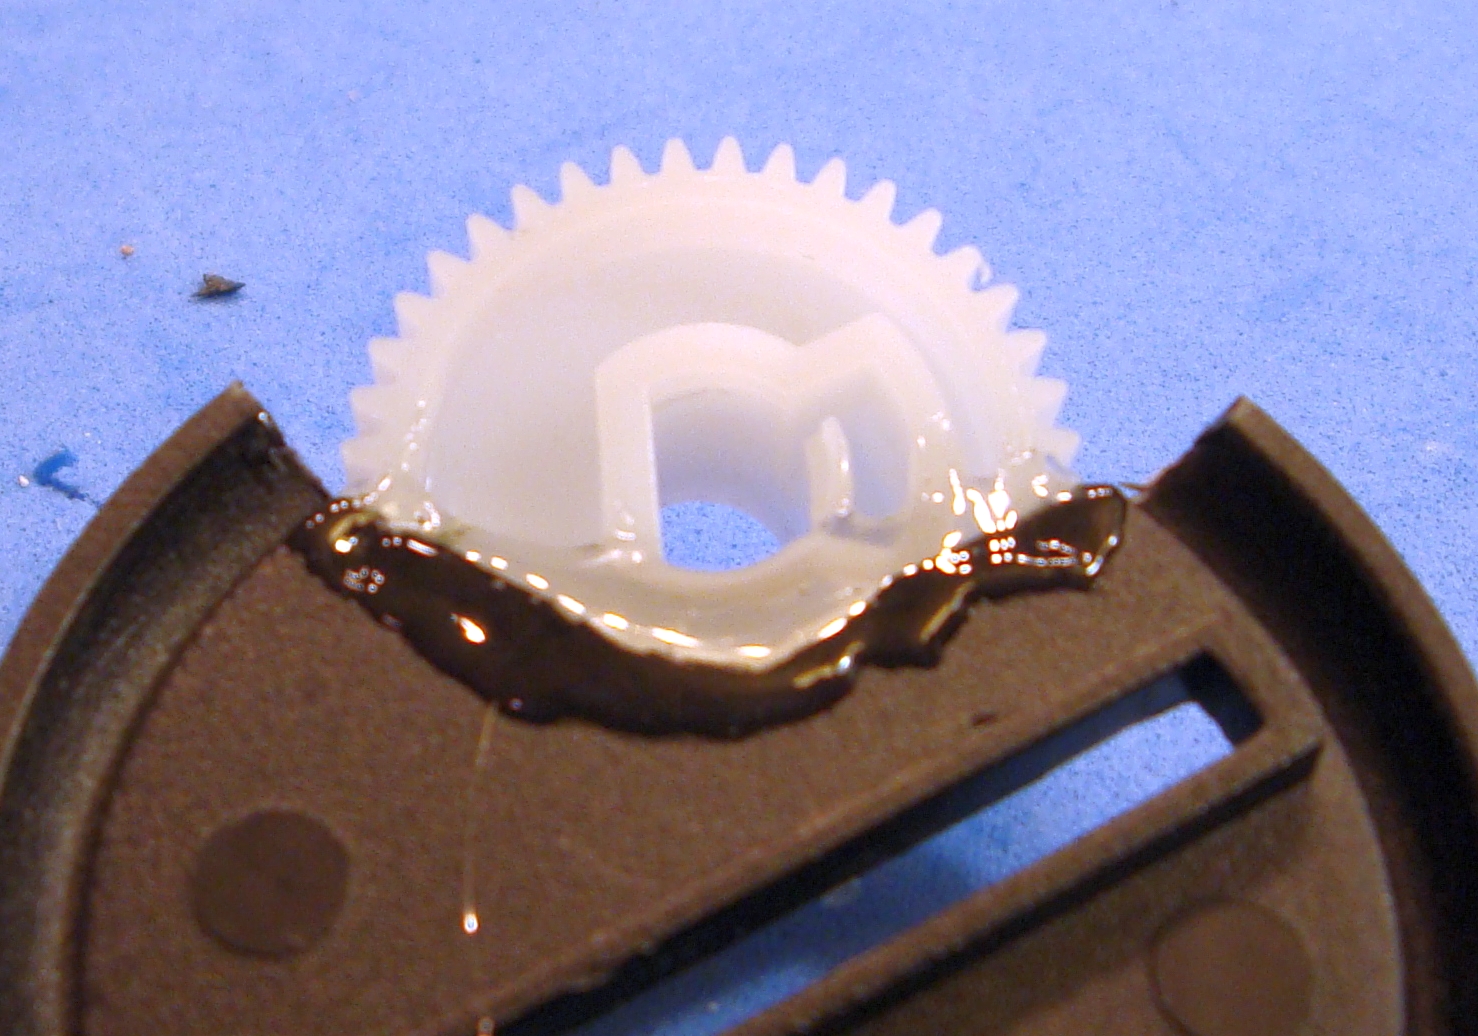
And then I use my heavy snips to rough cut the shape. Sorry, I got ahead of myself and forgot to snap a pic before I moved on. Then I dry test fit the piece and shave off more of the base with my hobby knife until I get the piece to fit the way I want it to. Then I usually hot glue it in place like so:
After giving the hot glue a minute to harden enough to handle without the piece falling off, I turn it over and glue the bottom side of the piece to the base. My thought is that its better to have too much glue than not enough.
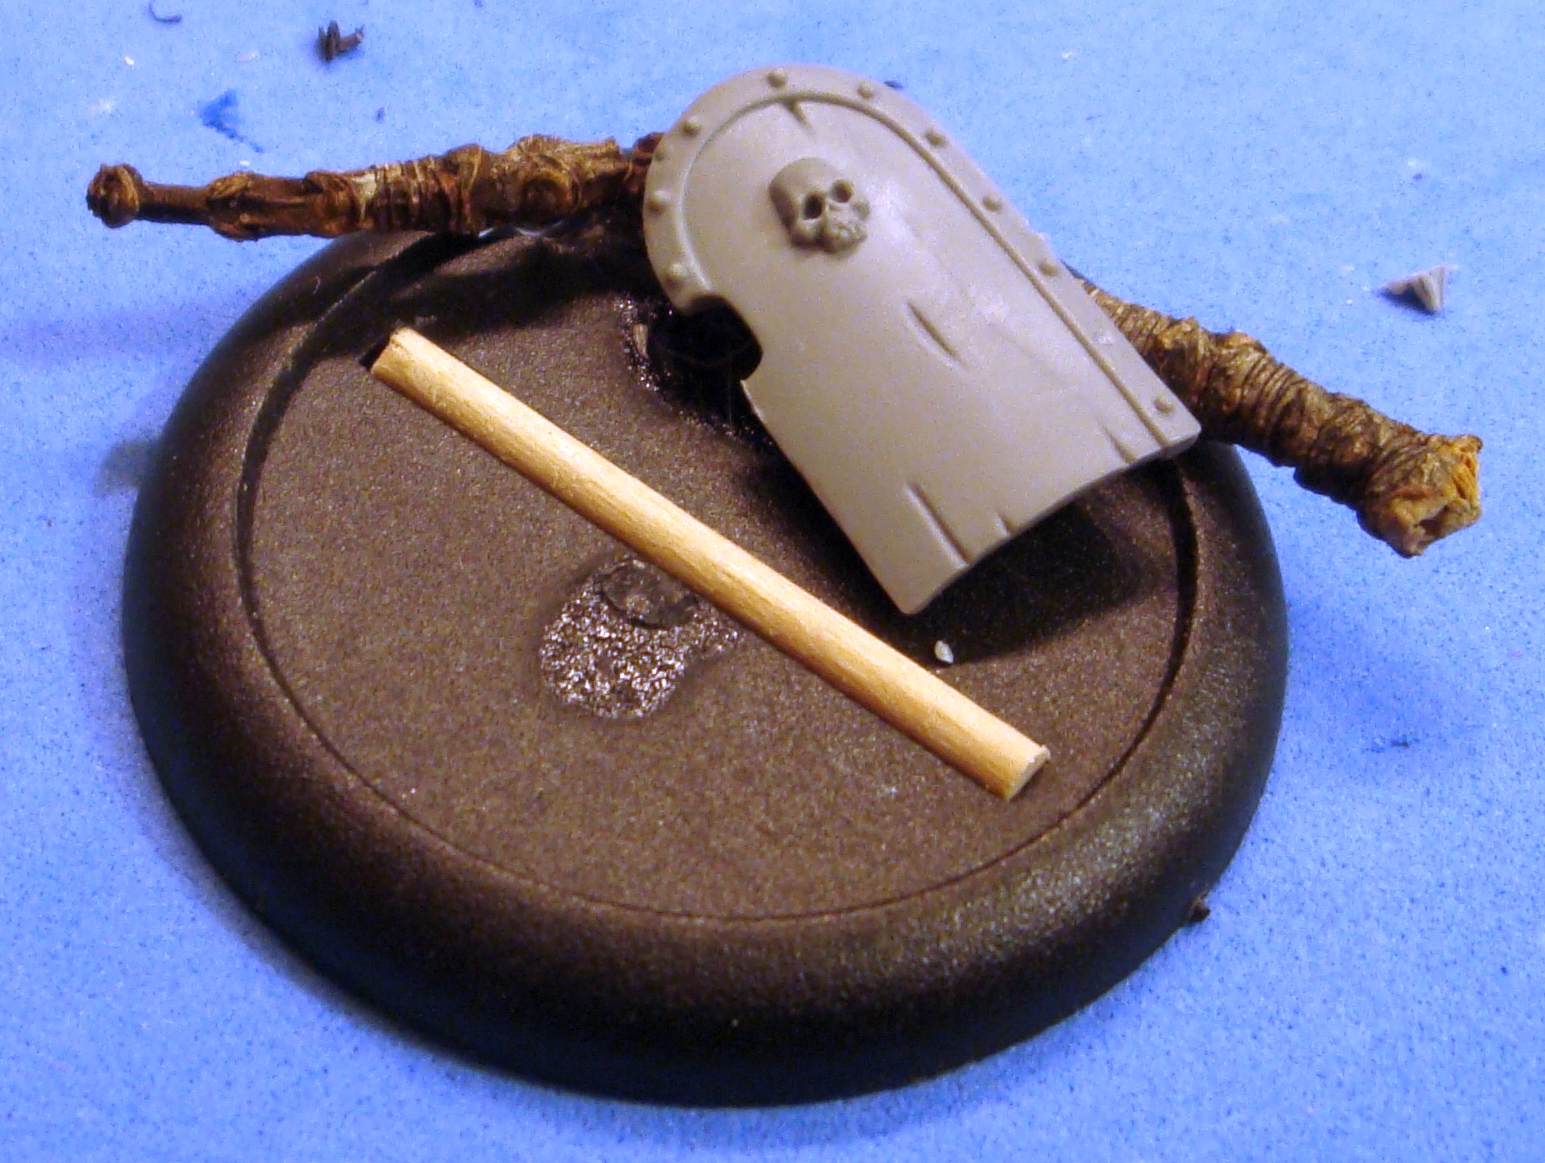
Here’s the third base:
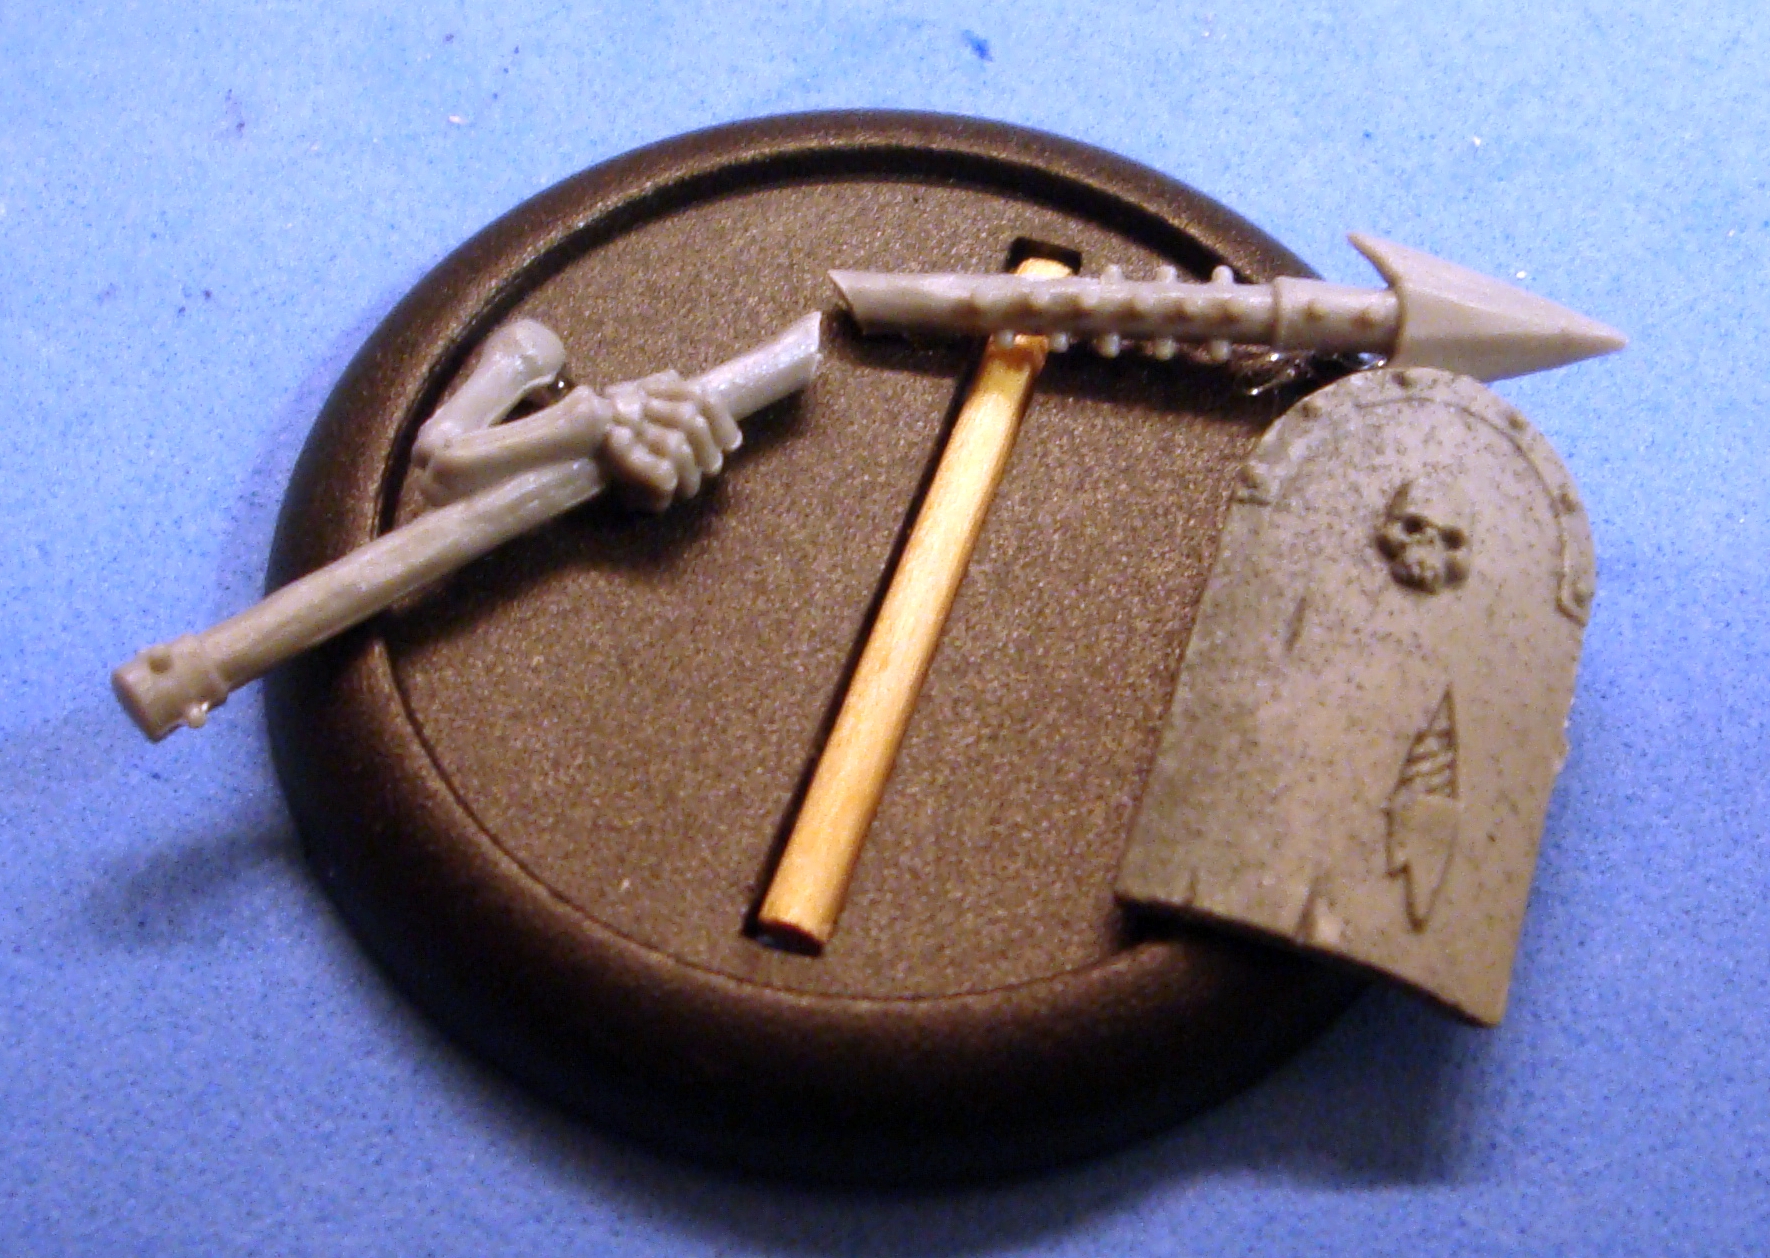
I didn’t do anything to the base itself, but I like to break weapons or have them sticking out of the ground.
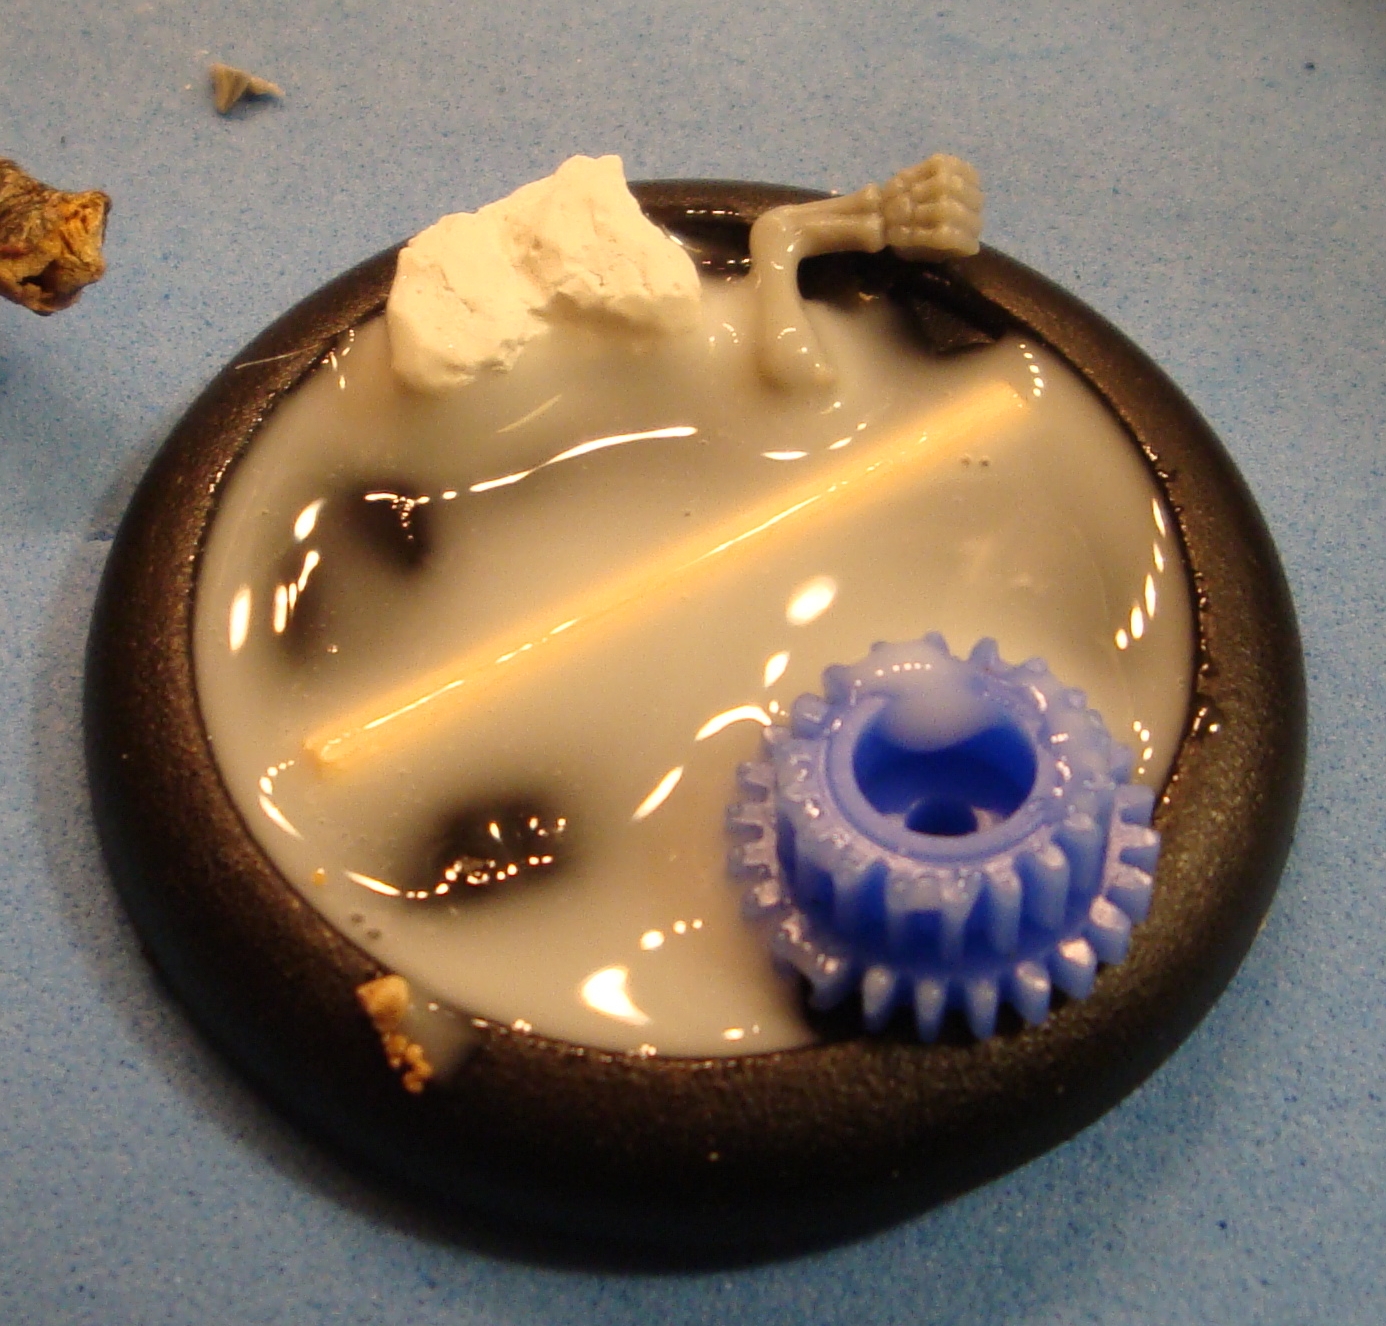
On this base you can see that I didn’t push the stick in the slot down before the hot glue hardened. The blue gear has a stem that goes down through the base, which you can see below:
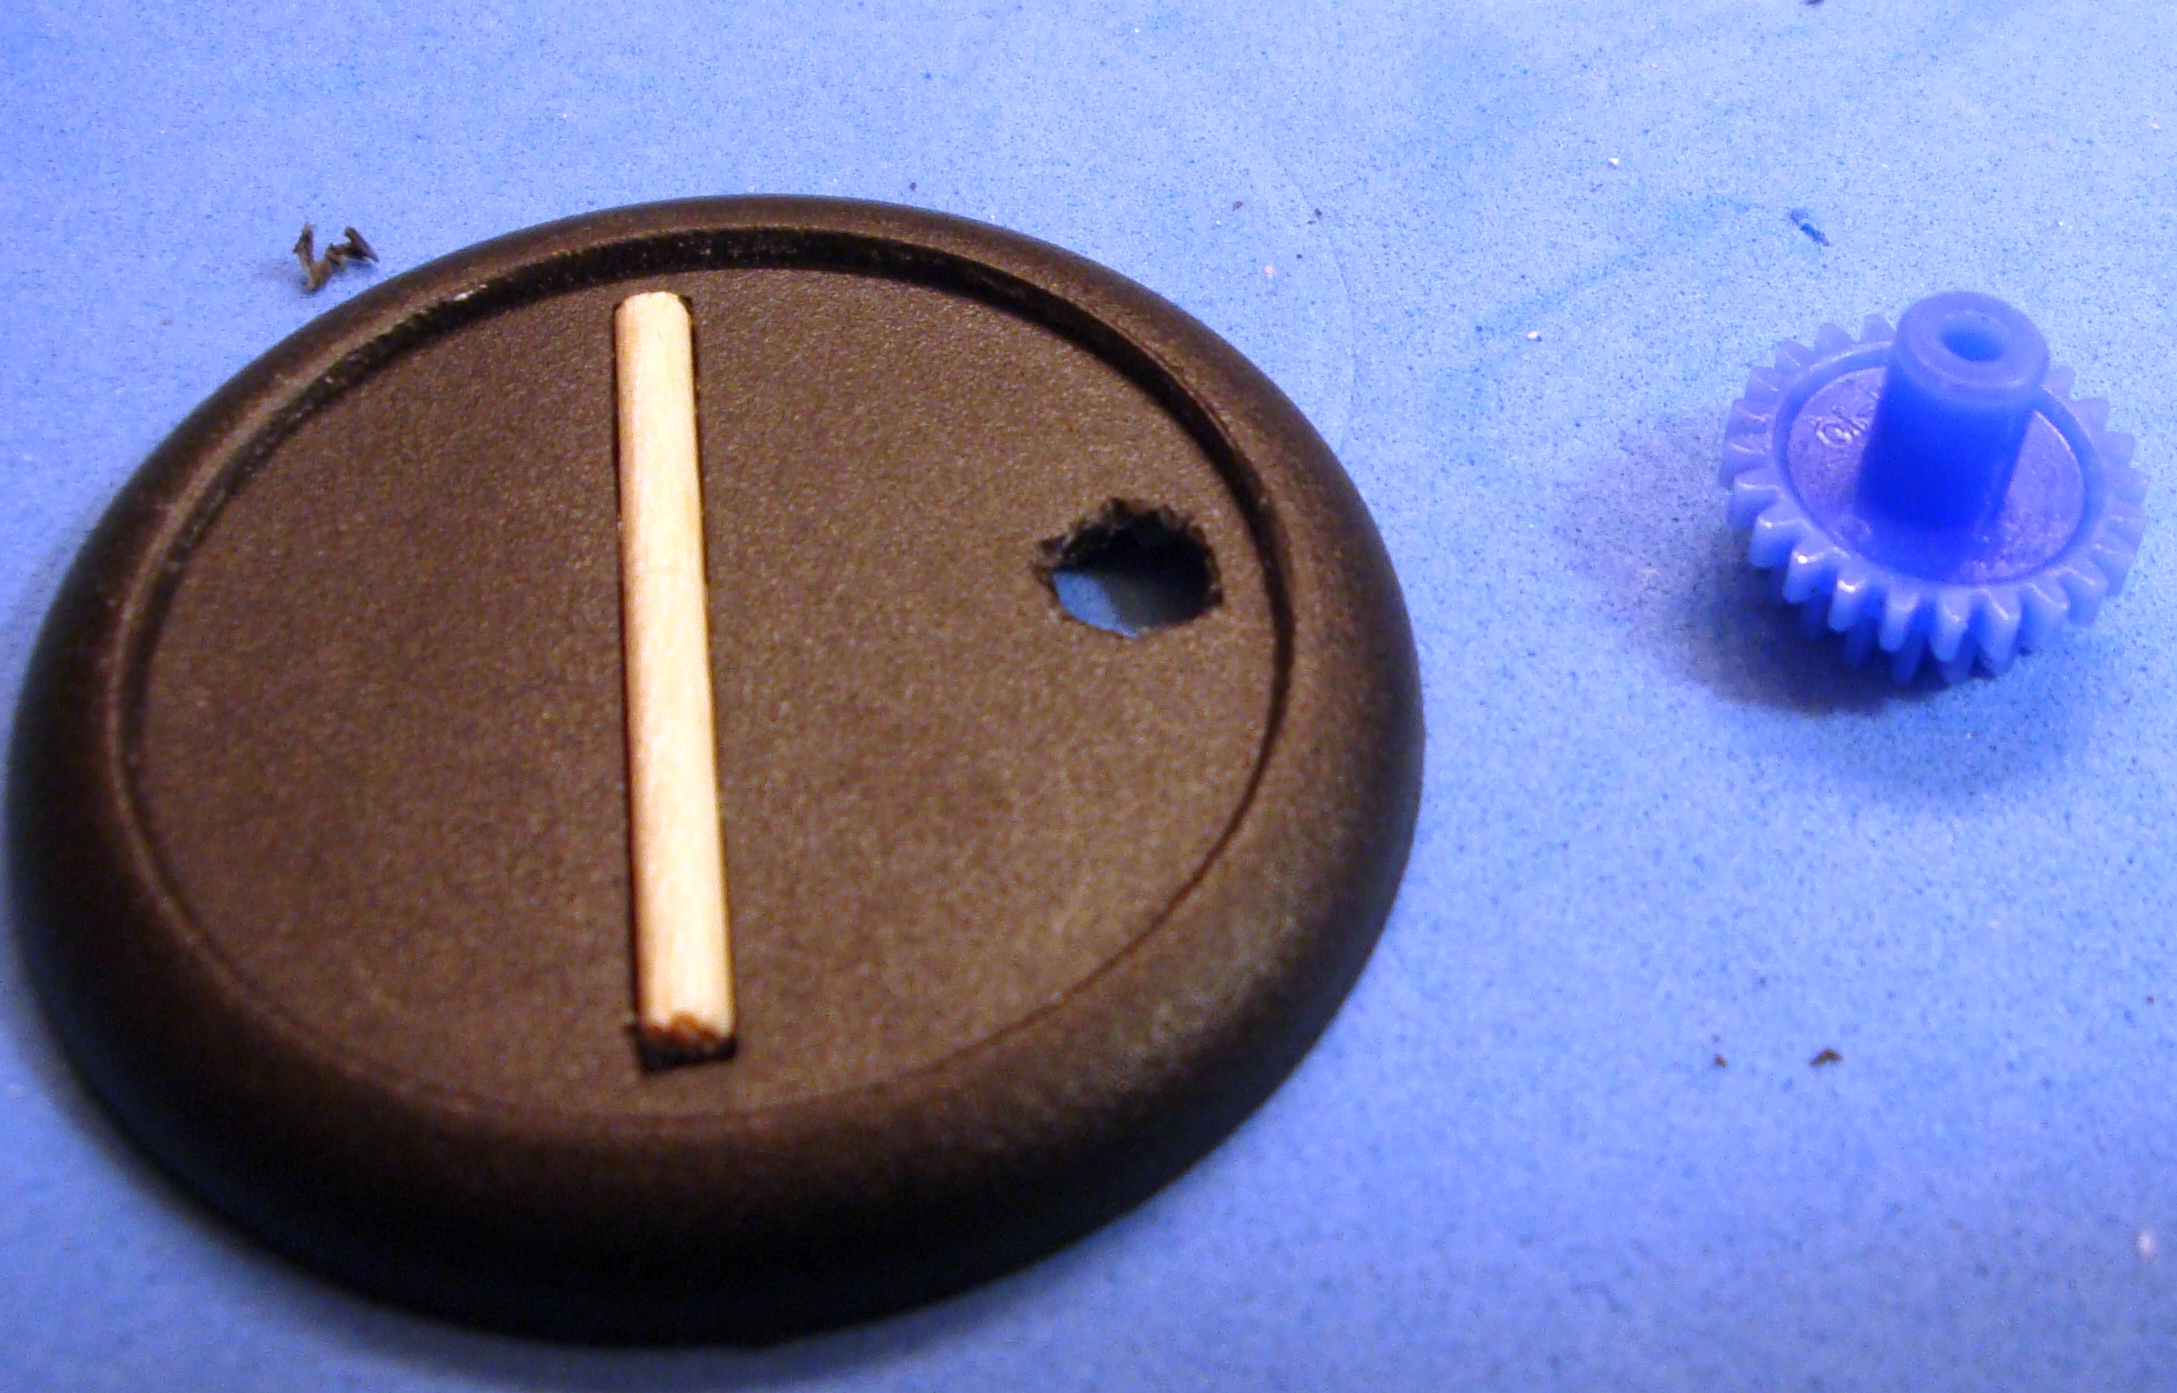
One word of caution – when drilling through something don’t have your hand, fingers, or other body parts on the other side. I’ve drilled into myself by accident several times and it never gets to be fun at all. 😛
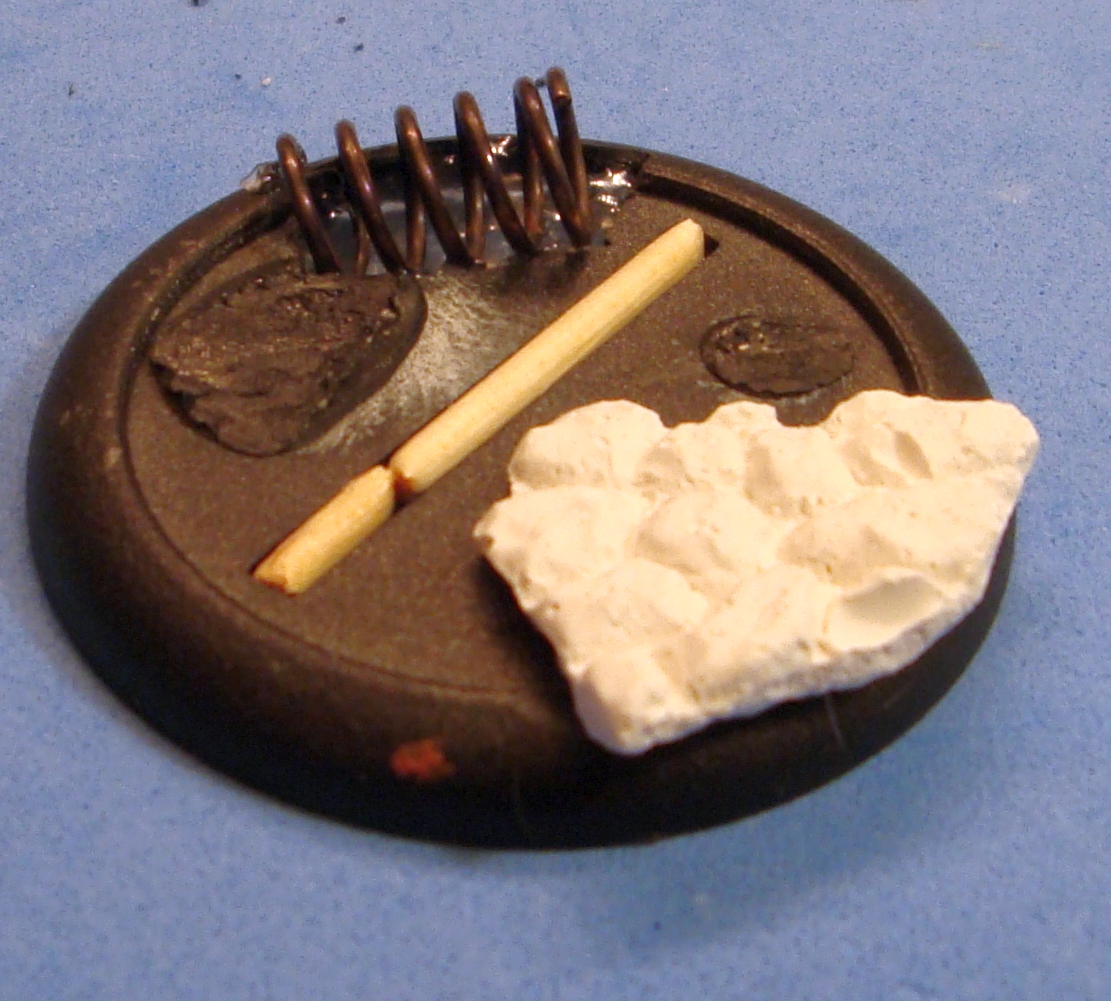
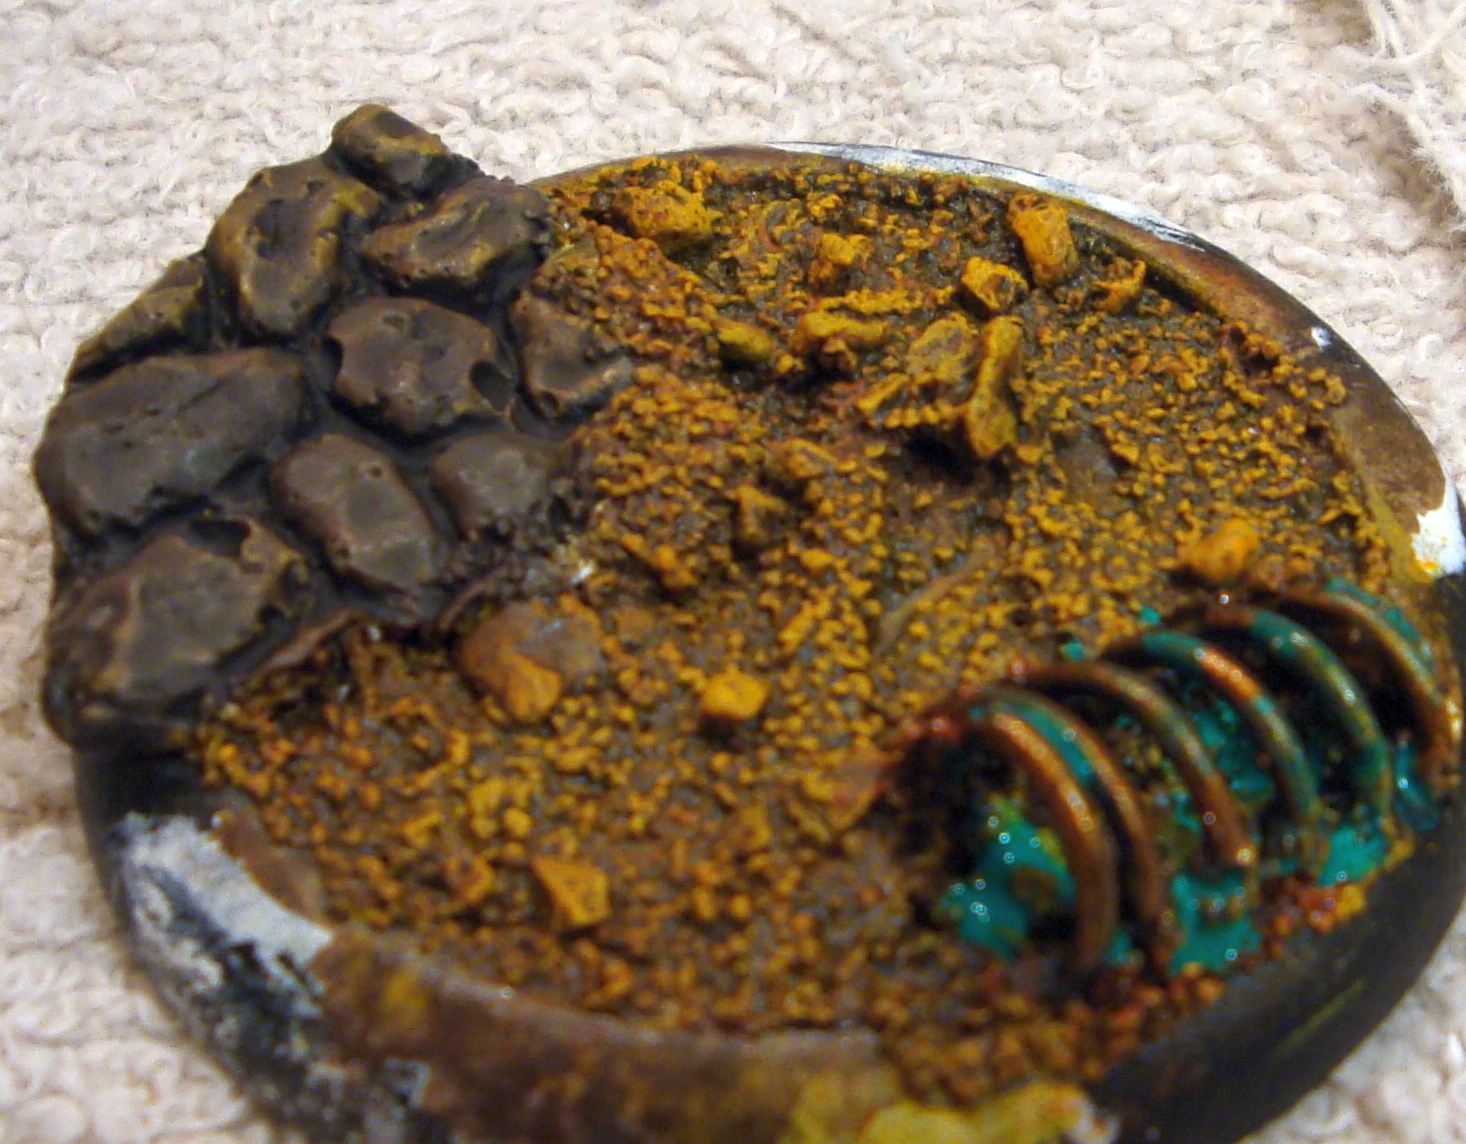
This base has a spring that is made to look (or will) partially buried. Again, I got ahead of myself and cut and glued it in place before snapping any pictures. The hole was made by drilling several holes and then cutting a larger whole with them as a guide with my hobby knife. After the spring sat the way I wanted it, I hot glued it in place. As with the other base, I turned it over once the hot glue hardened a bit and used the glue gun to not only add more glue to the bottom to keep the spring in place, but to completely cover the bottom of the spring so that I could paint it and add ballast later so that it would look as though it were partially buried.
Nothing special here other than breaking the twig in the middle slightly so that I could get it to bend. You can see I didn’t get to the stick in the slot in time on this one either.
I’m not going to go base by base on the next steps as their pretty much all the same for all the bases. The next step is to add white glue for our ballast. I use an old paint brush to spread it around.
Its okay if it gets on the other bits as I want ballast to get on them to make it seem as though they’ve been on/in the ground long enough for the dirt to get on them or partially buried as the case may be.
Then I place the base in the bag with the ballast and cover it up, pressing down slightly to get a good amount of ballast on the base. The bases look like this going into the next step:
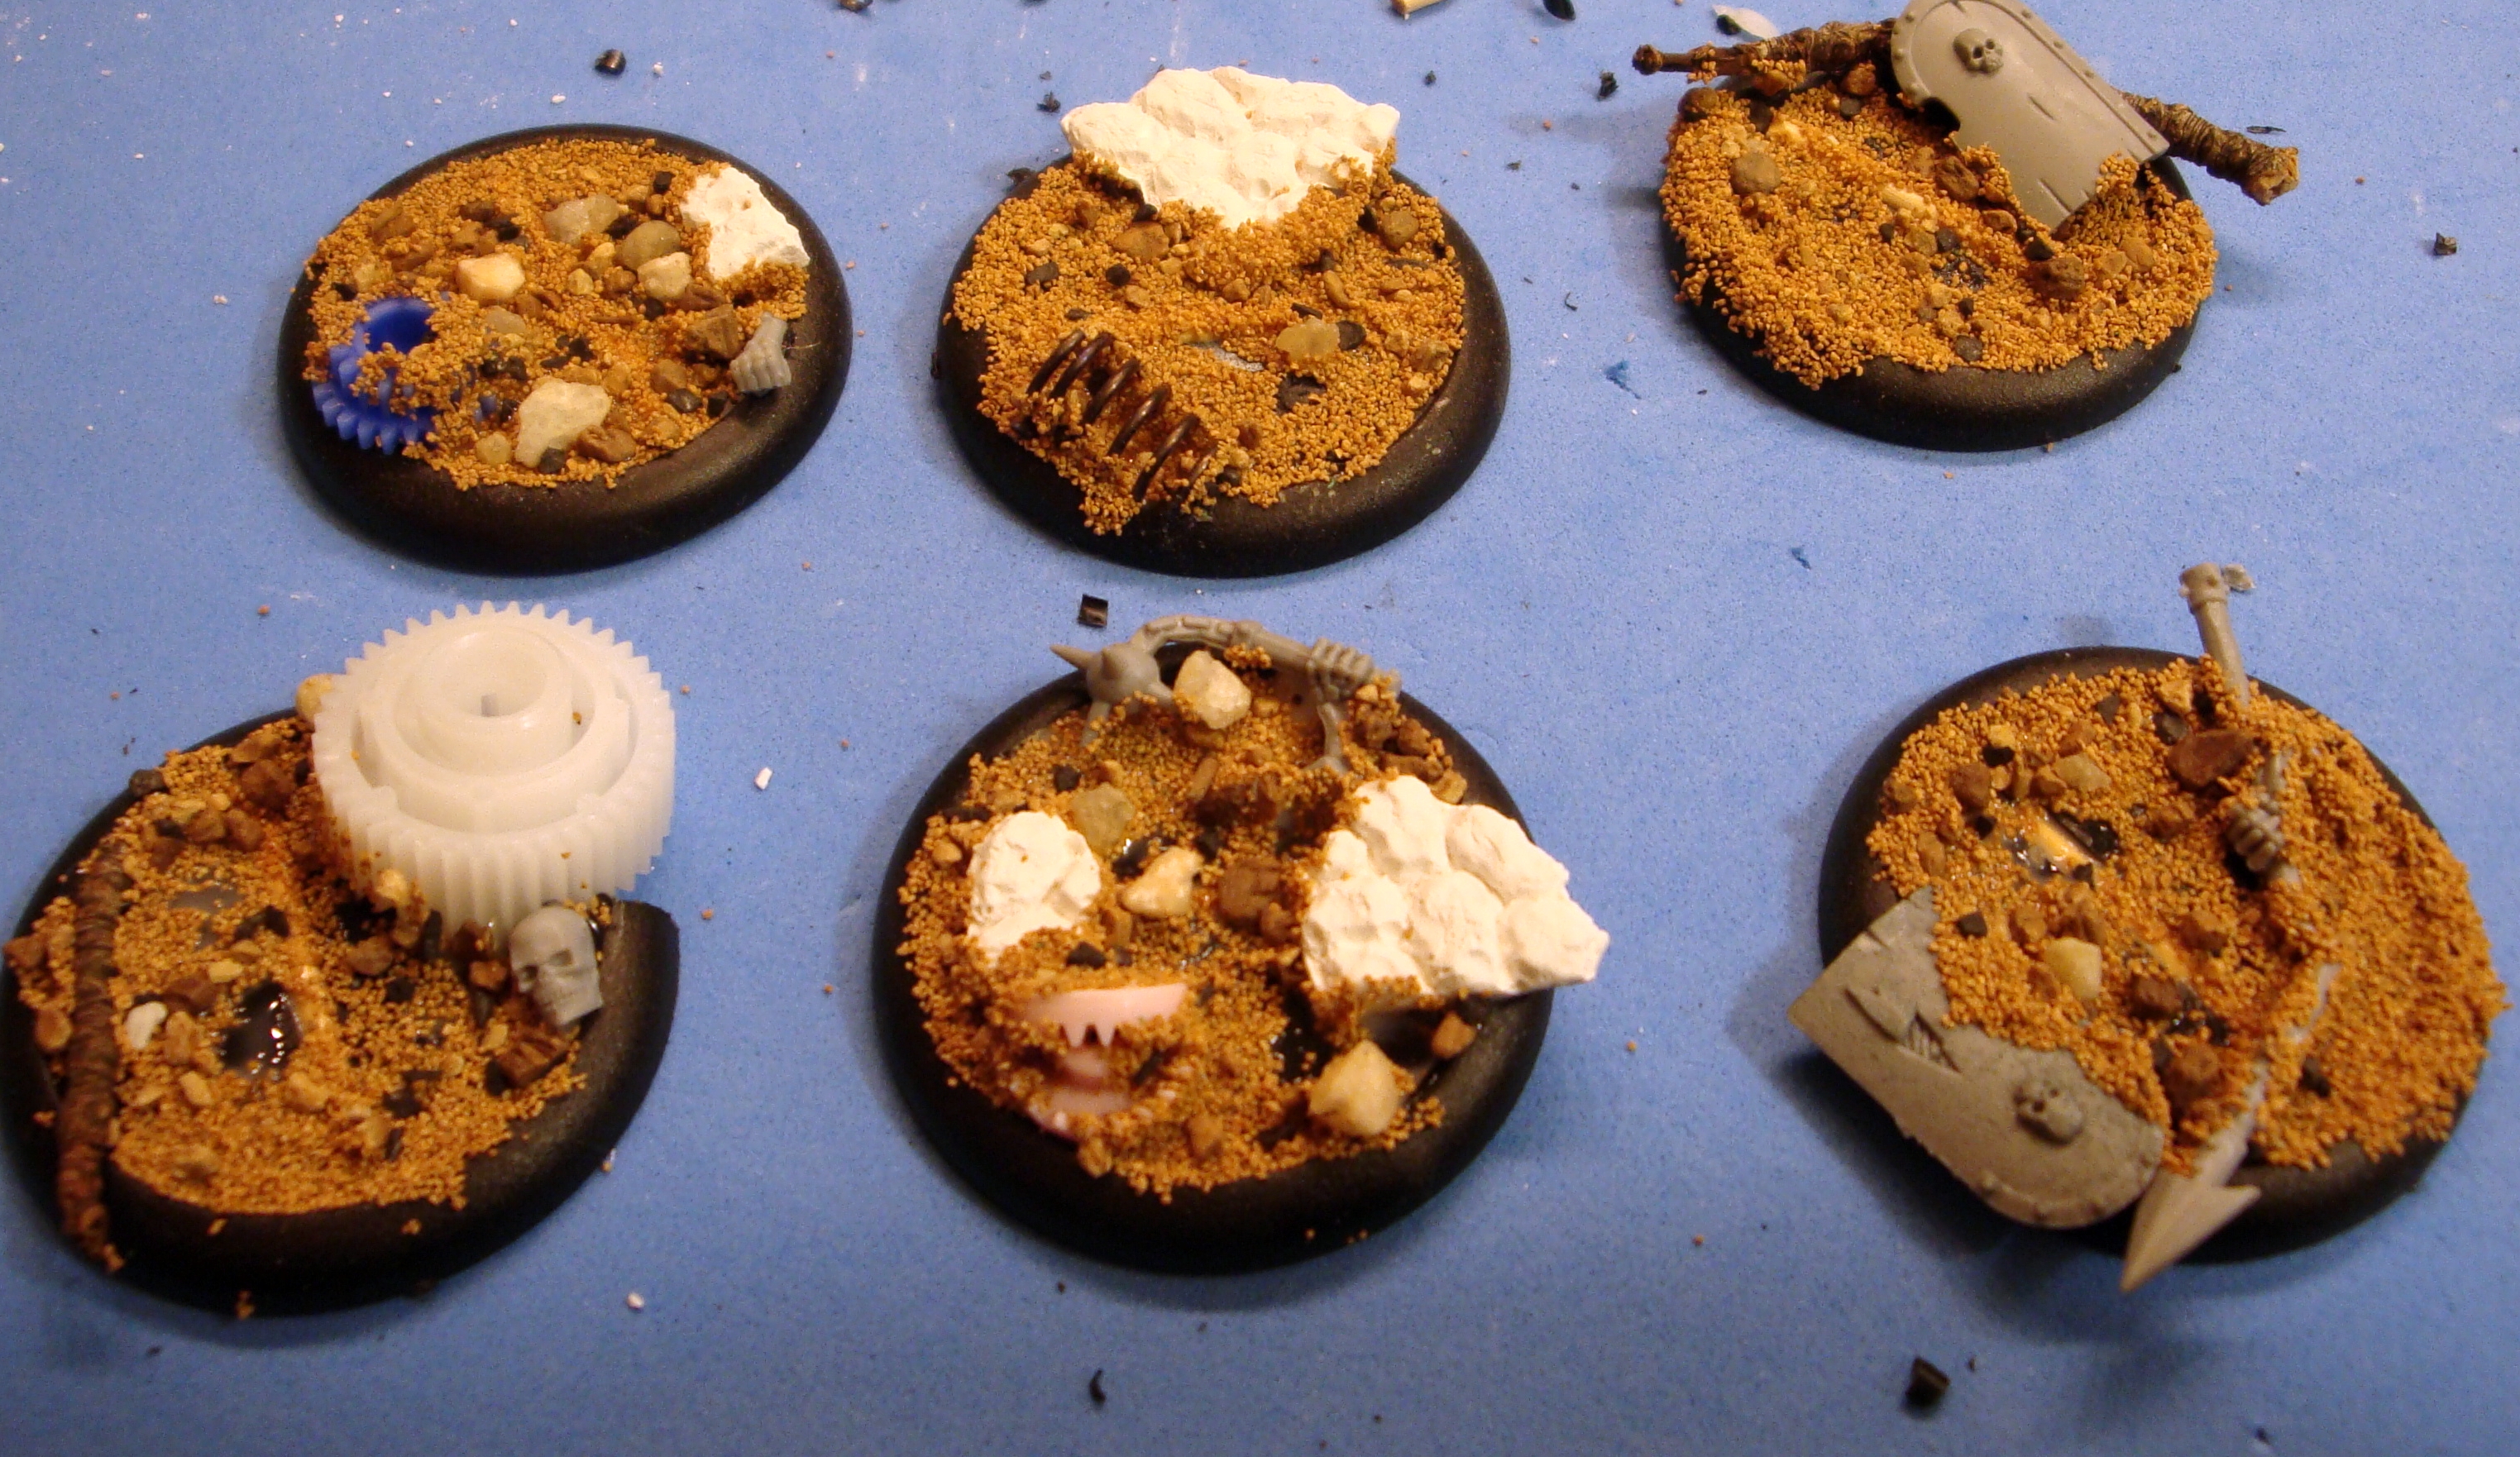
As you can see, when I pressed down on the ballast it sometimes went over the edge of the base. Like I said earlier, that’s okay. To me it just makes the bases more interesting. Depending on how much time I have, I usually like to let the ballast set overnight or at least for several hours otherwise the next part will cause the glue to reliquify and just make a big mess.
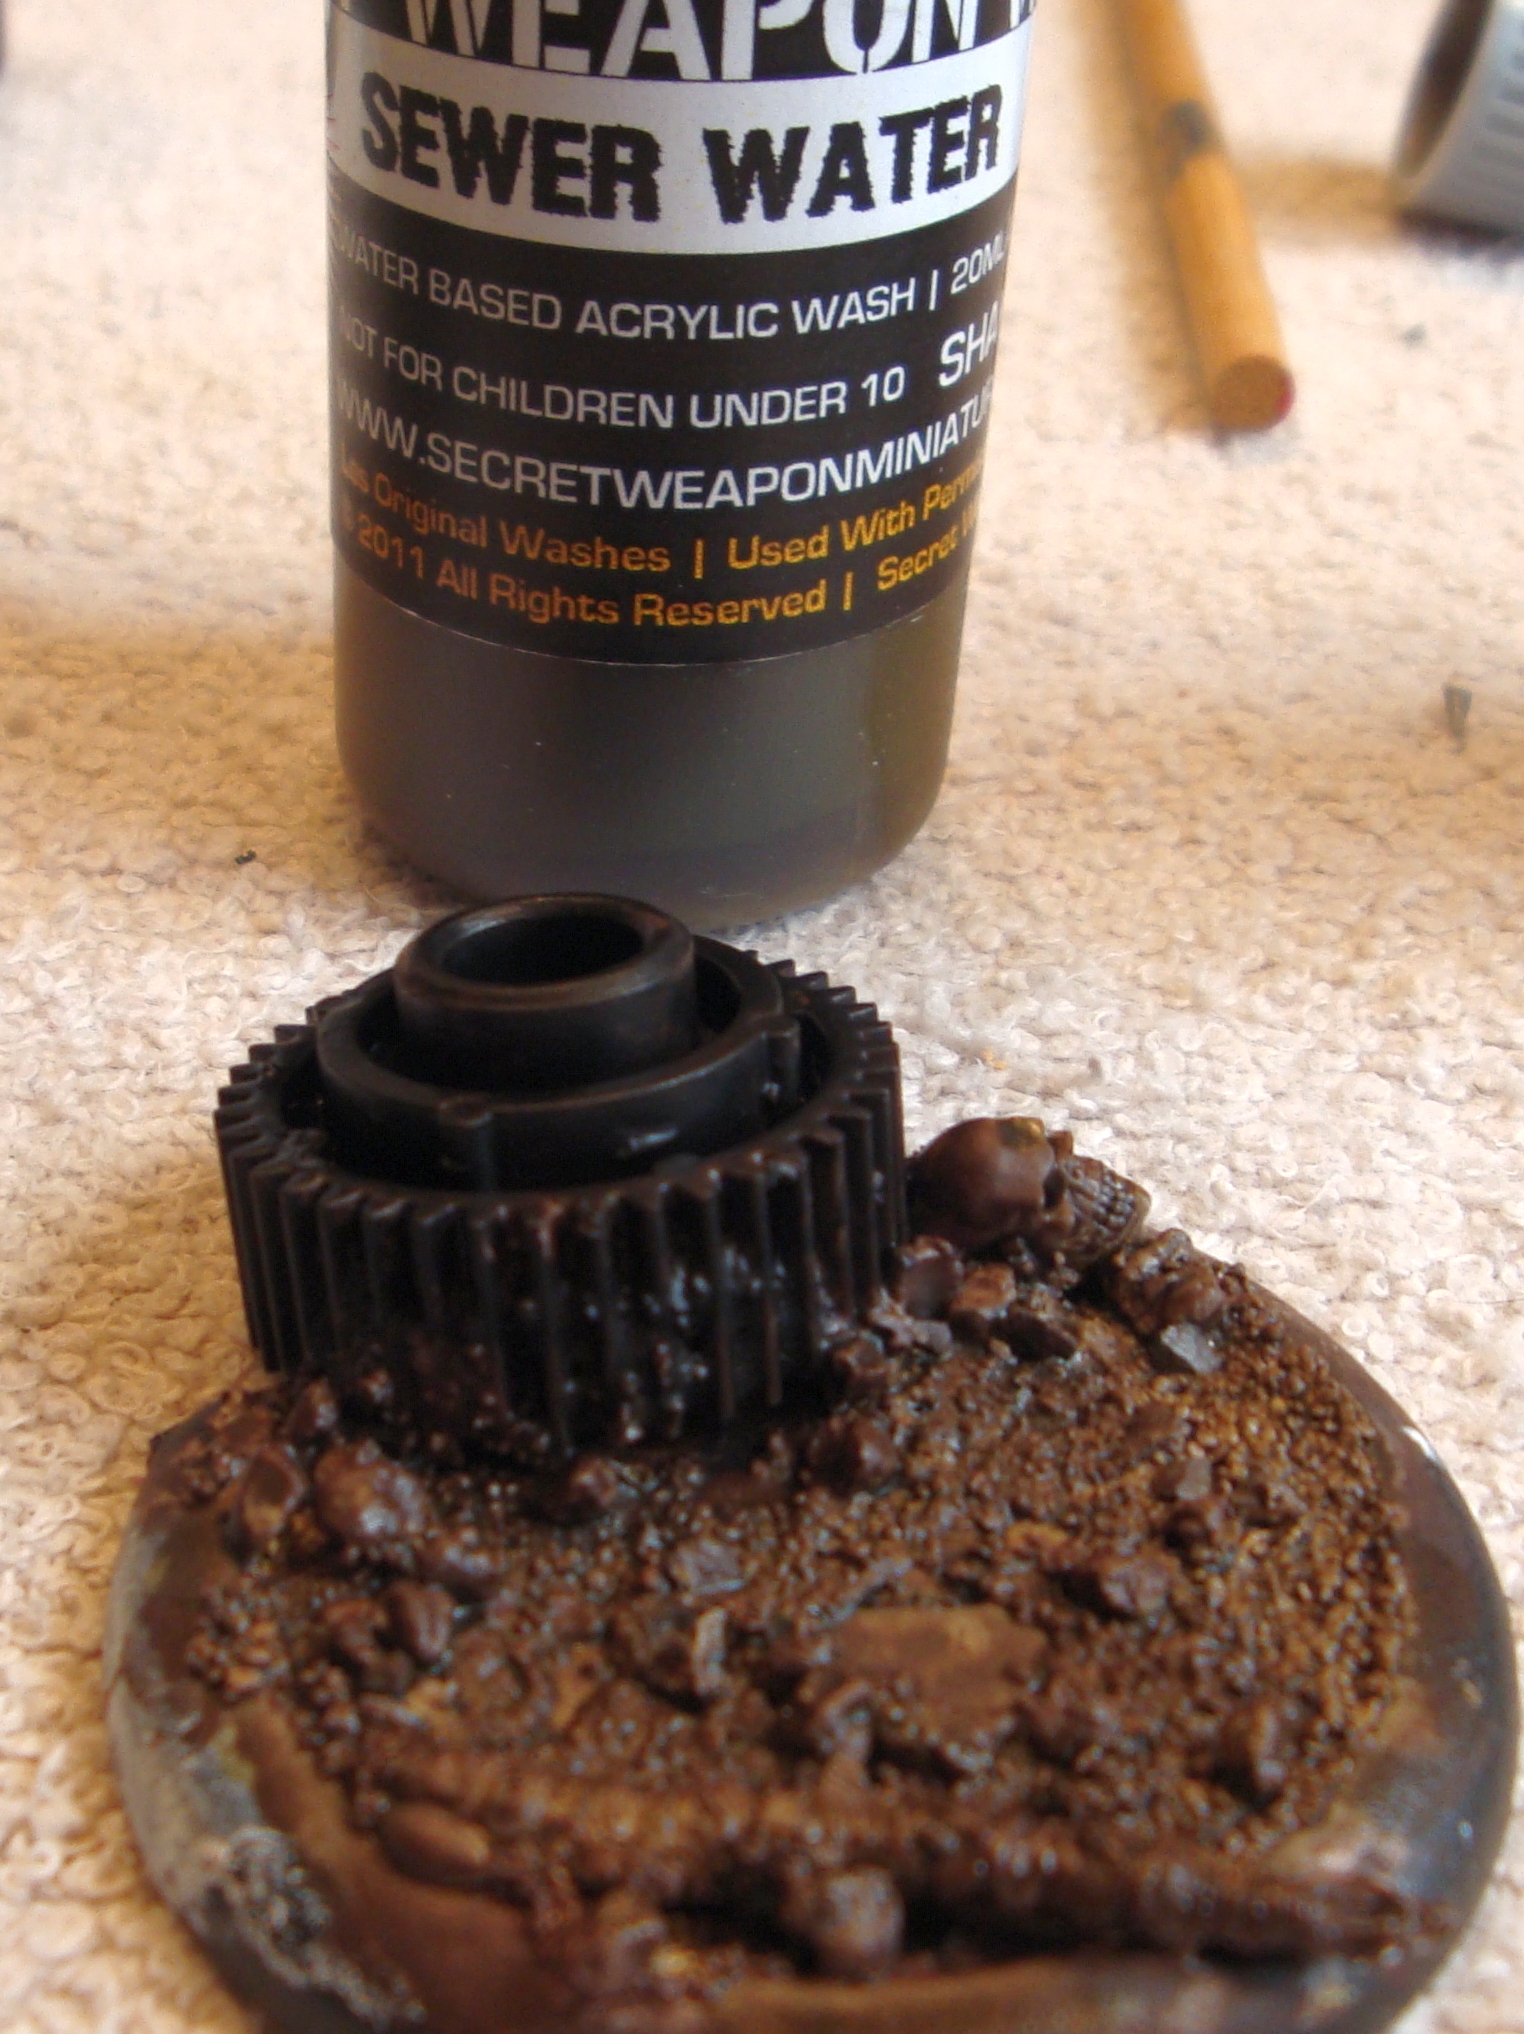
Next I will basecoat everything on the base, well, usually I will, but as you can see, I just slopped slightly watered down Vallejo Charred Brown over everything but the gear, which was based black:
Ignore the wash in the background. I used a different wash on each base, but the outcome was the same because of dry brushing in later stages. Next I usually add a dark brown wash or brown ink over the ballast.
Next comes the dry brushing of the ballast. I almost always use the same three colors:
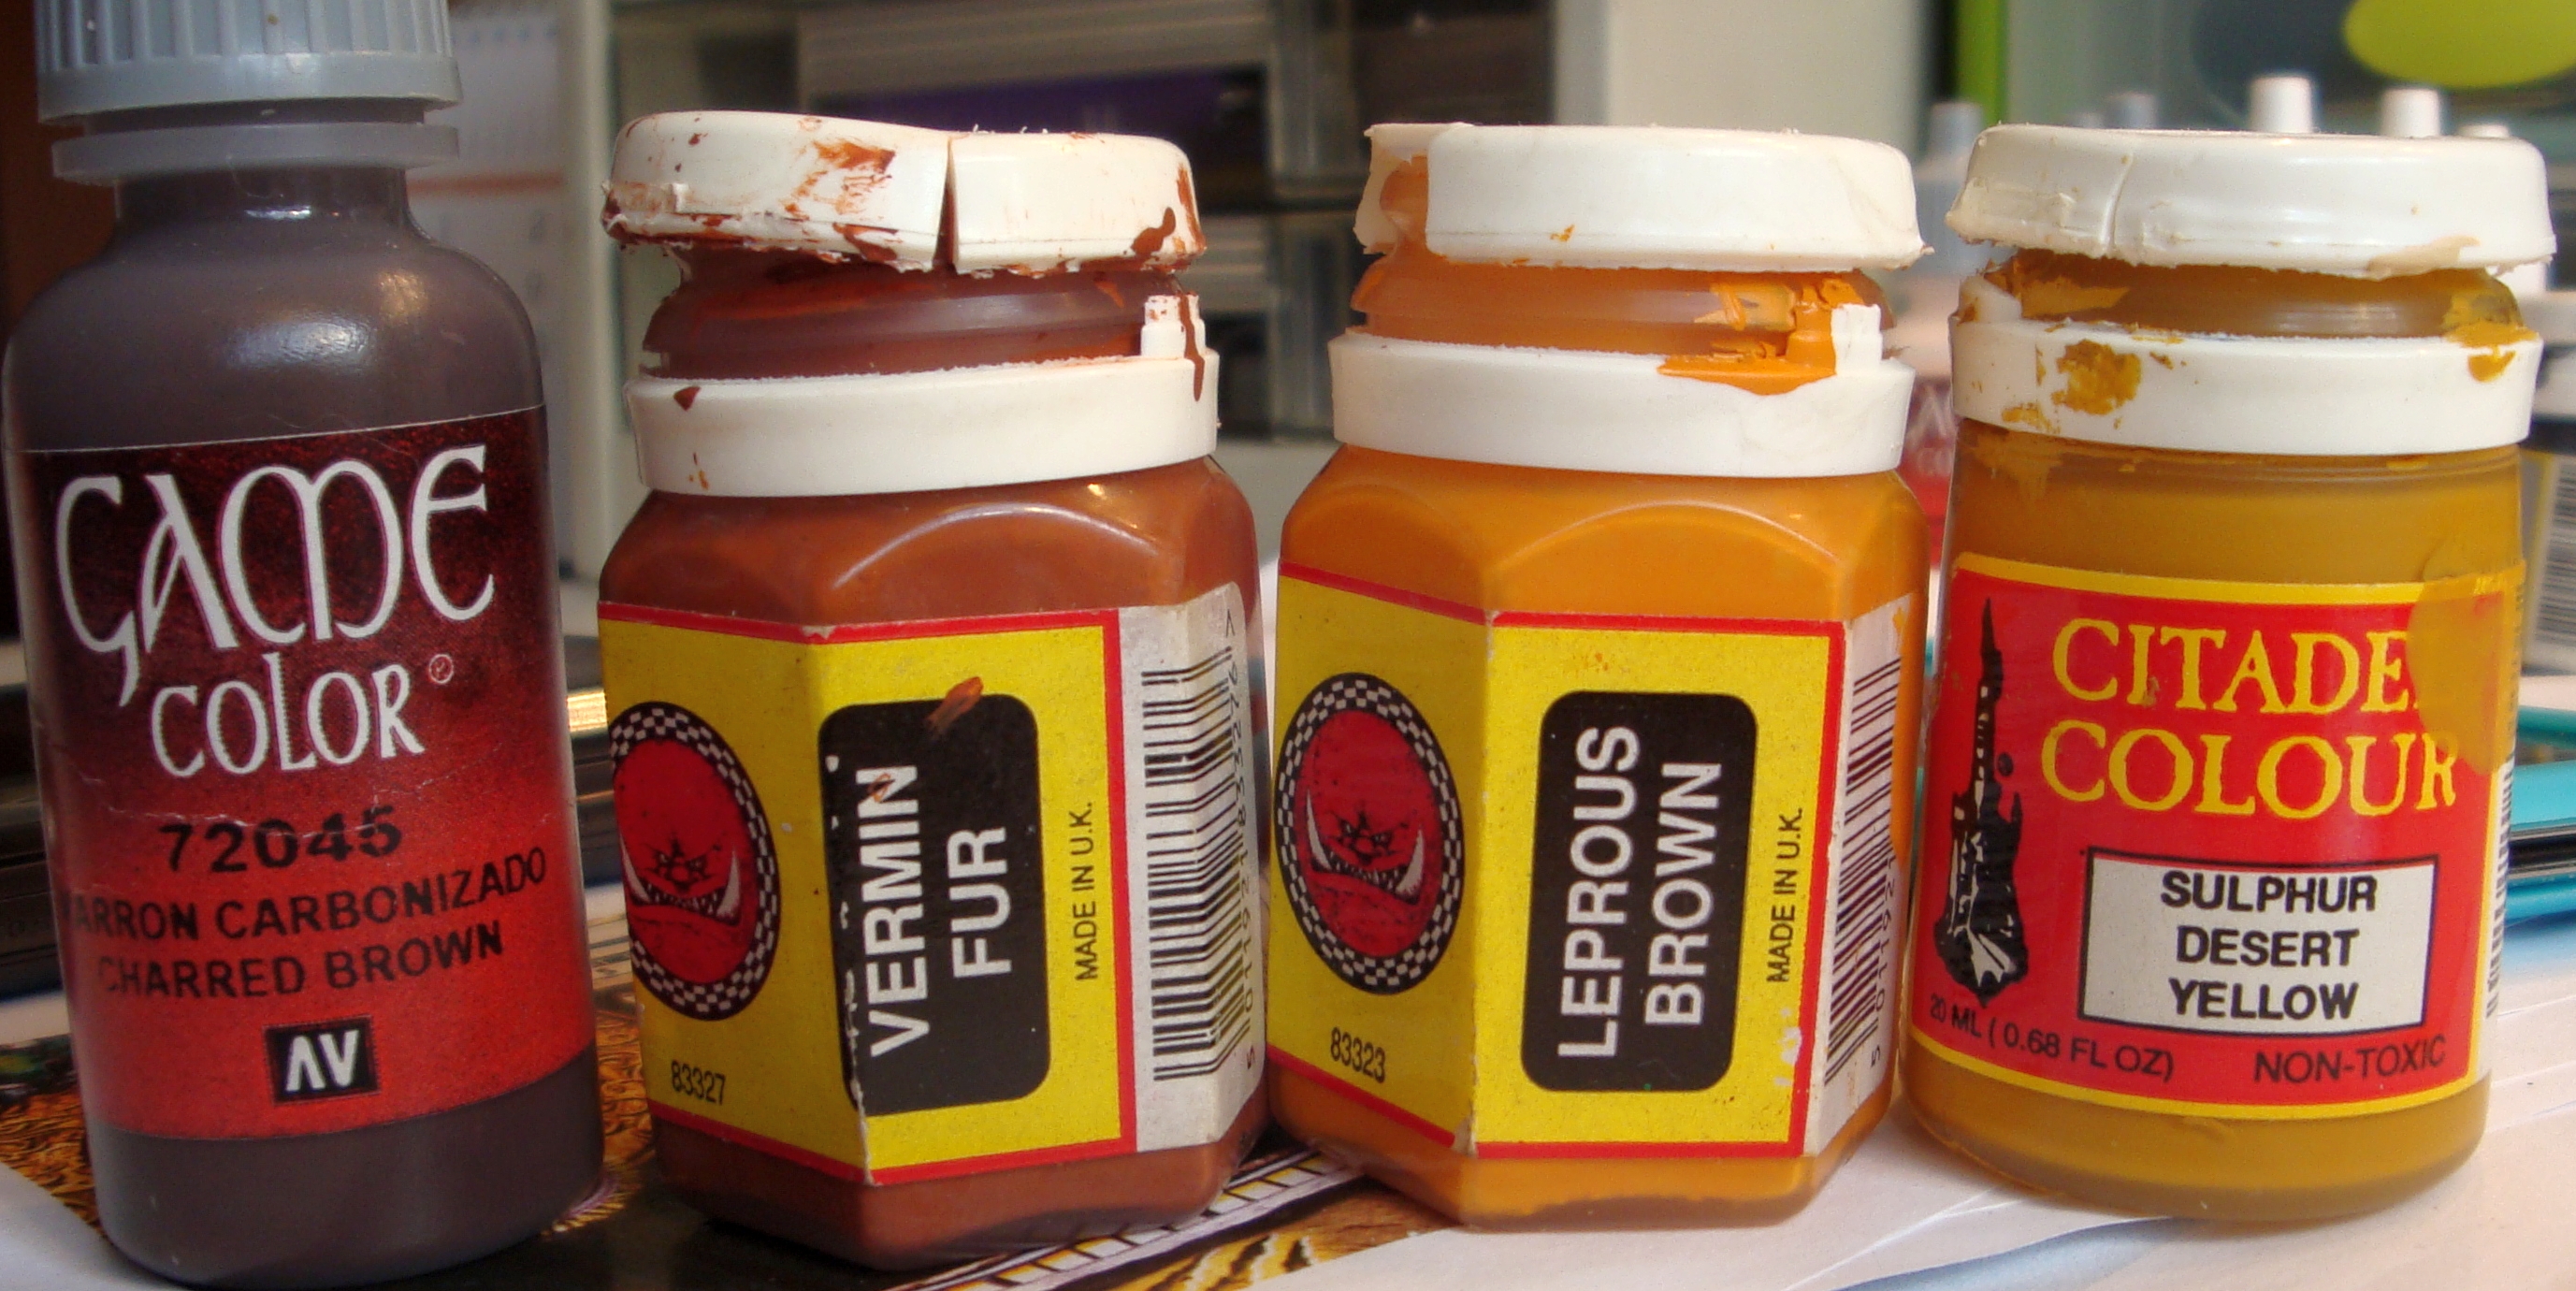
And usually in the order shown. The Charred Brown is just there to show you all the colors, I don’t add it again. The end result is below:
Next I will usually paint the other items on the base. In this case I painted the skull, gear, and branch. I generally paint my brass (Vallejo Brassy Brass in this case), then wash it with a homemade brass wash (one drop old GW flesh wash, two drops GW yellow ink, one drop water, and one drop flow aid – I have no idea what I’m going to do when my old GW flesh was runs out as the new one is much lighter) to tone down the brightness.
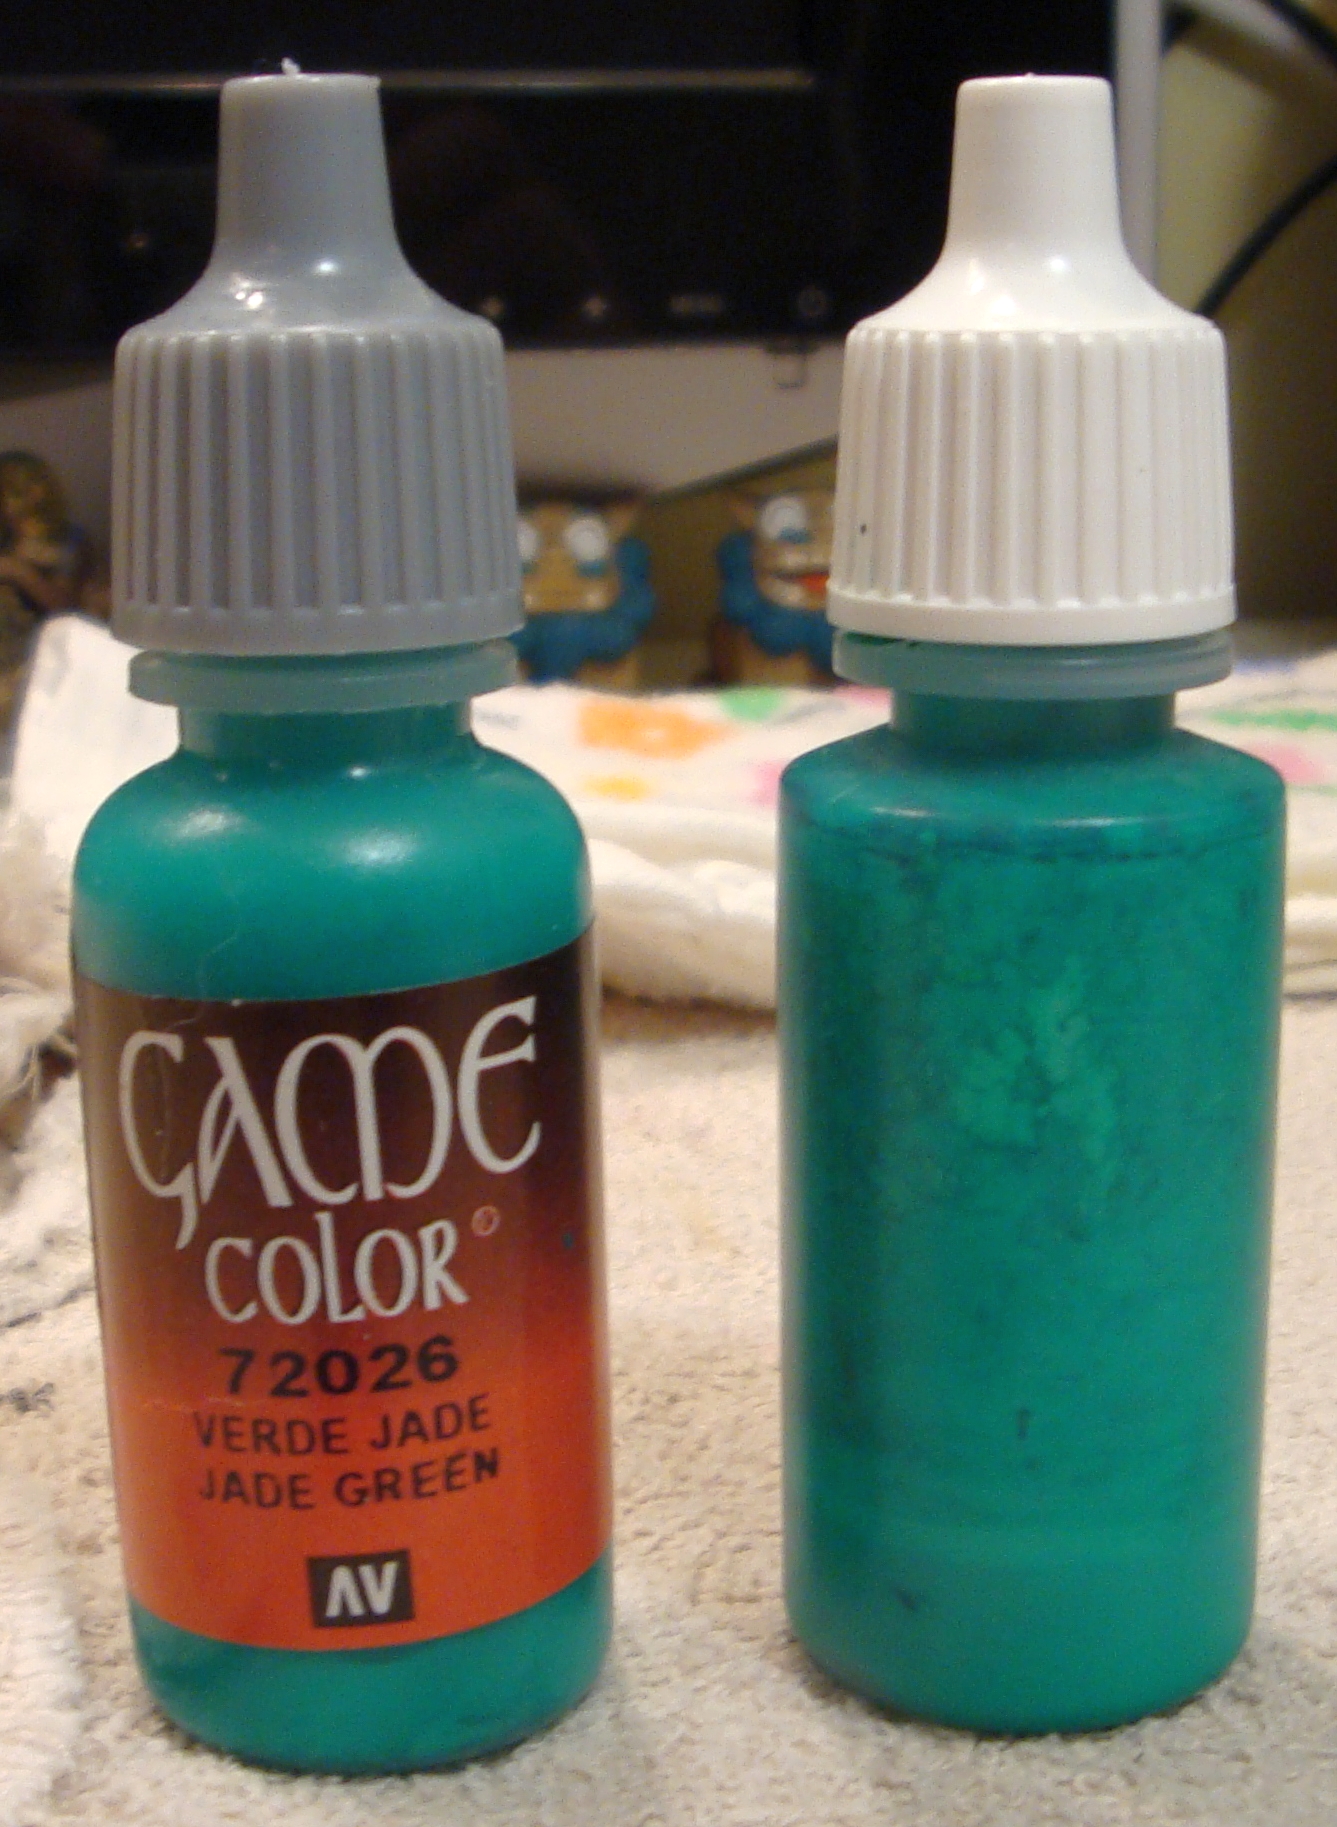
Then I use a wash to create verdigris on the brass. I make mine from Vallejo Jade Green, usually one drop paint to ten drops water, which looks something like this:
Seeing how often I use it, I like to have a decent amount premade. I don’t mind buying premade washes as they save me a lot of time, but this was is silly easy to make and no one makes one yet that I know of, though I do have a new wash from Secret Weapon that might work.
Use the verdigris wash sparingly as less is more in my opinion. I generally place it anywhere water might catch, usually around bolts, in grooves, or on the ground, and in deep recesses, like below:
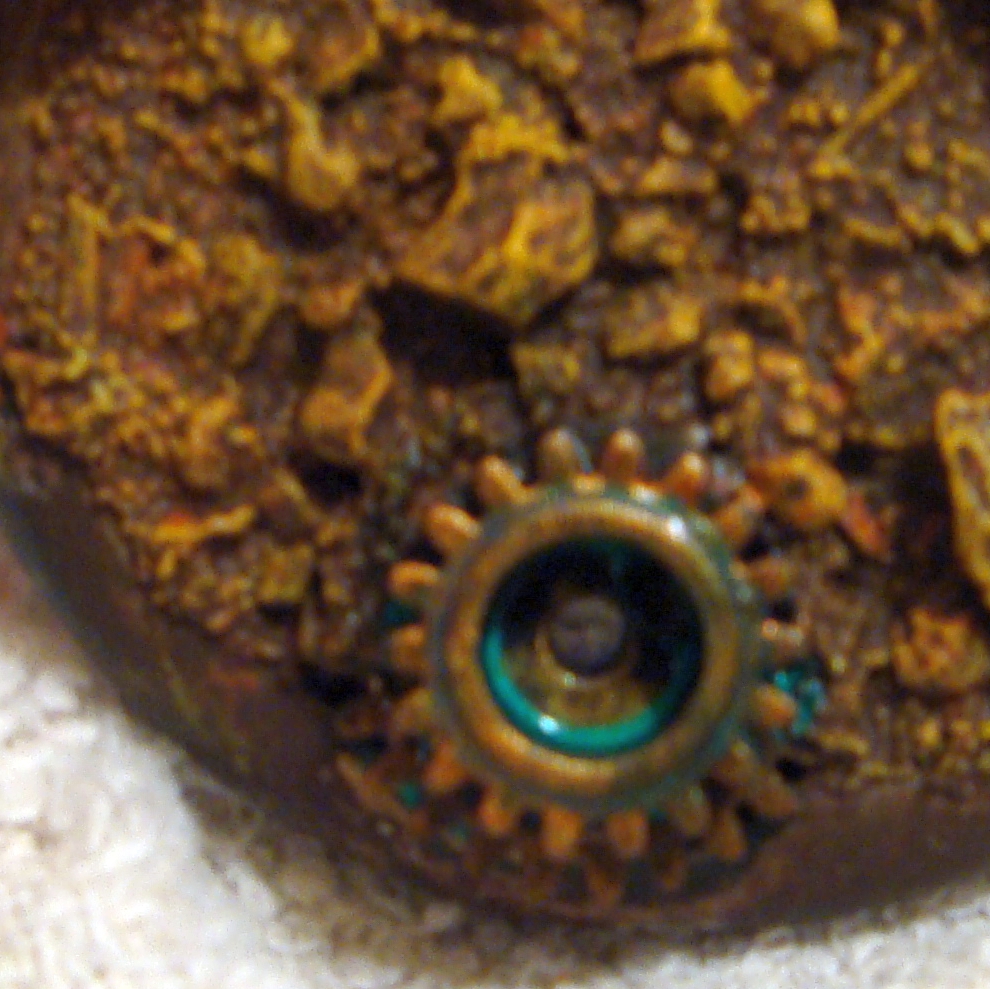
In the pictures above, the wash is still not dry, but you’ll see the finished effect later.
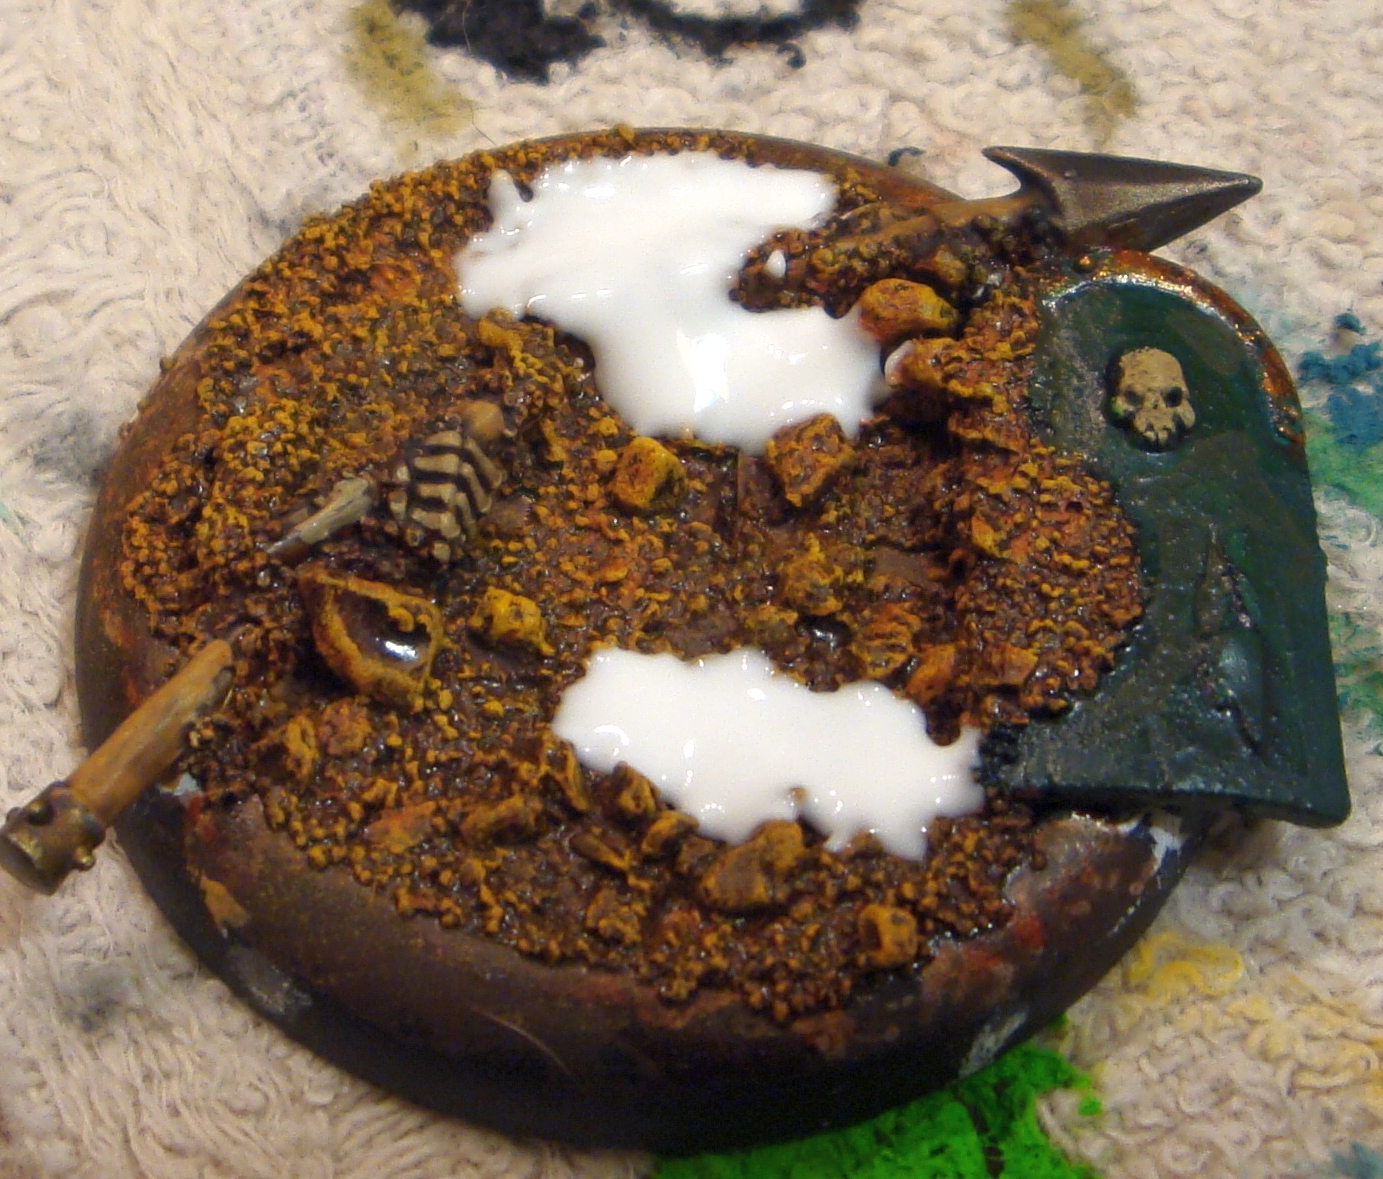
Next I’ll paint everything else on the base and then add glue (I prefer wood glue as it’s thicker) wherever I want static grass to go.
Then I’ll put the base in the bag that I keep my static grass in and cover it with static grass and press down a bit. Then I pull it out and gently shake it off. Even after that the base will look like a fuzzball exploded on it.
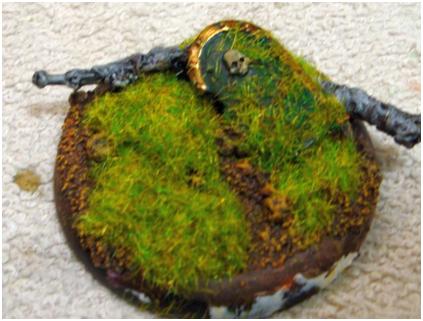
After letting it sit for about an hour or so I use something like a pen or brush handle to knock off the remainder into the bag and then use a large dry brush to brush any static grass that wouldn’t come off away. In the end I’ll have something like this:
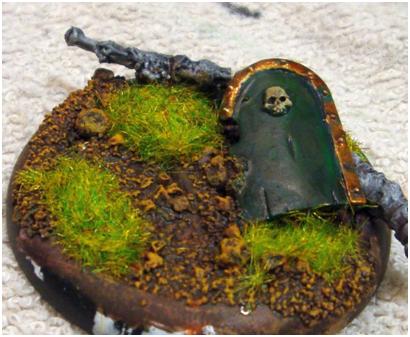
Then I’ll clean up the edges of the bases with thinned down black paint and I’m done!
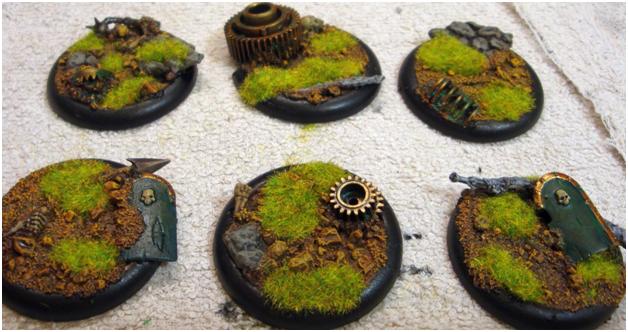
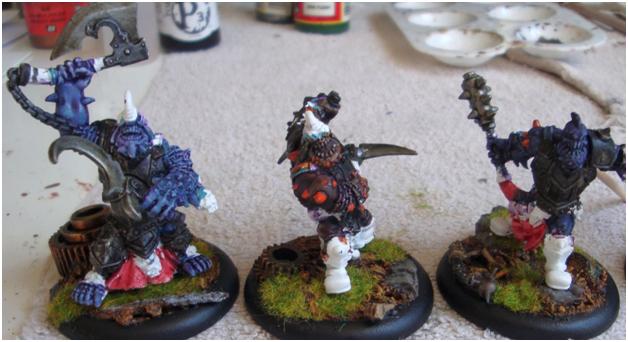
Next I’ll move my (usually) painted miniature to its new base and pin it to the base. Here’s how the bases look with my partially painted bloodgorgers on them. I’ve drilled holes in the bases and have pins in the bloodgorgers, but I won’t permanently attach them until I’ve at least painted the bloodgorgers feet/boots, legs, and tabards/loincloths.
What kind of bits do you use more often than others?
Is there anything else you see a lot of that I missed?
Why do bloodgorgers have loincloths?
Are there any other basing articles that you’d like to see covered?
Any questions?
This is great stuff!