Wrastler Repose
So, as some of you may no by now, one of my side projects is to help Faultie with his Collective of Genteel Gatorfolk. One of the first things on the to-do list was a repose of the Blackhide Wrastler. The best part about this particular repose was that there was already a tutorial on how to do it. Gentleben, of BelloflostSouls.net wrote about how he did a repose for his Blackhide Wrastler back in November.
So with that article in mind, here’s what I came up with:
 |
 |
 |
|
You may note that it’s not exactly the same as Gentleben’s. A few modifications were made so that it can be further converted to better represent what a proper Genteel Gatorfolk would look like.
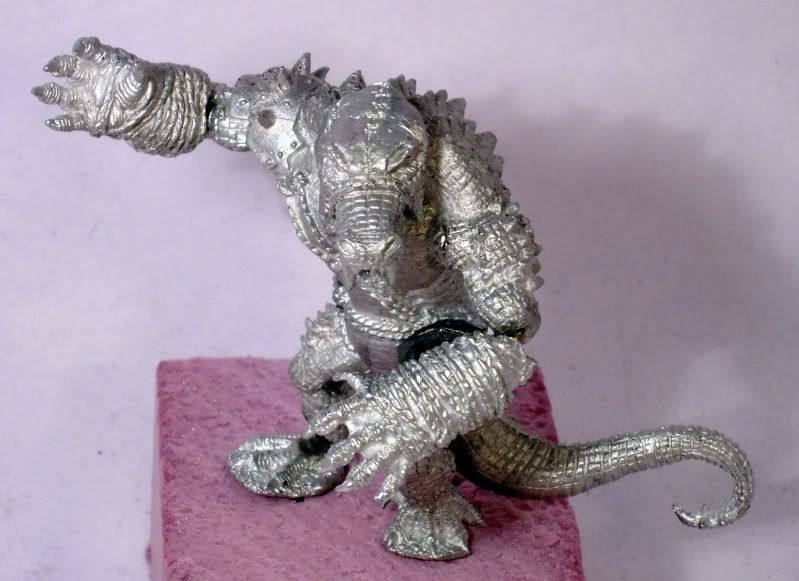
First, I re-used the bottom jaw. Gentleben gave his a completely new one out of greenstuff. After a few minutes of playing with the head pieces, I noticed that the bottom jaw fits inside the teeth of the top jaw rather nicely. A pin and some glue later, and it looks pretty good. The top two pictures show how well the pieces fit. No modifications were done to the pieces to get them that way. I did have to file down the back where it attaches to the head, but that’ll get covered up with greenstuff, so it didn’t have to be pretty.
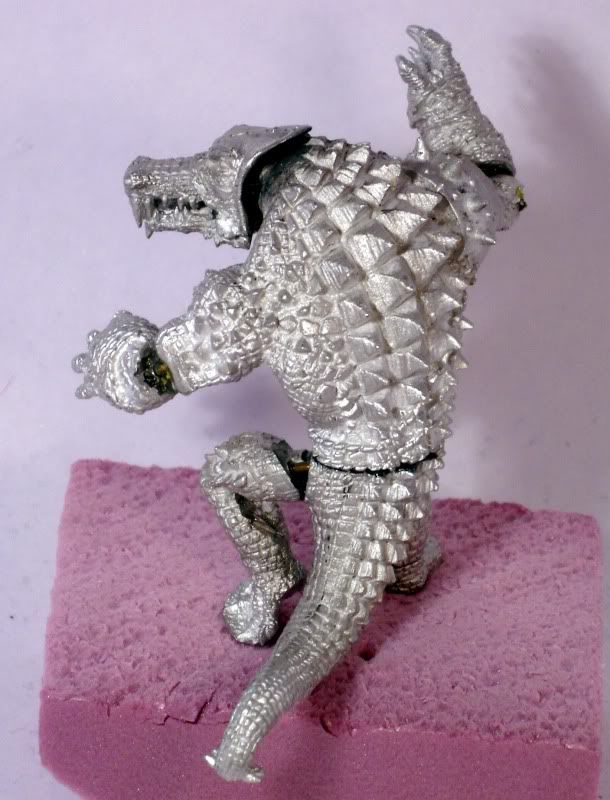
Just like in the tutorial, the legs were modified to raise the body up. The ankle and knee of the model’s right leg were cut, and the knee of the left leg was cut too. Here’s detailed shots:

I first cut into the ankle joint. I went about halfway in. I then went and cut the knee joint. The scales and muscles give you a very clear line to cut on. It was fairly obvious when to stop. I then wedged my hobby knife in each cut and wiggled it around a but to pry stuff apart. It was too scary though – I felt like the blade would snap and go everywhere. So, I pulled out a set of pliers, and started working the joints.
After getting the right leg where I thought it should be, I cut into the left leg. This was a long cut – you can see where the leg looks too thin. I’ll have to rebuild the calf and thigh muscle with greenstuff.

This leg was awful. It was so hard to bend. I had to use a small screwdriver and wedge it into the cut. By twisting it, I was able to open it bit by bit. At one point it slipped and the sharp bits on the thigh and the toe nails cut my thumb and finger. &#*&^ thing drew blood.
Once I had both legs opened up, I put pins in and began testing to be sure the flat parts on the bottom of the feet would line up. Thus the foam block you see under the miniature. If you look back at the right leg, you can see that the pin goes all the way up through the foot, calf and into the thigh. These joints were weak because they were thin and I wanted to be sure it would hold up. A big brass rod helps.
From there it was much simpler.
The right arm comes in two pieces, joining at the elbow. I just shaved the top and bottom of the arm part and then pinned the forearm at the right angle. Again, greenstuff will make the join smooth. The left arm is all one piece, so I had to cut it in order to change it. I hacked it apart at the elbow and then pinned it back where I wanted it.
So, the next step is to greenstuff all the gaps and make it look like a gatormans. Then we’ll add the fun stuff. Here’s a concept artist rendering. The artist may or may not have been sober.
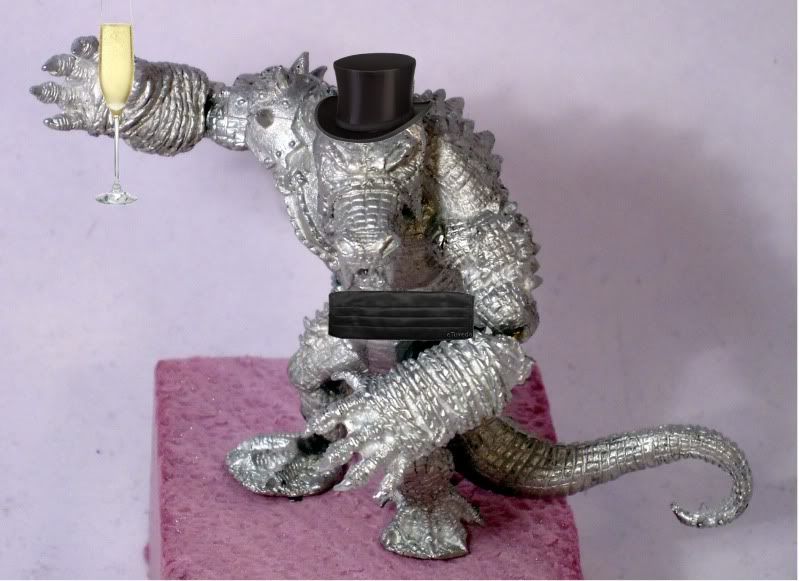 |
| A top hat, cummerbund and glass of chapagne… Why yes! |
Too funny~! Looking forward to seeing more work on him. It was great to see in person.